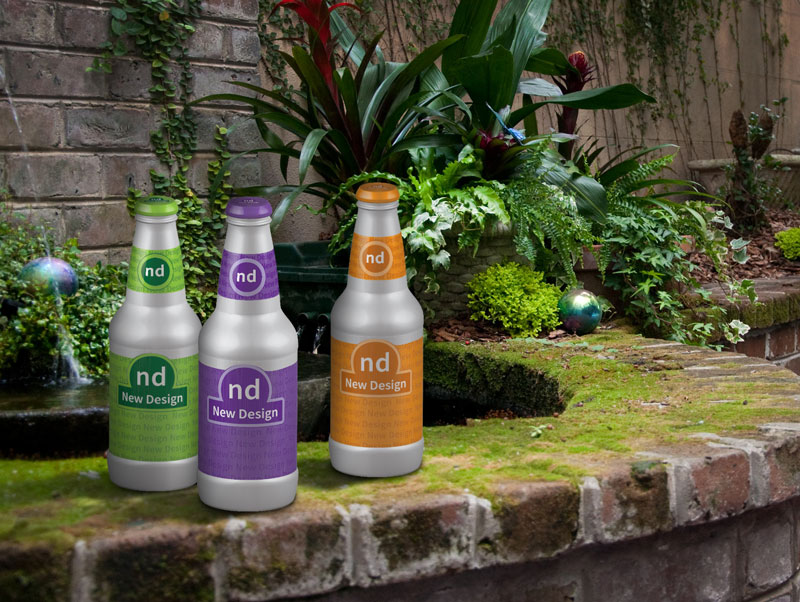
This tutorial demonstrates how to create a brand new, 3-dimensional, packaging design for a product.
Create one design first, then carry that design across 2 additional packages in the suite. Make sure they are consistent and look like they go together. The 2 additional packages could be additional flavors, products, sizes, etc.
Step-by-Step Instructions to create a packaging suite
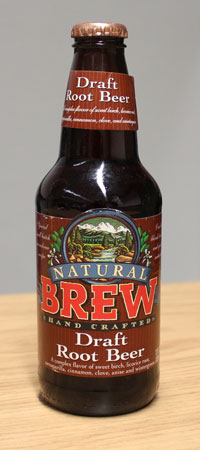
1. Choose a packaged product you would like to redesign.
2. Take a photo of it to show the “before” state.
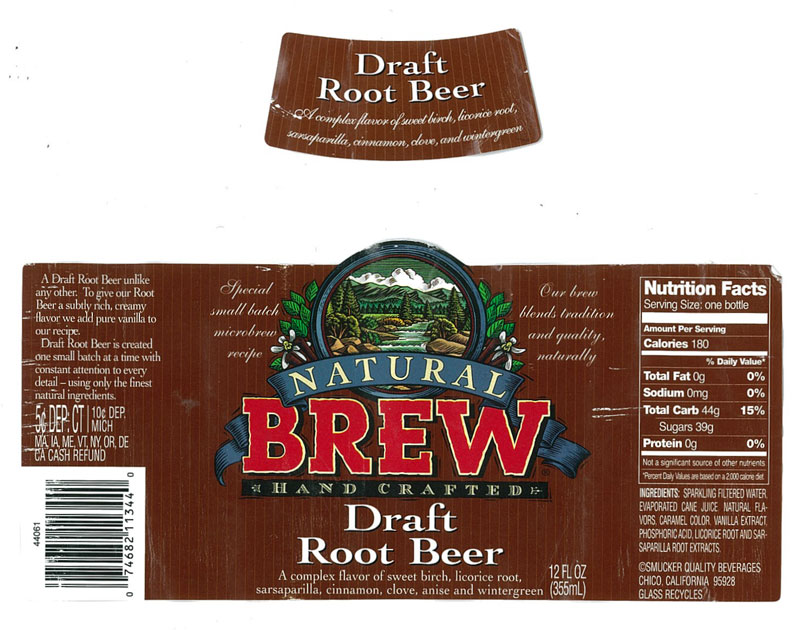
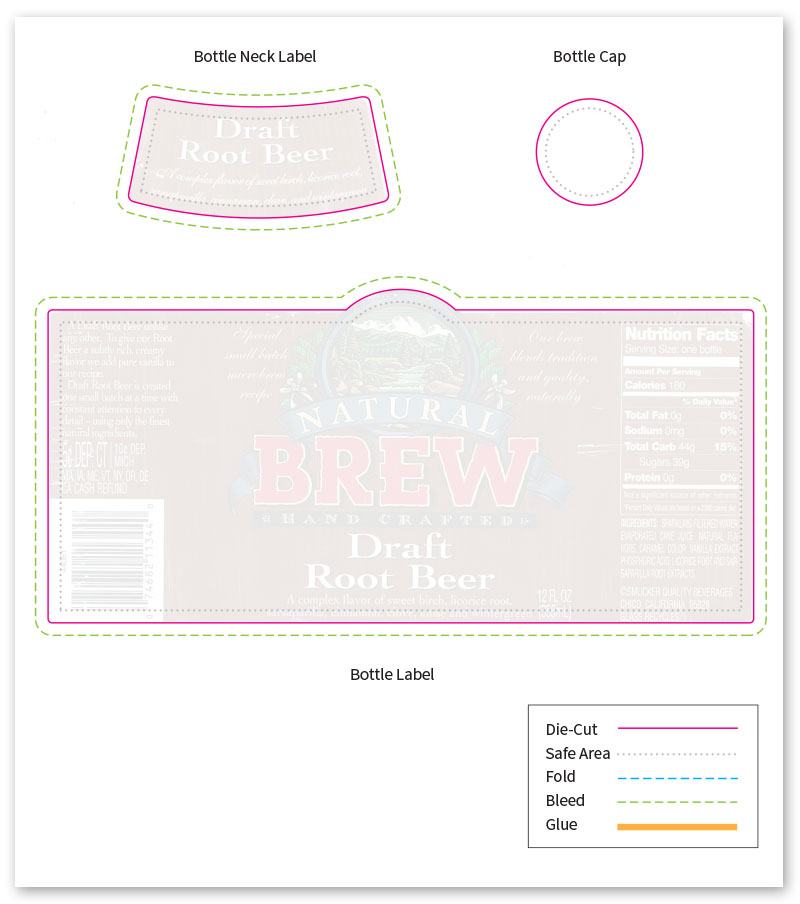
3. Remove the labels, scan them, and place the file in Illustrator.
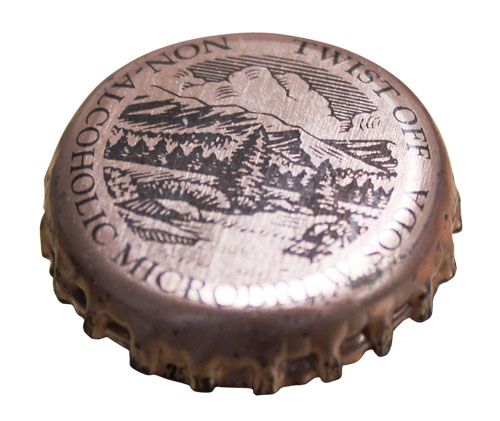
4. I also took a picture on the cap so I could see how the previous designer designed it.
5. Next, create your packaging template in Illustrator. Like this:
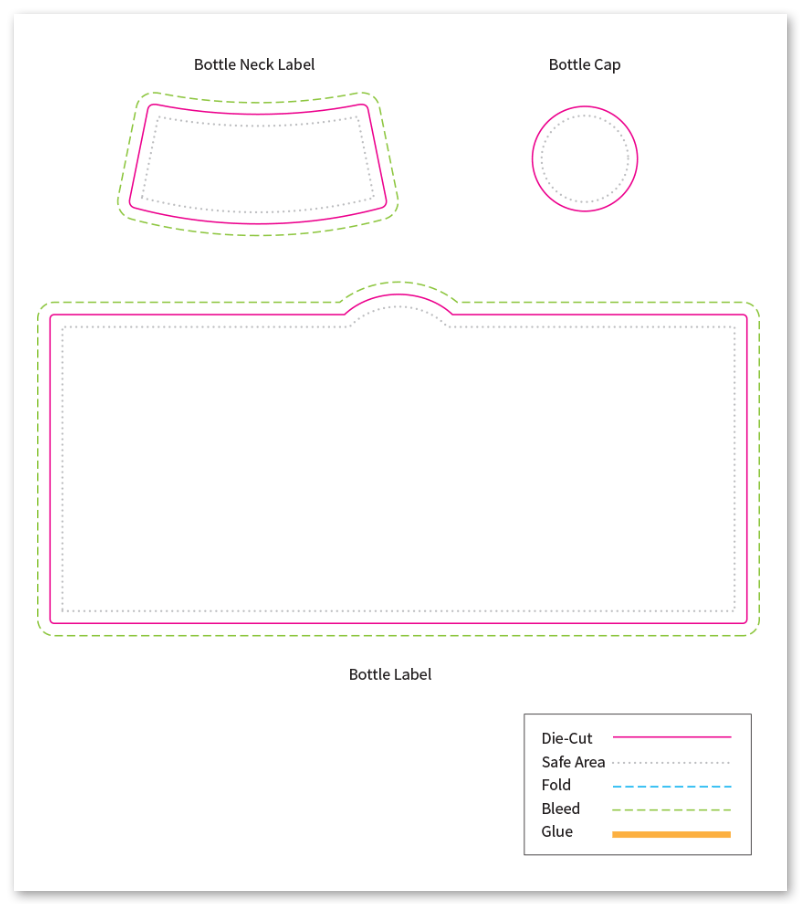
Now you’re ready to design
6. Create your new design in Illustrator using the template as your guide
7. Be sure to use all (or, almost all) the information on the original packaging
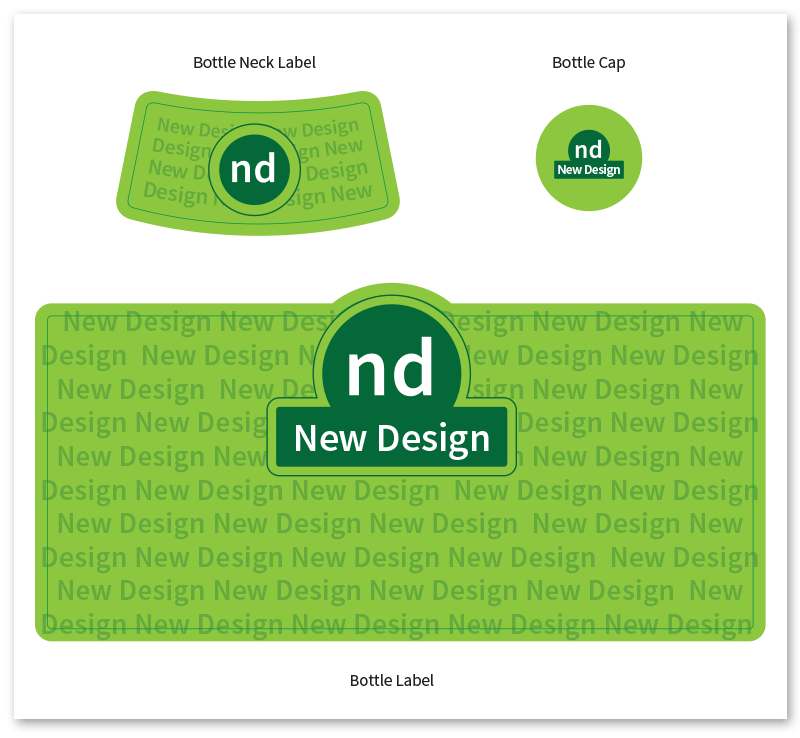
8. I left a medium green line where the die-cut line would be. I’ll use this as a guide when I cut it out.
9. Next, print your packaging designs and cut out your labels with an X-acto knife
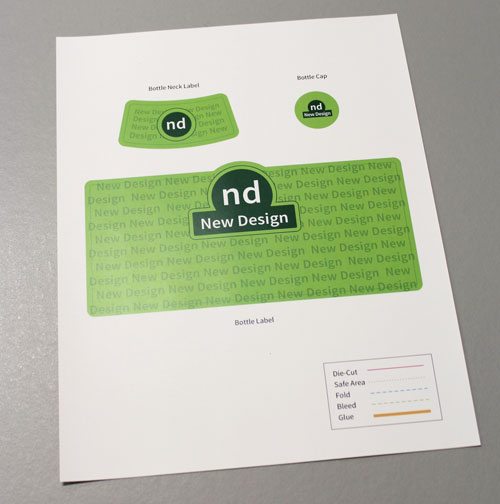
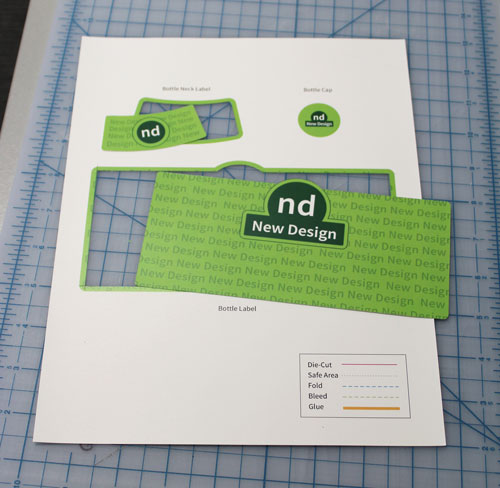
10. Using tape, or double-sided tape, attach your new label to the original bottle/can/package.
11. I’d suggest mocking it up like I’ve shown, instead of trying to digitally mock it up in Photoshop—which isn’t as easy as it may seem
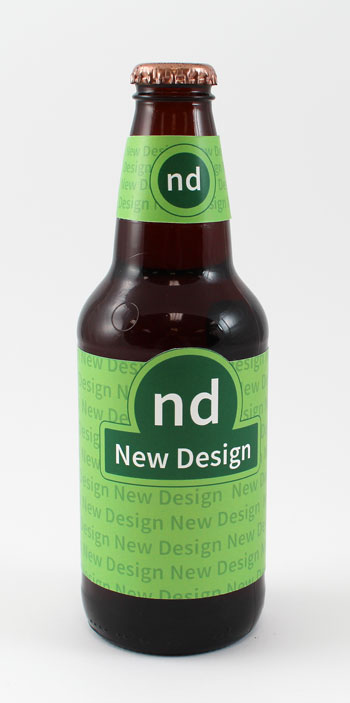
12. Once everything fits and looks good, make two more designs for your packaging suite.
13. Your two additional designs can be different flavors, or different size packages, etc.
14. You’ll see below that I colorized my caps in Photoshop to match the labels. (I can show you how to do this)
15. Photograph your final packaging suite—and you’re done!
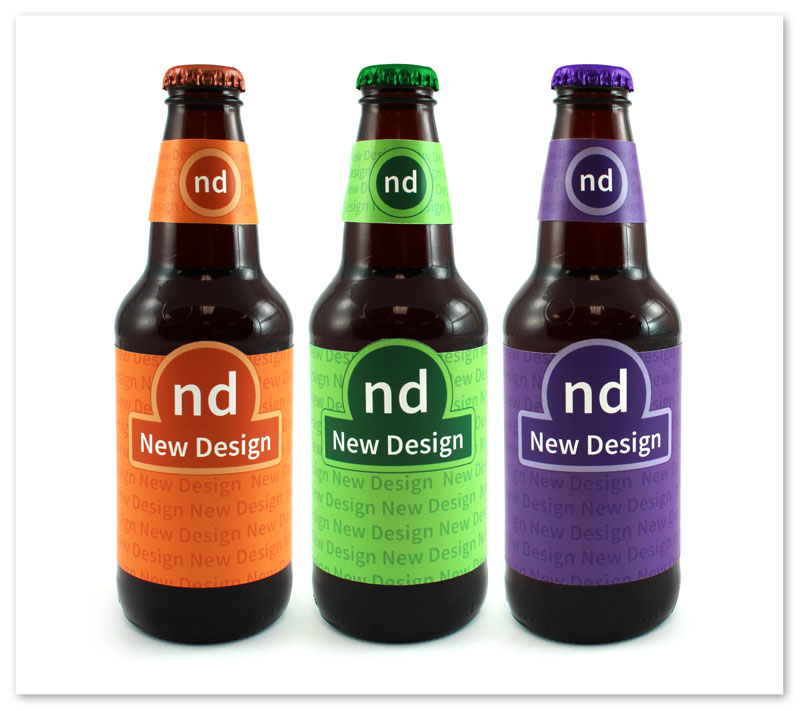
Nice work!
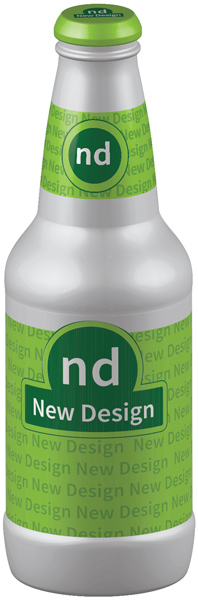
You could also use Illustrator’s 3D rotate effect to create a 3D
And if you feel like being really fancy… set your three bottles into a scene: