You may download the tutorial files below and follow along with this tutorial to practice. Or, you can simply review these web pages and videos and start creating your own video. I’m okay either way, whatever works best for you.
Download .ai Tutorial File
If you’re going to follow along, first, download this Adobe Illustrator file to use. It’s the same file I used to create the marketing video for Habitat for Humanity.
Prep your assets and layers in Illustrator to import into After Effects
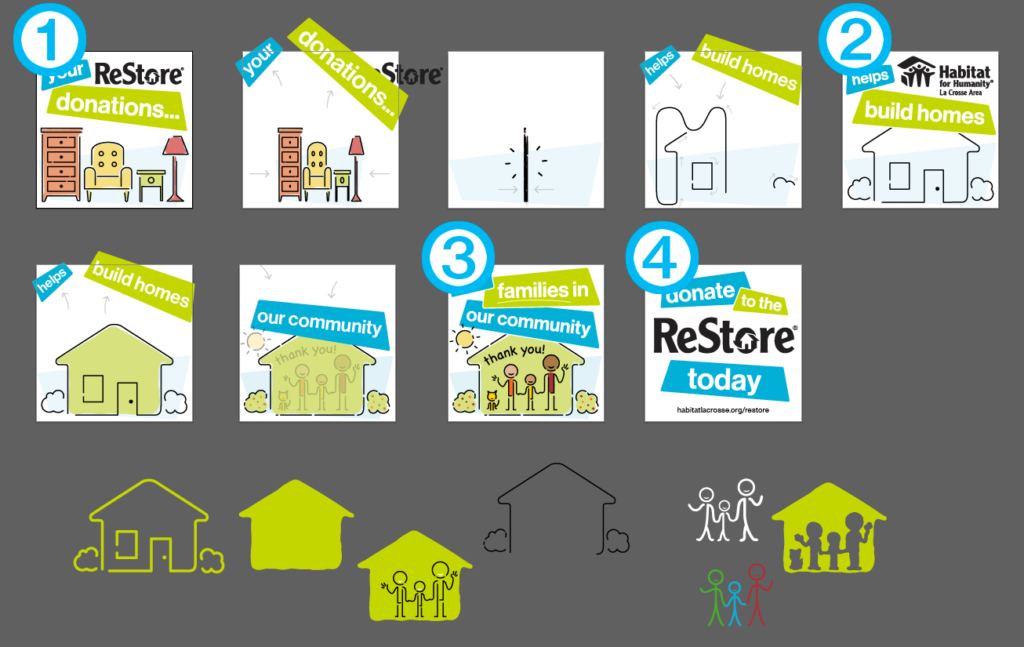
Here’s a screen capture of my nine comp artboards in Illustrator.
Five artboard comps were only created to show the client the animated transitions in After Effects. I don’t’ need the assets on them.

I only need four comp artboards of assets to import into After Effects.
Create outlines of all type (Optional)
Now convert all the type on those four layers to outlines. I’m not going to animate my type in After Effects so I’m comfortable doing this.
Note: If you are planning to animate your text (add the typewriter effect, etc.) in After Effects don’t convert it to outlines. Here are my four main artboards in wireframe mode in Illustrator.

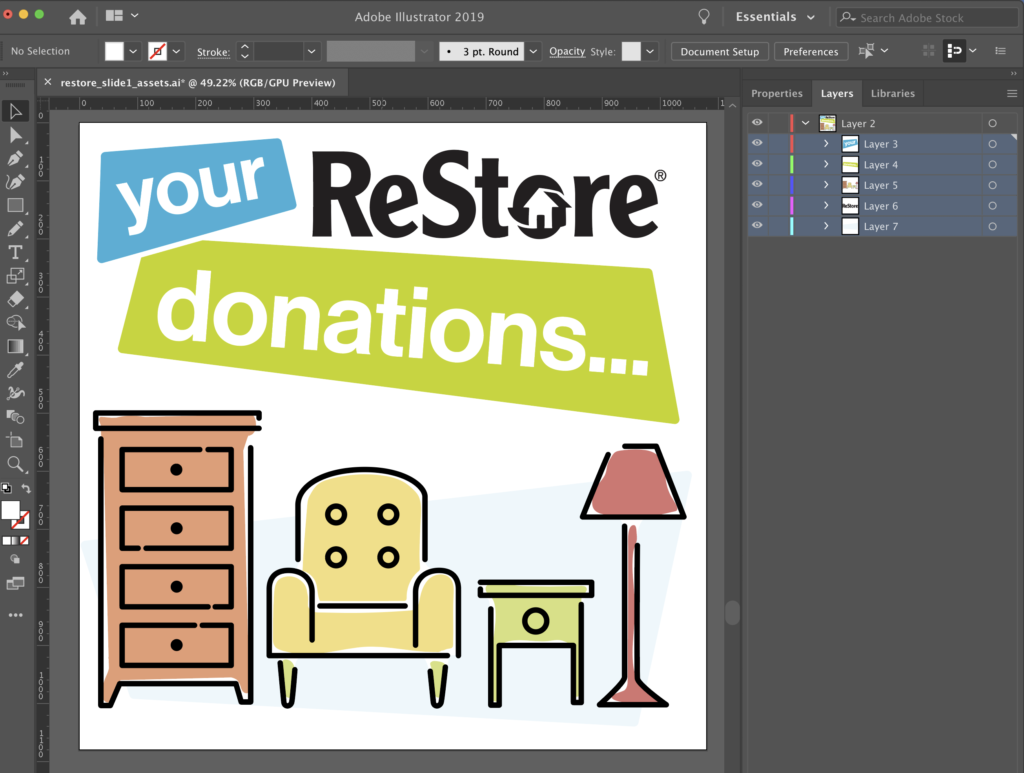
Turn sublayers into layers
Create a new Illustrator file the same size as your final video (1920×1080? 1080×1080?)
Copy and paste the elements from your first artboard comp to the new document.
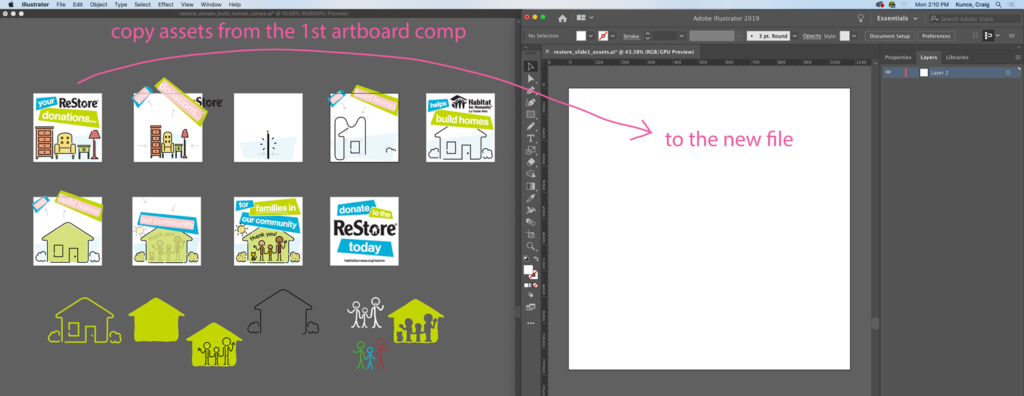
Mine looked like this
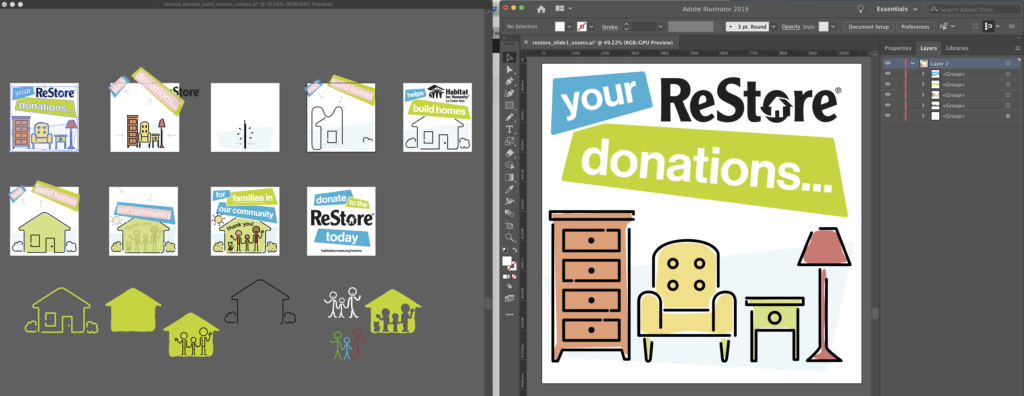
In your new file, with the main layer highlighted, choose Release to Layers (Sequence) in the Layers palette flyout menu
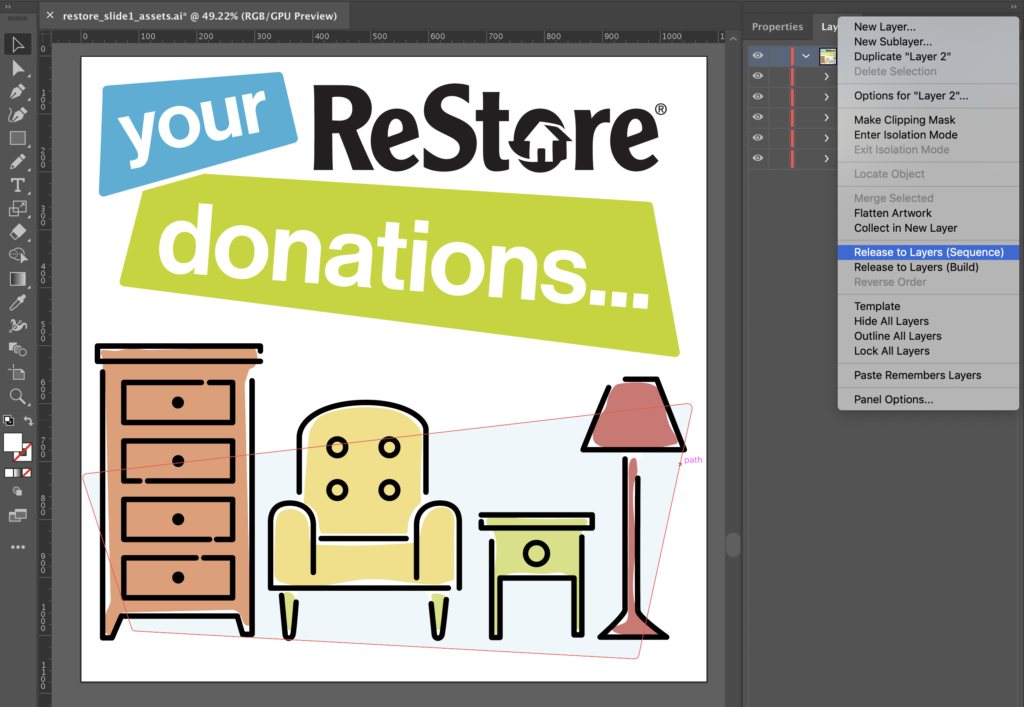
This releases your sublayers to be Layers. Like below. Notice the name changed from <group> to Layer.
Next, select all newly created layers and drag them into the gray open area below all the other layers in the layer palette.
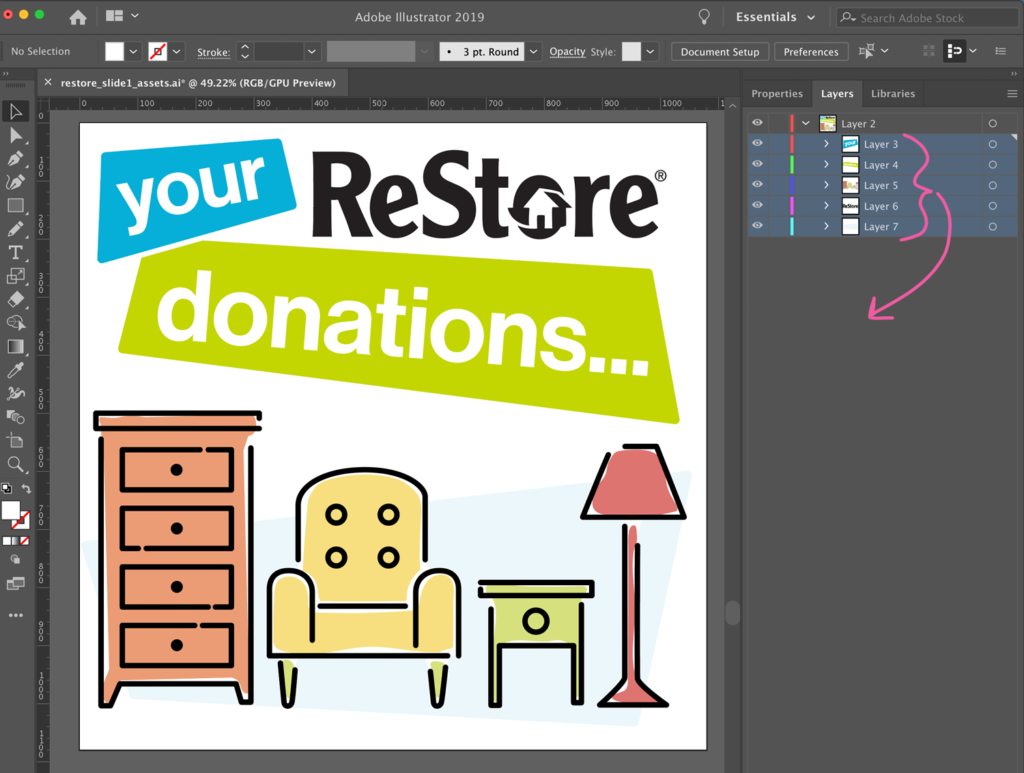
Feel free to delete the extra layer at the top. It’s what used to house your layers before.
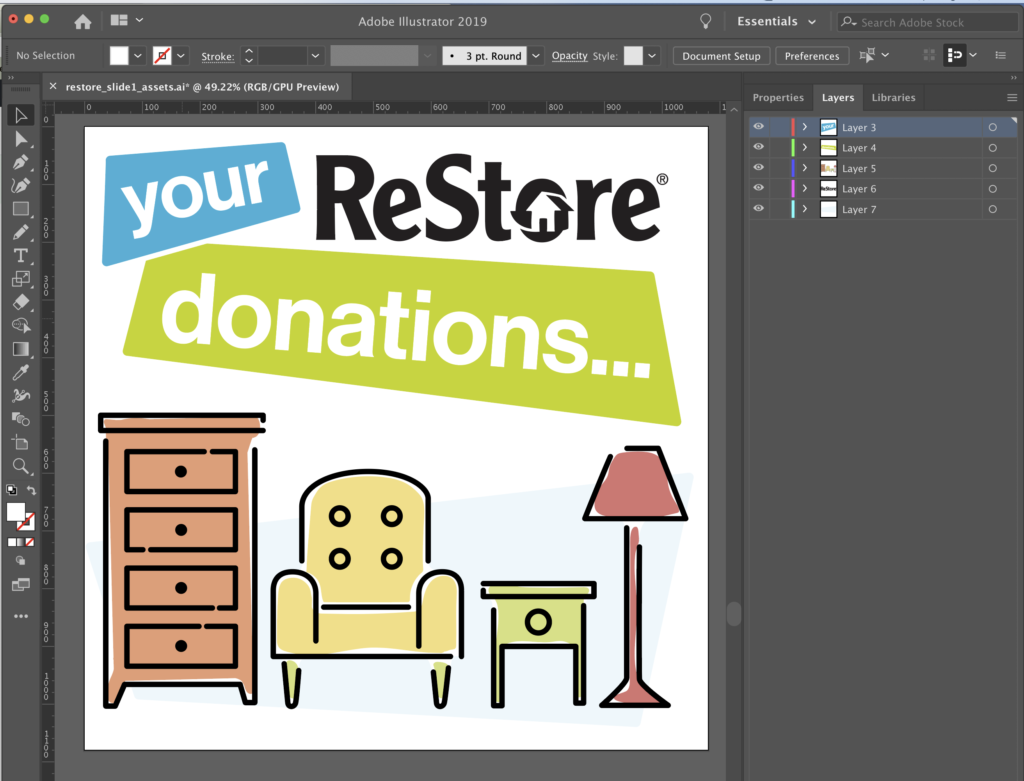
Continue releasing your sublayers until you have all the main assets on separate Layers. Your design and animation intentions will determine which assets need to be on their own separate Layers.
For example—the word your and the blue trapezoid behind it are grouped in a separate layer because I intend to animate them together.
In order to keep things organized, let’s deal with one comp layer at a time.
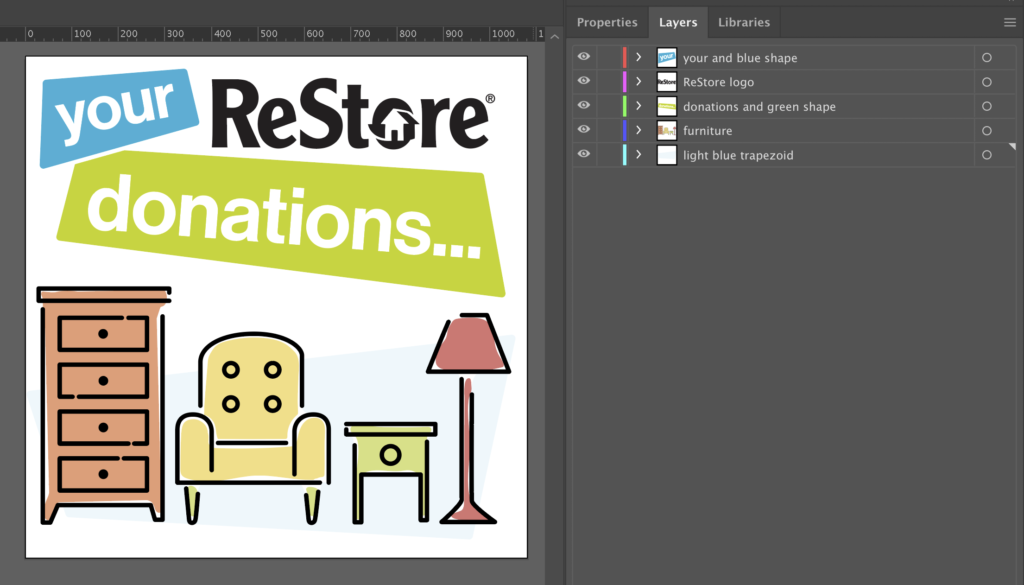
Name and order your layers
The next important step is to name all your layers and order them based on how they will be used in After Effects.
Since I took the time to properly group my assets together on my comp artboards they are pretty much ready to go. I renamed them so I can identify them after they are imported into After Effects.
Here’s my first artboard comp and how the layers are named and organized:
Continue copying and pasting the remaining artboard comps into your new file.
TIP: Make a new artboard at the bottom of the Layers list before you paste a new artboard comp’s assets.
Then, release the layers, name them and order them appropriately.
My final file and layers looked like this:
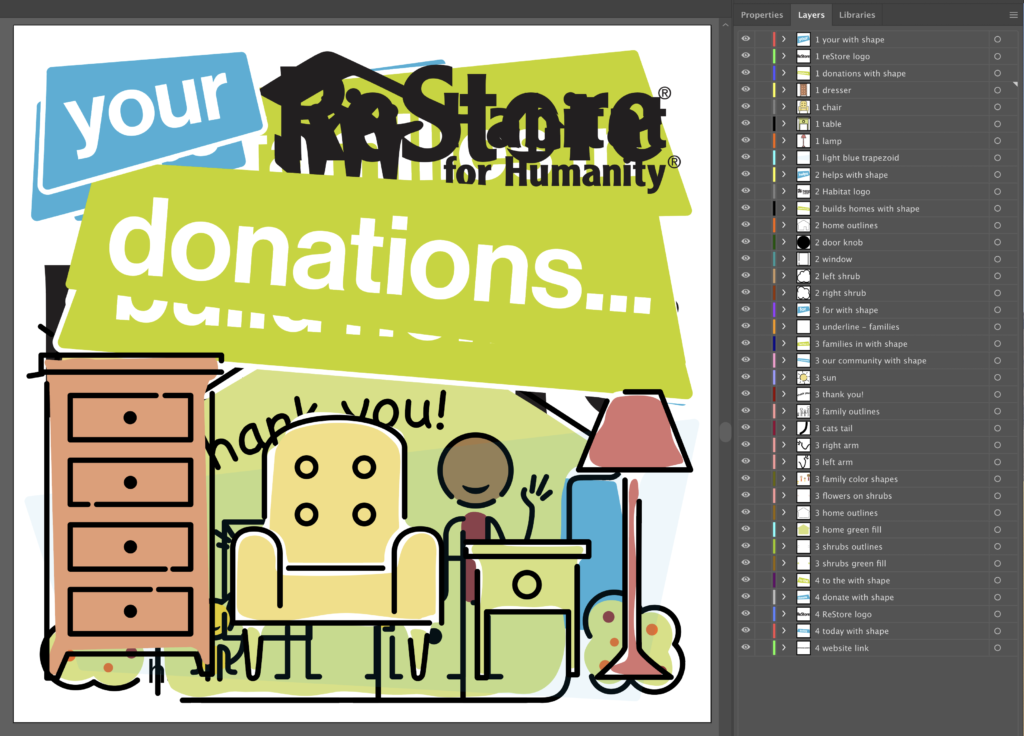
Notice I named the layers starting with a 1, 2, 3, or 4, depending on the artboard comp they were from. This will help me easily identify them in After Effects.
Isolate paths and assets based on your animation plans
Be sure to release your assets to layers to match your animation plans. I want to make the hands wave so I put them on a separate layer. Same with the cat’s tail.
Also, notice that I made separate layers from the black outlines of the home and family members. I plan to animate these separately in After Effects.
Next, we’ll import the layered Illustrator file into After Effects and begin to animate it.