This After Effects tutorial will show you how to plan for, concept, and create a thirty-second square marketing video. We’ll concept in Photoshop, animate/create your video in After Effects, and render (export) your final .mp4 video in Adobe Media Encoder.
Read through this entire tutorial and learn how I created the apple orchard video example shown below. Then, you’ll choose your own client/product and create your own 30-second video.
You do not have to create the apple orchard video before you begin yours. It’s okay to review this page, watch the videos, and then jump right into creating your video.
Download the apple orchard video files to complete the video along with me in class:
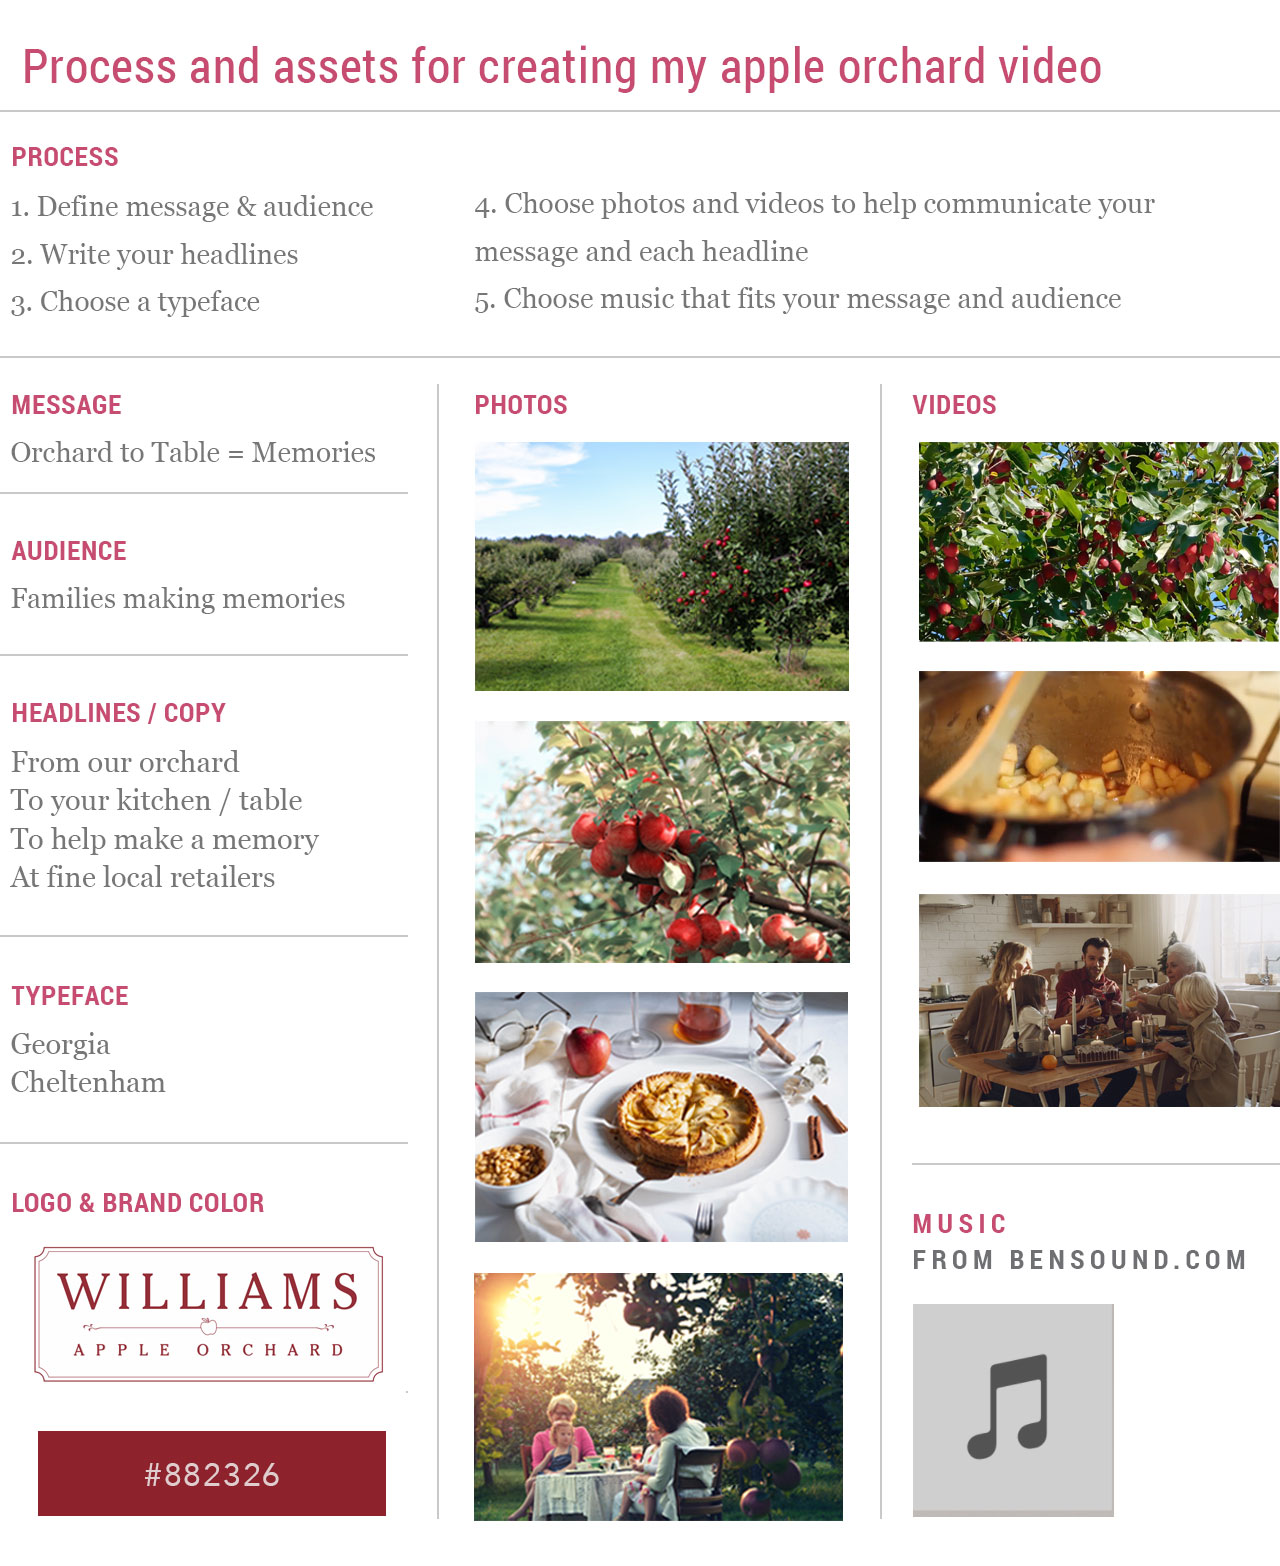
My Process
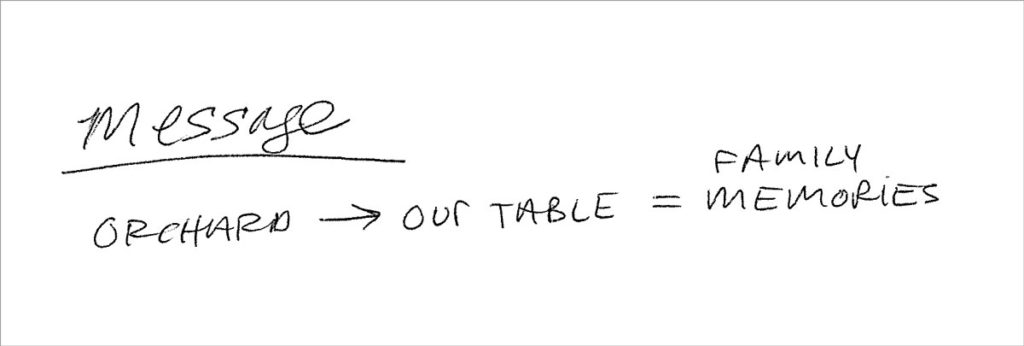
Message
Write down your marketing message. 3–5 words max.
What are you trying to communicate to your audience with your marketing video?
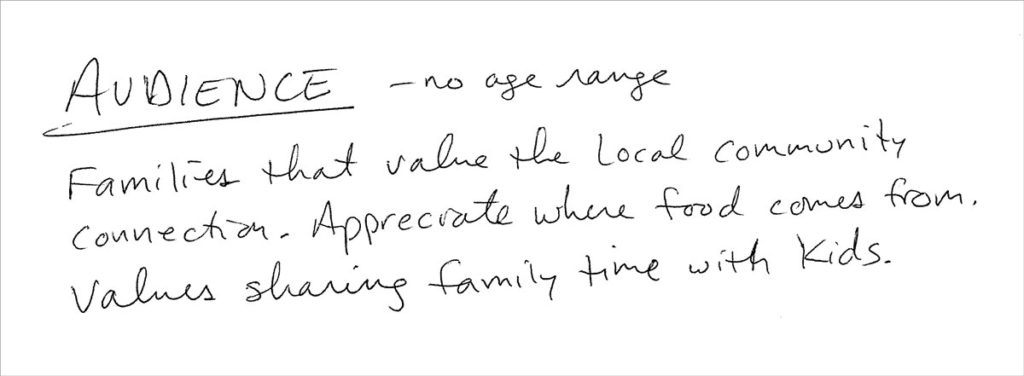
Audience
Write down a few characteristics that describe your audience. Age range, hobbies, job, family, beliefs, values, location, living situations, smartphone users, etc.
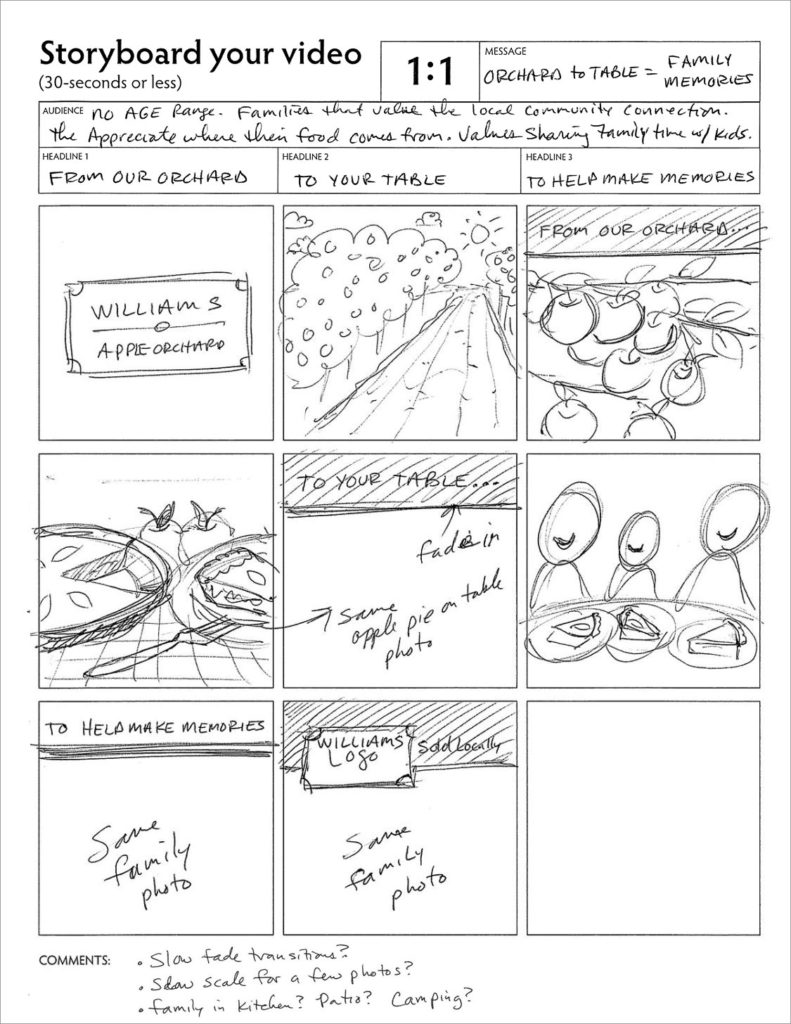
Storyboard your story
Write three headlines that tell your story and communicate your message. Make each headline 3–5 words long. These three headlines will be the foundation of your video.
My three headlines
1. From our orchard
2. To your table
3. To help make memories
Next, sketch how you would tell your story (communicate your message) with type, colors, art/photos, and layout.
Gather your assets
Wherever possible, you can use your own illustrations, photos, videos, and sound clips.
Free Photos
Find one photo to represent each headline. If you want the fourth photo for an introduction that’s fine.
Make sure each photo is copyright free and large enough for your needs. Get your photos from unsplash.com, pexels.com, pixabay.com.
Free Video Clips
Get your free video clips from pexels.com or pixabay.com
Free Music Clips
Find a sound file to go with your video. Get them from bensound.com
Brand Standards
You’ll also need a vector logo, brand colors, and typefaces.
Keep the original files/photos for ALL your assets. You’ll need them when you animate your video.
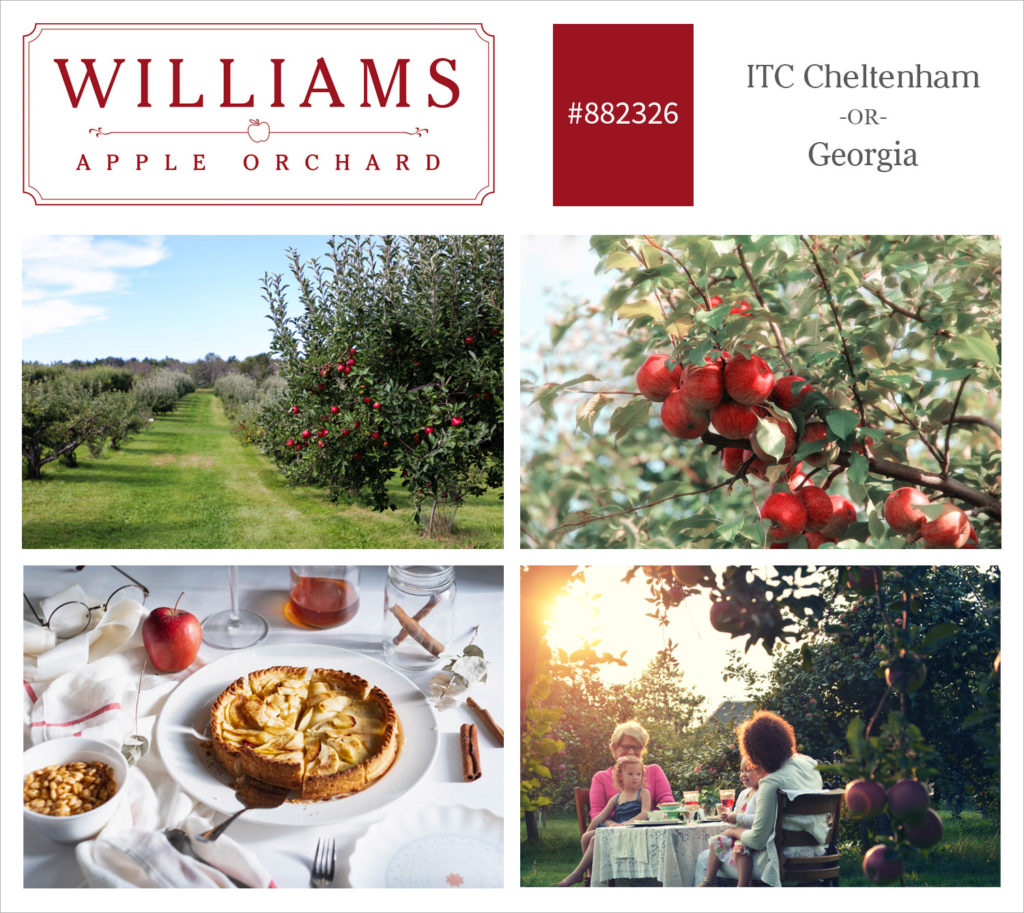
Storyboard in Photoshop or Illustrator
Open Photoshop or Illustrator and create a document 1080×1080 pixels, RGB, 72ppi.
Create a slide for each scene in your storyboard sketch. These should be high-resolution, buffed-out, developed, and look just like your final.

Animate in After Effects
The video tutorial below shows my exact workflow in After Effects while creating the sample Williams Orchard square video. It’s about thirty minutes long.
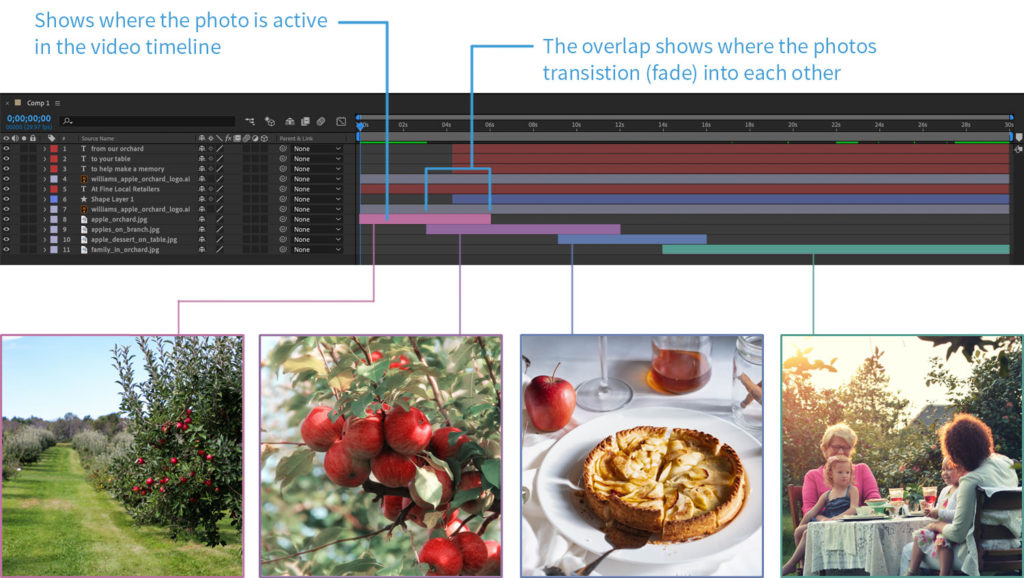
Timeline Visual
This timeline visual helps to illustrate how I began. I first divided the thirty seconds into three or four parts. These parts will each hold a headline and photo.
Here’s how my timeline looked:
My Full Workflow Tutorial
Here’s a full 30+ minute video (in three parts) of me animating this project from start to finish. Follow it and replay it as many times as you need to understand it and the workflow. I show you and narrate each step with helpful comments and tips along the way.
PART 1
(16:00 minutes)
PART 2
(18:00 minutes)
ADD SOUND
(1:00 minute)
One extra video to add a sound file (I forgot to do it in the first tutorial video)
More Helpful After Effects Tutorials
Mask a video with a custom-shaped vector mask in After Effects (3:37)
A second introduction to vector drawing in After Effects (11:31)
Vector drawings from Illustrator into After Effects (4:58)
Brighten or Darken a Video (1:52)
Change a color video to black and white (1:55)
Make a Transparent Gradient (6:05)
These six minutes are copied from the full workflow video above
Draw and Alter Custom Vector Shapes (7:47)
These seven minutes are copied from the full workflow video above
After Effects – Timeline and Keyframe Tips & Tricks (5:07)
Another Helpful Tip: Link Lost Footage (4:18)
(A common problem in After Effects)
Speed up or slow down video (2:35)
How to play a video backward (and forward again) (1:37)
(Optional) Review Beginner Tutorial Videos from Design Fundamentals
If you want to review the beginner tutorial videos I use for Design Fundamentals class you can here. It shows some of the same things but I go a bit slower and the review might be helpful. I know some of you are at different levels of proficiency with After Effects.
(Optional) If you’re interested, you can watch more After Effects tutorial videos on my YouTube channel. I have 25+ After Effects videos to learn from.
Render your final video in Adobe Media Encoder
In order to use your final video, or upload it to YouTube as most people do, you have to render it into a commonly used format. This last step compiles all your type, shapes, drawings, photos, sound, videos, and effects and makes your final video. We will render a .mp4 format that you can use almost anywhere.
My final Media Encoder settings
To render:
- Open your final, completed video in After Effects
- File > Export > Add To Adobe Media Encoder Que…
- Be patient, this may take a few seconds.
- This window (inside of Adobe Media Encoder) will open:

- In the upper right pane, make sure H.264 is selected
- Under Preset, select Match Source – High Bitrate
- Then click on Match Source – High Bitrate
- The window below will pop up. Enter or double-check the settings marked below.
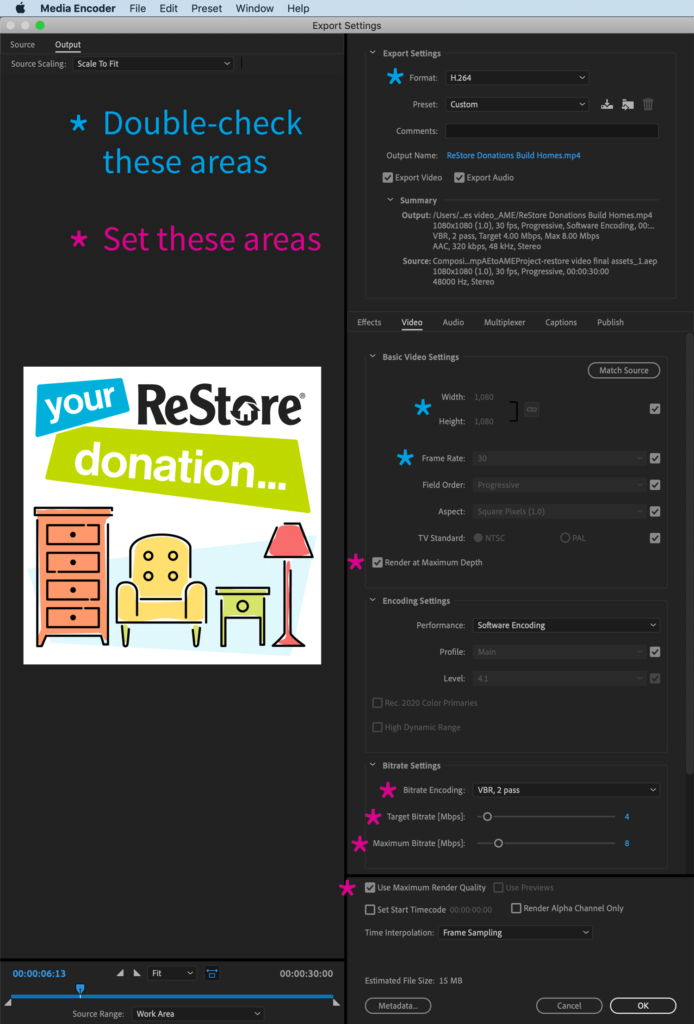
Next, click on the blue type under Output File and name your final video and tell it where to save it.
Lastly, click the little green play arrow to render your video.
View the completed video
Swap the photos with video clips
Let’s say that your client decided that while they liked your video with photos, they’d prefer to see videos instead. So you head over to pexels.com or pixabay.com and find three apple video clips that will still communicate your message while telling your story. I found three video clips for us to use.
TUTORIAL: Swap a Photo with a New Video in After Effects
(10:50 minutes)
This tutorial video shows how to swap a static photo with a more dynamic-looking video. We’ll apply the same opacity transitions to the video that we did to the photos.
TUTORIAL: How to add a video and clip it into several shorter videos
(18:50 minutes)
This tutorial video shows how to clip a long video into several shorter videos in After Effects.
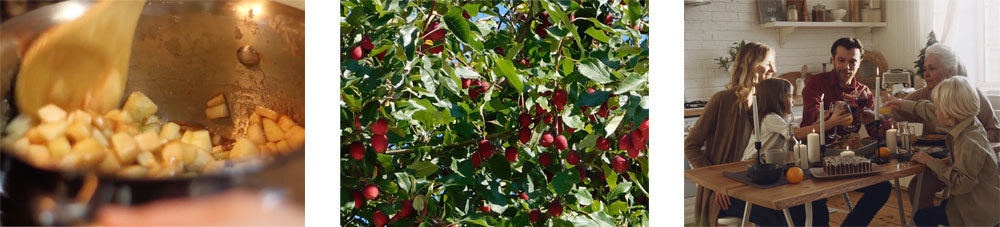
Here’s the new and improved video
Here’s what the updated video looks like. I also swapped the final photo of the family eating in the orchard with a video of a family eating around a table.
I think the videos look so much nicer. It gives the video a richer, deeper, more personal feel. I especially like the family interaction at the end.