Download my .ai Tutorial File
If needed, download this Adobe Illustrator tutorial file below. This is the same file you downloaded before during the layer prep tutorial.
OPTIONAL: Follow along with my tutorial videos and use the tutorial file (below) to do the same work yourself. Or, just watch these videos and then jump right in and create your own video or animation.
Import your layered Illustrator file into After Effects
In After Effects
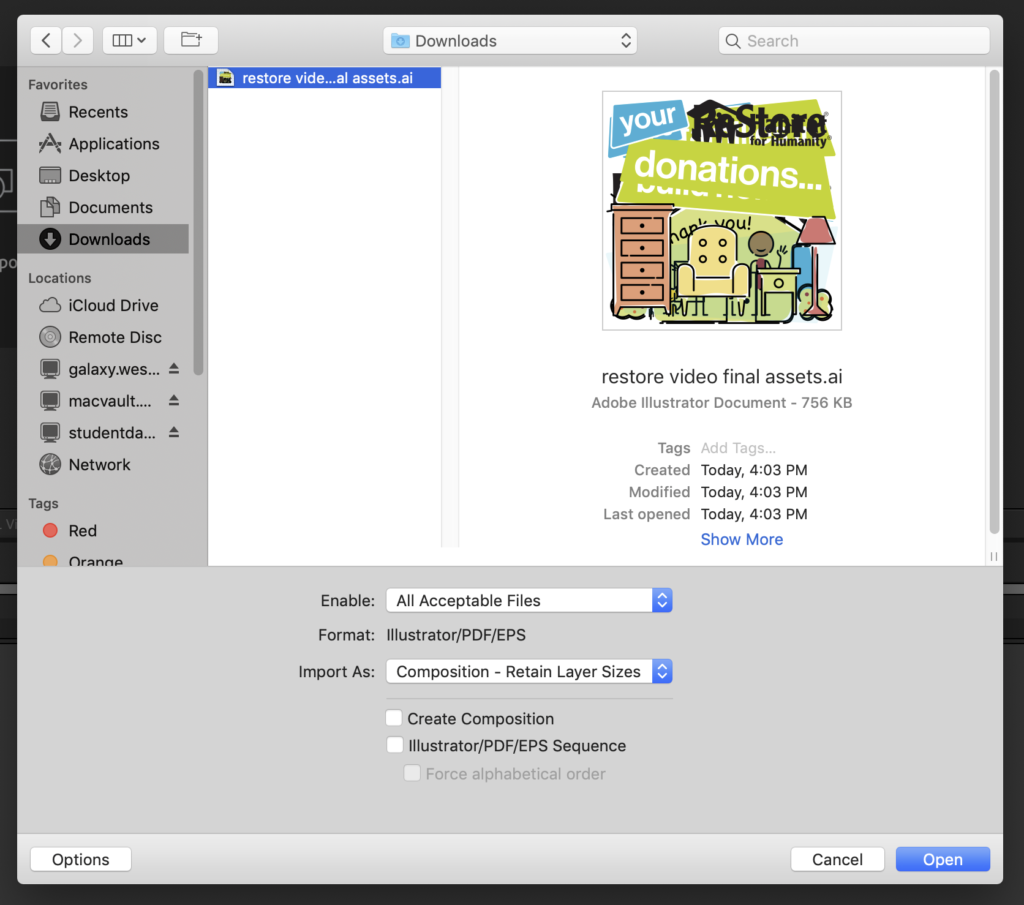
File > Import > File…
Choose your .ai file and use these settings:
Import As: Composition – Retain Layer Sizes
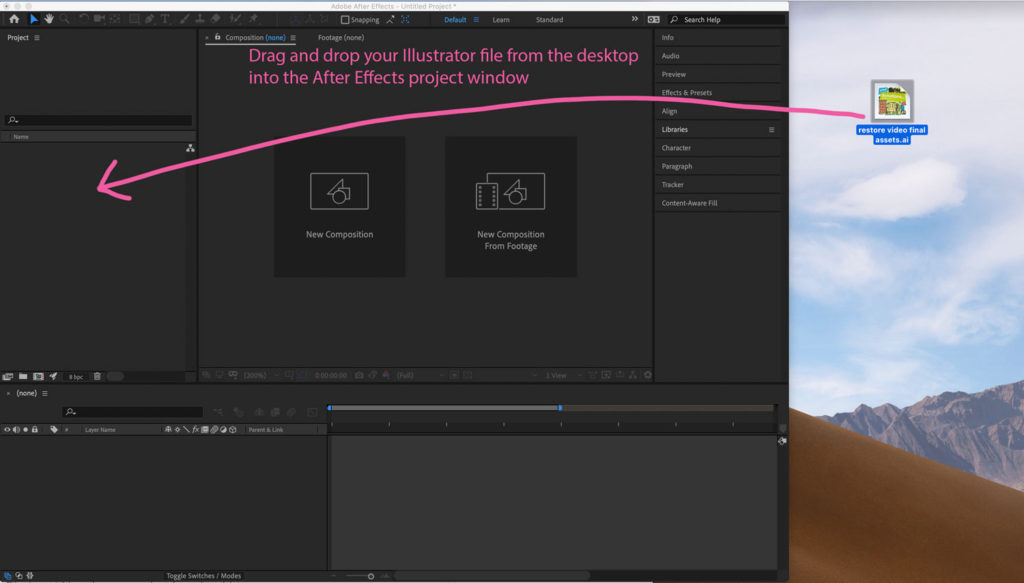
You can also drag your file into the After Effects project window. (I prefer this method)
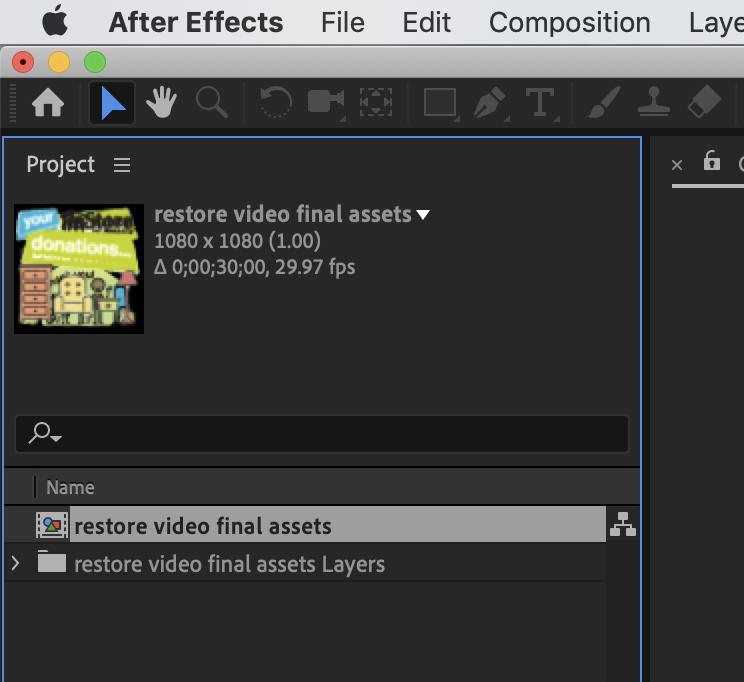
This window will pop up. Select Composition and Layer Size

Your project window will look like this:
Save your new After Effects file.
Add layers to the timeline
Since you already created a new composition when you imported your .ai file, simply double-click the composition file icon (not the folder) in your project window. This will add layers to the animation timeline. Like this:
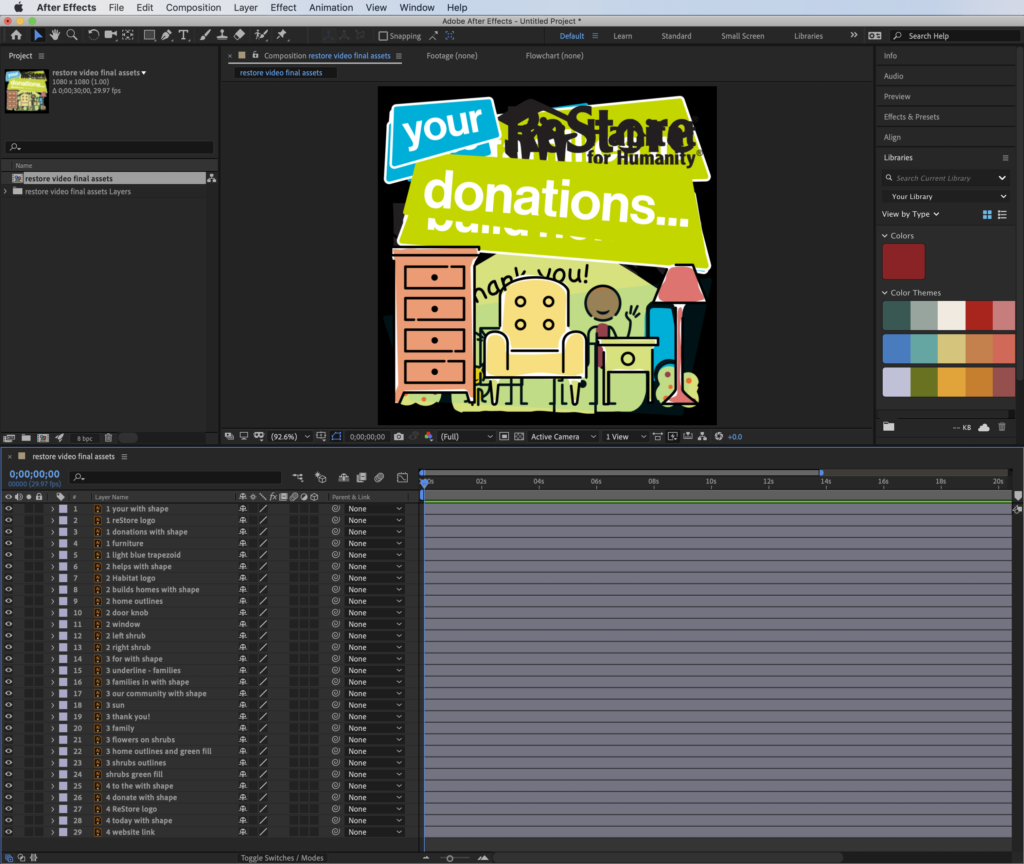
Notice how the layer names and order are maintained. All the time you spent prepping your layers and names was worth it.
Adding new Illustrator layers
(once you’ve imported your layered .ai file)
Sometimes, I need to add a layer or adjust my layers in my original Illustrator file and import those new layers. Here is the best way I’ve found to do this.
- File > Import Recent Footage > (select your current Illustrator file)
- Import Kind: Footage
- Layer Options – Choose Layer: (choose the layer you want to add)
- Footage Dimensions: Layer Size
- Okay
This will add a separate file to your Project panel. Drag it into the list of layers in your timeline. That’s it. Now you can animate the new layer.
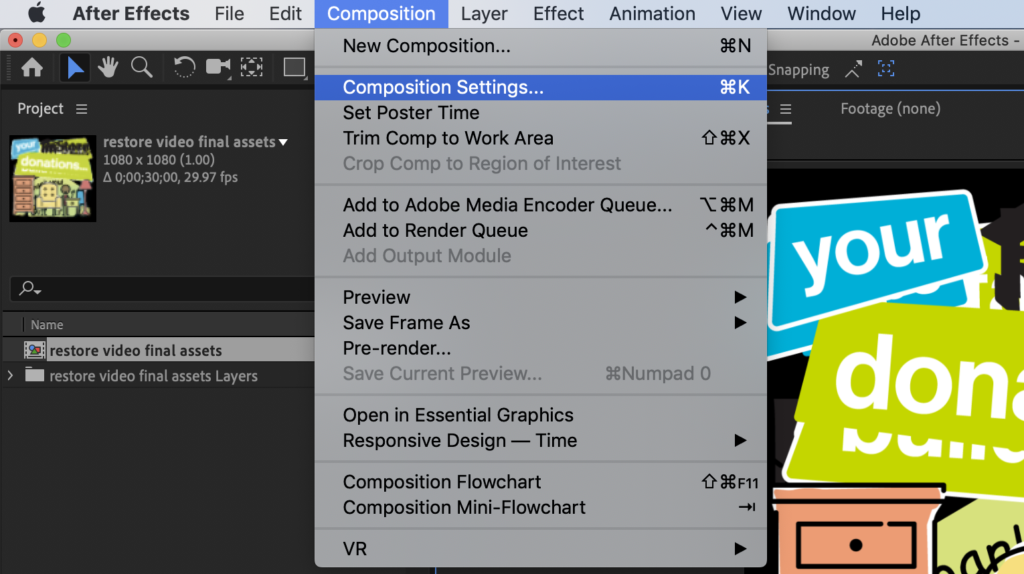
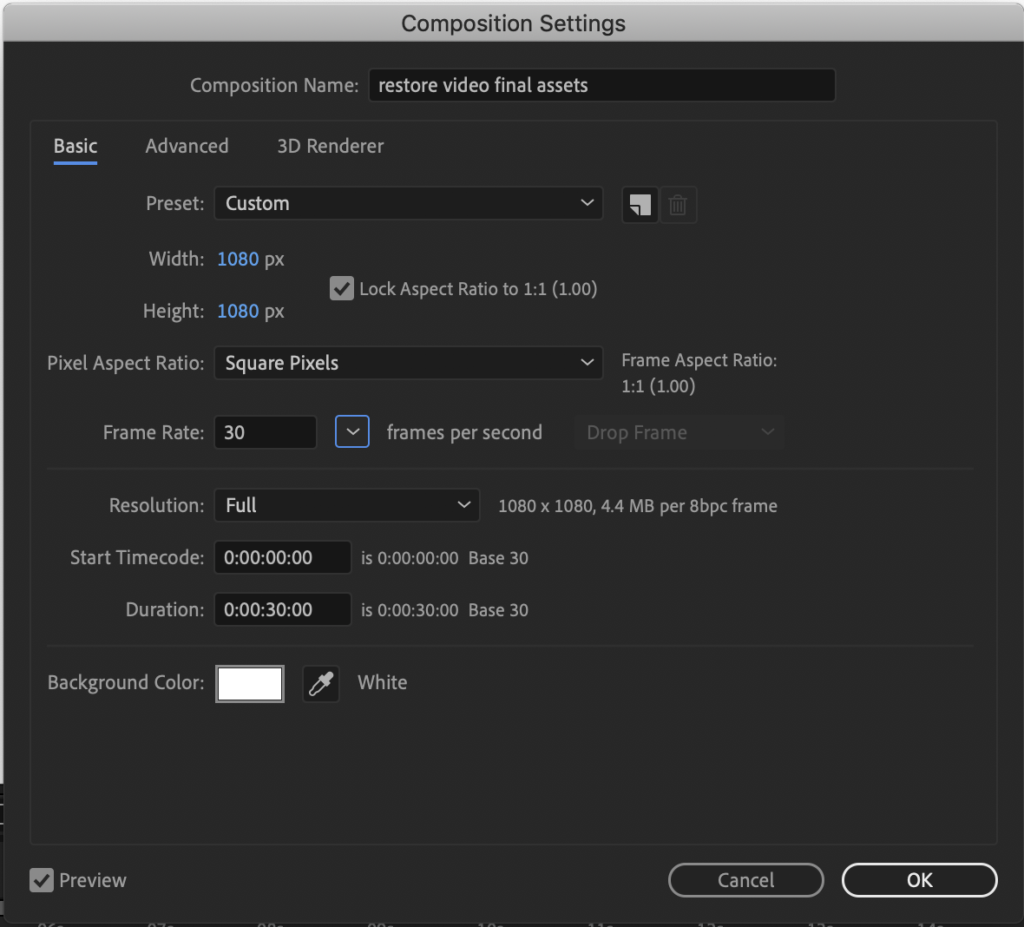
Set composition settings
Video Tutorials to give you new After Effects skills
These tutorials will walk you through part of my workflow for the ReStore and karate kick animations. These animations introduce you to vector animation, where you begin with a drawing in Illustrator, import it into After Effects, and then animate it.
Play these videos over as many times as you need to understand each effect.
Vector Animation Basics – Karate Kick
(41:07)
This tutorial shows the basics of vector animation. First, I’ll show how to import your vector animations from Adobe Illustrator into After Effects while preserving the Illustrator layers. Then, I’ll show parent & link, animation of individual vector anchor points, animating vector shapes and paths, and animating with skew.
Parent & Link Tool
(9:00)
This video shows how to use the parent link tool to move separate layers and objects together as one in your After Effects animations.
Puppet Pin Tool
(7:55)
This video shows how to use the puppet pin tool in After Effects to add bendiness and flexibility to your objects.
Rotate & Bounce an Object
(5:44)
This video shows how I rotated and bounced an object in After Effects.
Slide and Compress/Bounce an Object
(5:27)
This video shows how I slide and compress/bounce an object in After Effects.
Vector Drawing Basics
(11:31)
Draw an Animated Line
(10:30)
This video shows how I drew an animated line in After Effects.
Vector drawing from Illustrator into After Effects
(4:58)
Animate Handwriting
(5:19)
This tutorial shows how to animate handwriting in After Effects. I first drew the vector handwriting in Illustrator with a WACOM tablet and then imported that into After Effects to animate it.
Animate a Waving Hand
(6:00)
This video shows how to create an animated waving hand in After Effects
Timeline & Keyframe Tips & Tricks
(5:07)
This video will show you a few tips and tricks to speed up your animation in After Effects.
Make a Transparent Gradient
(6:05)
Draw and Alter Custom Vector Shapes
(7:47)
Relink Lost Footage
(4:18)
How to relink lost footage in After Effects (A common problem)
Speed up and slow down video
(2:35)
Typewriter Effect
(4:43)
This video shows how to add a typewriter effect to your text in After Effects.