This Photoshop tutorial covers:
- Merge several scanned image segments together
Tutorial: Photoshop – Photomerge Scanned Images
I use photomerge to piece together scans of large paintings that don’t fit in my scanner. It’s a neat trick that works quite well on most painting and artwork.
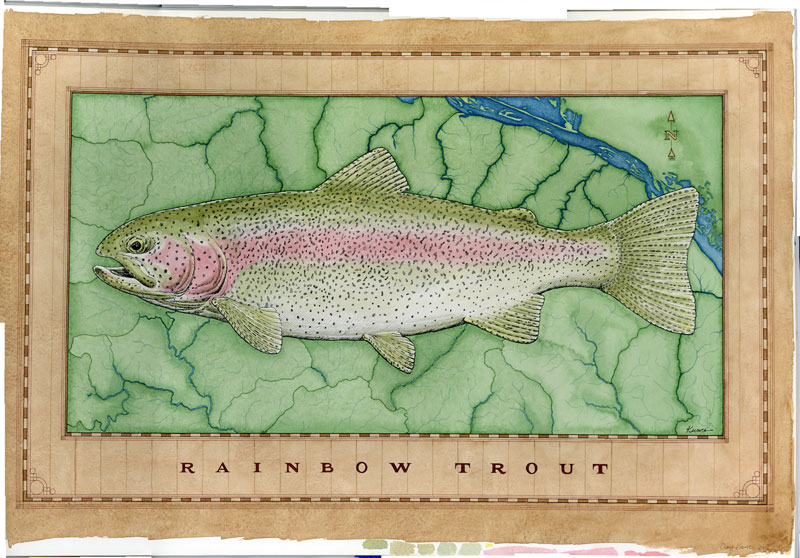
Here’s the original painting. It’s 20″ x 30″.
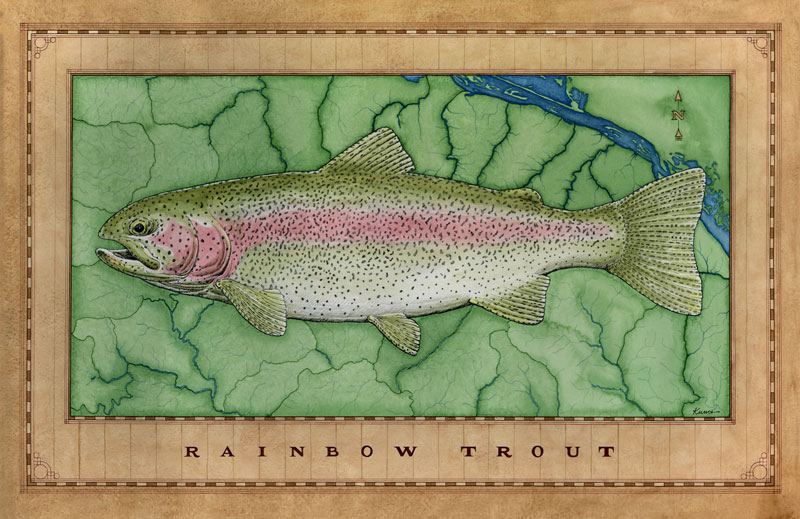
Here’s the process I used to scan it in and photomerge it into one large file:
1. Take the top off your scanner so your artwork can lay flat
2. Place your artwork on your scanner. I start with the top right corner and work my way across and they down and across again. This painting I scanned for this demonstration is 20″ x 30″. It took ten scans to cover the entire piece.
3. Make sure to overlap each scan by 1–3 inches. My scanner is the Epson Perfection V600 Photo. You may be worrying that the painting doesn’t touch the glass in the scanner. Worry not. This scanner can scan images hovering above the glass. It also scans 3D images if you want to. It works.
4. To ensure a quality print I scanned at 600ppi
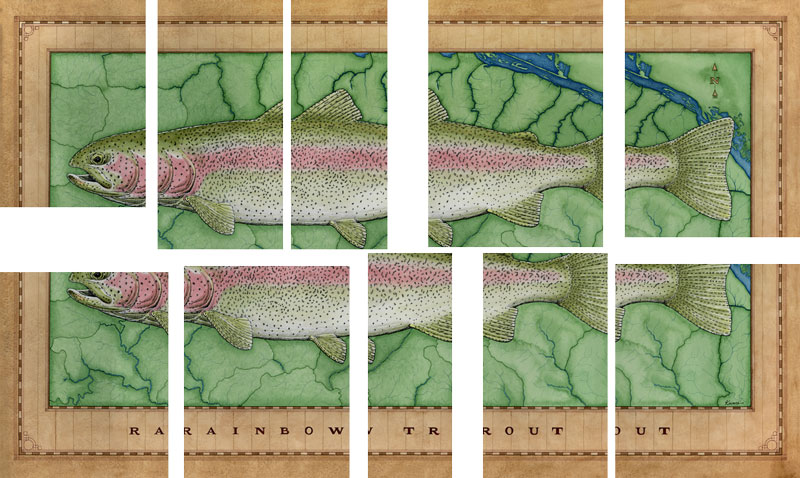
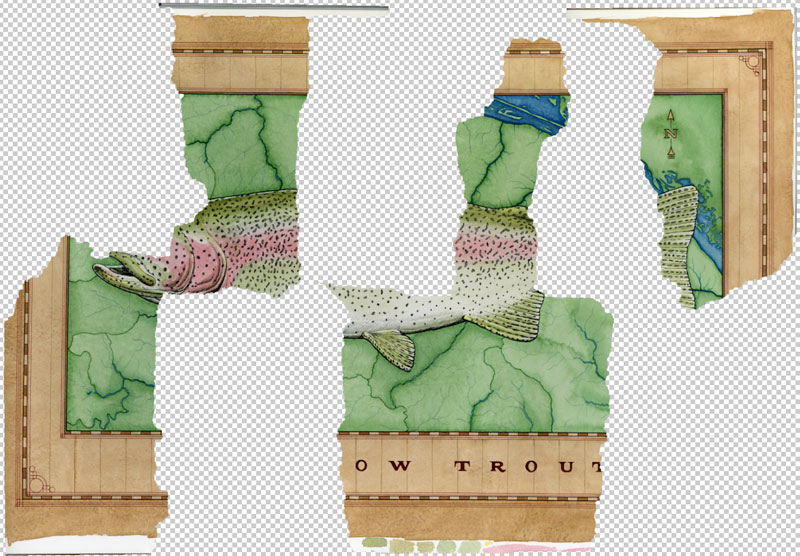
5. Here’s what my initial ten scans looked like
6. Next, I used Photomerge in Photoshop. File > Automate > Photomerge
7. I clicked Browse and selected all ten scans
8. Layout > Auto
9. I selected all four boxes were checked at the bottom: Blend Images Together, Vignette Removal, Geometric Distortion Correction, and
10. Click Okay
11. Photoshop processes the eight scans. This took 5–10 minutes.
12. After Photoshop merges the scans it creates a file that has ten layers and one layer with the final merged image
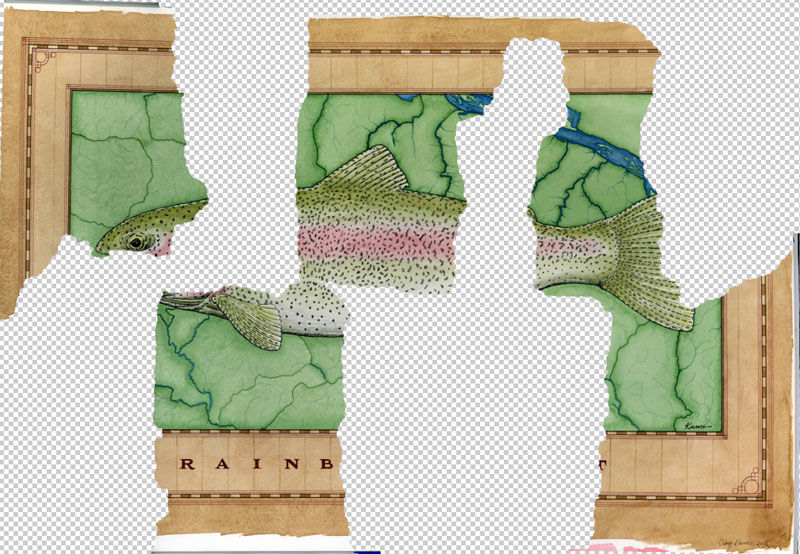
13. The ten layers look fairly odd. I’ve darkened five layers to show you how the merge divided up and merged the ten scans
14. Here’s what it looks like without the layers darkened

15. Here’s a closer look at the layers
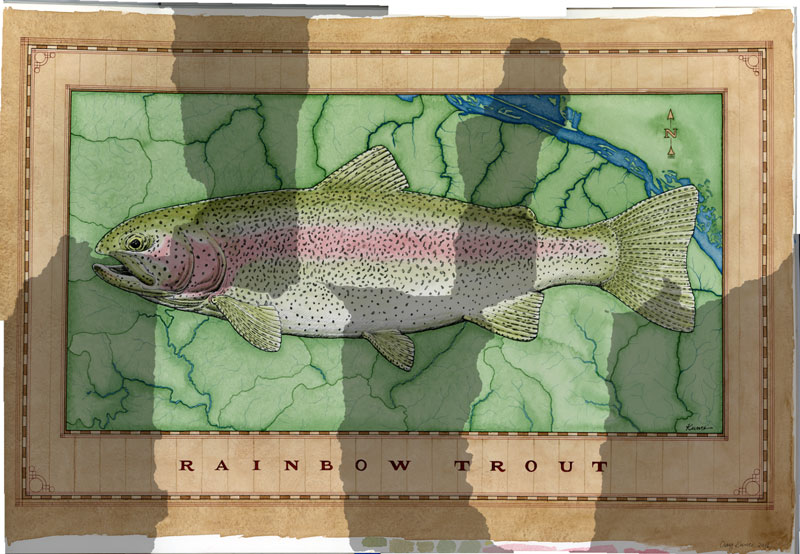
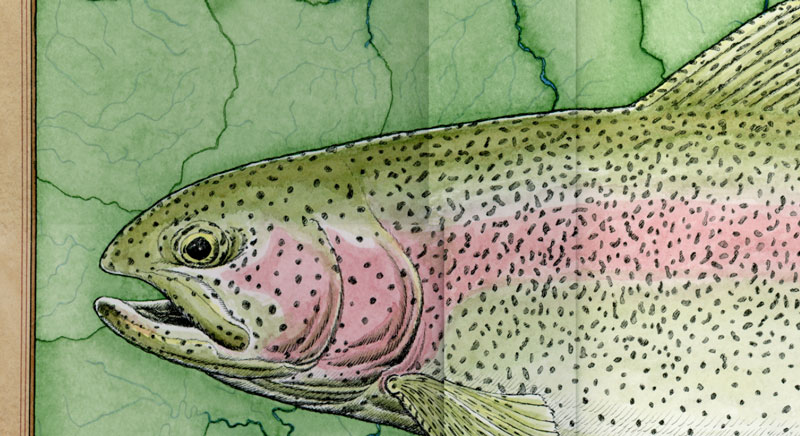
16. The process is truly remarkable. The scans really varied in color and shadows. Here’s an image showing the initial differences in the eight scans. Photoshop’s
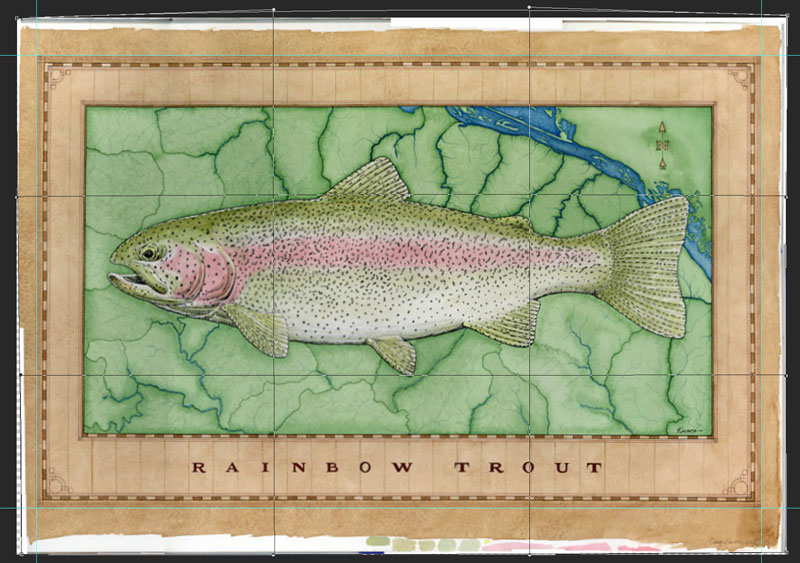
17. Here’s my final
18.
19. Here’s the final artwork after a few color corrections in camera raw. But that’s another tutorial.
