Overview
For this project, you will design one email marketing blast using the professional web app Mailchimp.com. Companies use email marketing blasts to reach customers directly with product and event announcements, sales, specials, educational information, how to use a product, and recipes.
I create my email blasts using Mail Chimp’s online web interface.
Grading checklist
- Design one email marketing blast on Mailchimp.com (create your own free account)
- You will choose from a product, service, or event you are passionate about. Make sure it’s class-appropriate.
- Deliver a focused message to a target audience in a well-designed visual form
- Get free photos on unsplash.com, pexels.com, pixabay.com, AI, or use your own.
- Use Mailchimp’s photo/image optimization tool to reduce your photo’s pixel size for web use
- Participate in class presentations and critiques
Email marketing best practices
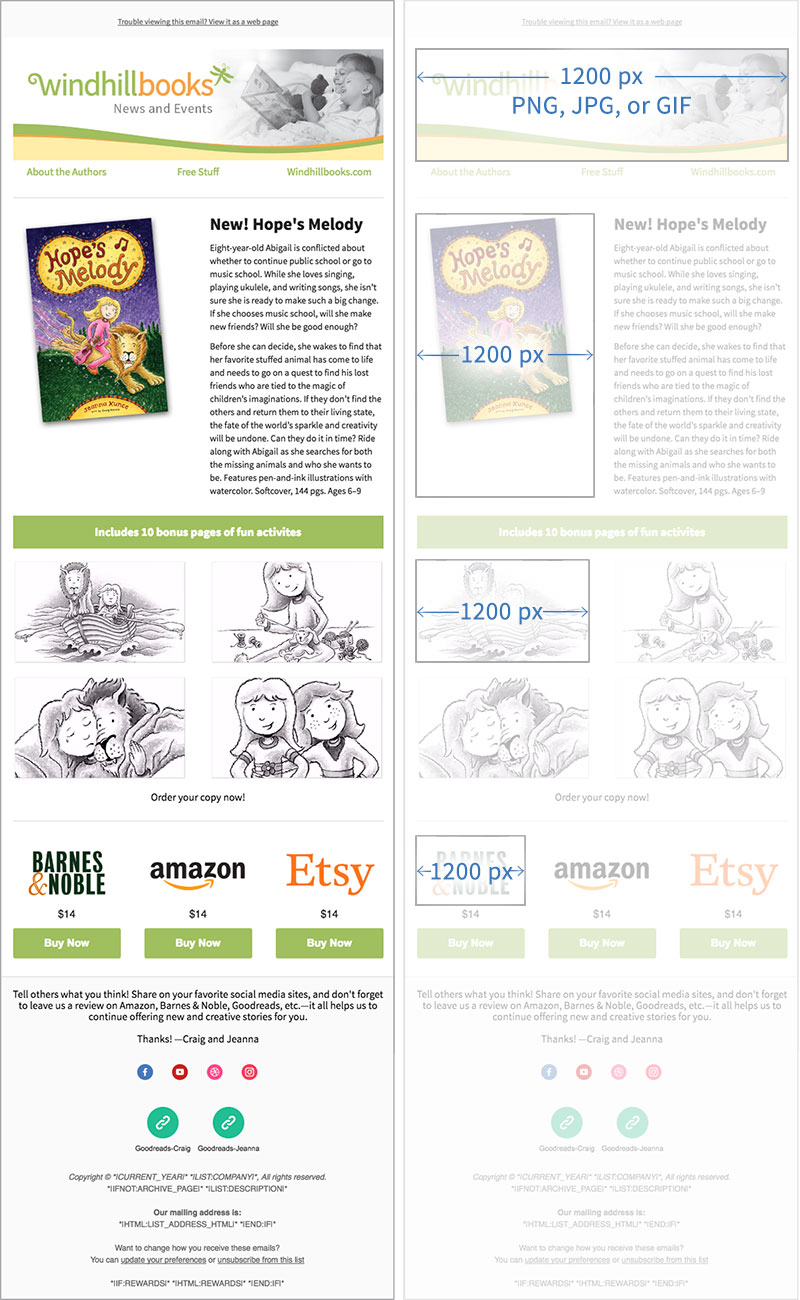
Make all images 1200 pixels, and MailChimp will automatically resize them for you.
This is helpful because you may use an image for a smaller block one time and a larger one the next time. You only have to store one image in MailChimp.
Use photos in their original high resolution. A 4000×3000 pixel photo is okay. If you shoot in RAW format, that might be too much—but you can always reduce the size in the MailChimp image editor (built into Mailchimp’s web-based interface).
Here’s a link to MailChimp’s Image Recommendations: https://mailchimp.com/help/image-requirements-for-templates/.
Email Best Practices
- Use a managed service like Mail Chimp or Constant Contact
- Focus on one main message per email blast
- Use buttons for call-to-actions
- Deliver the message before your call to action button
- Send one to two email per week
- Schedule to send when your recipient most needs it (food = dinner time)
- Why do people sign up for email newsletters?
- Want more info on the subject or topic
- Want a focused message delivered to them
- Sales, coupons, deals
Student Email Examples
Industry Email examples
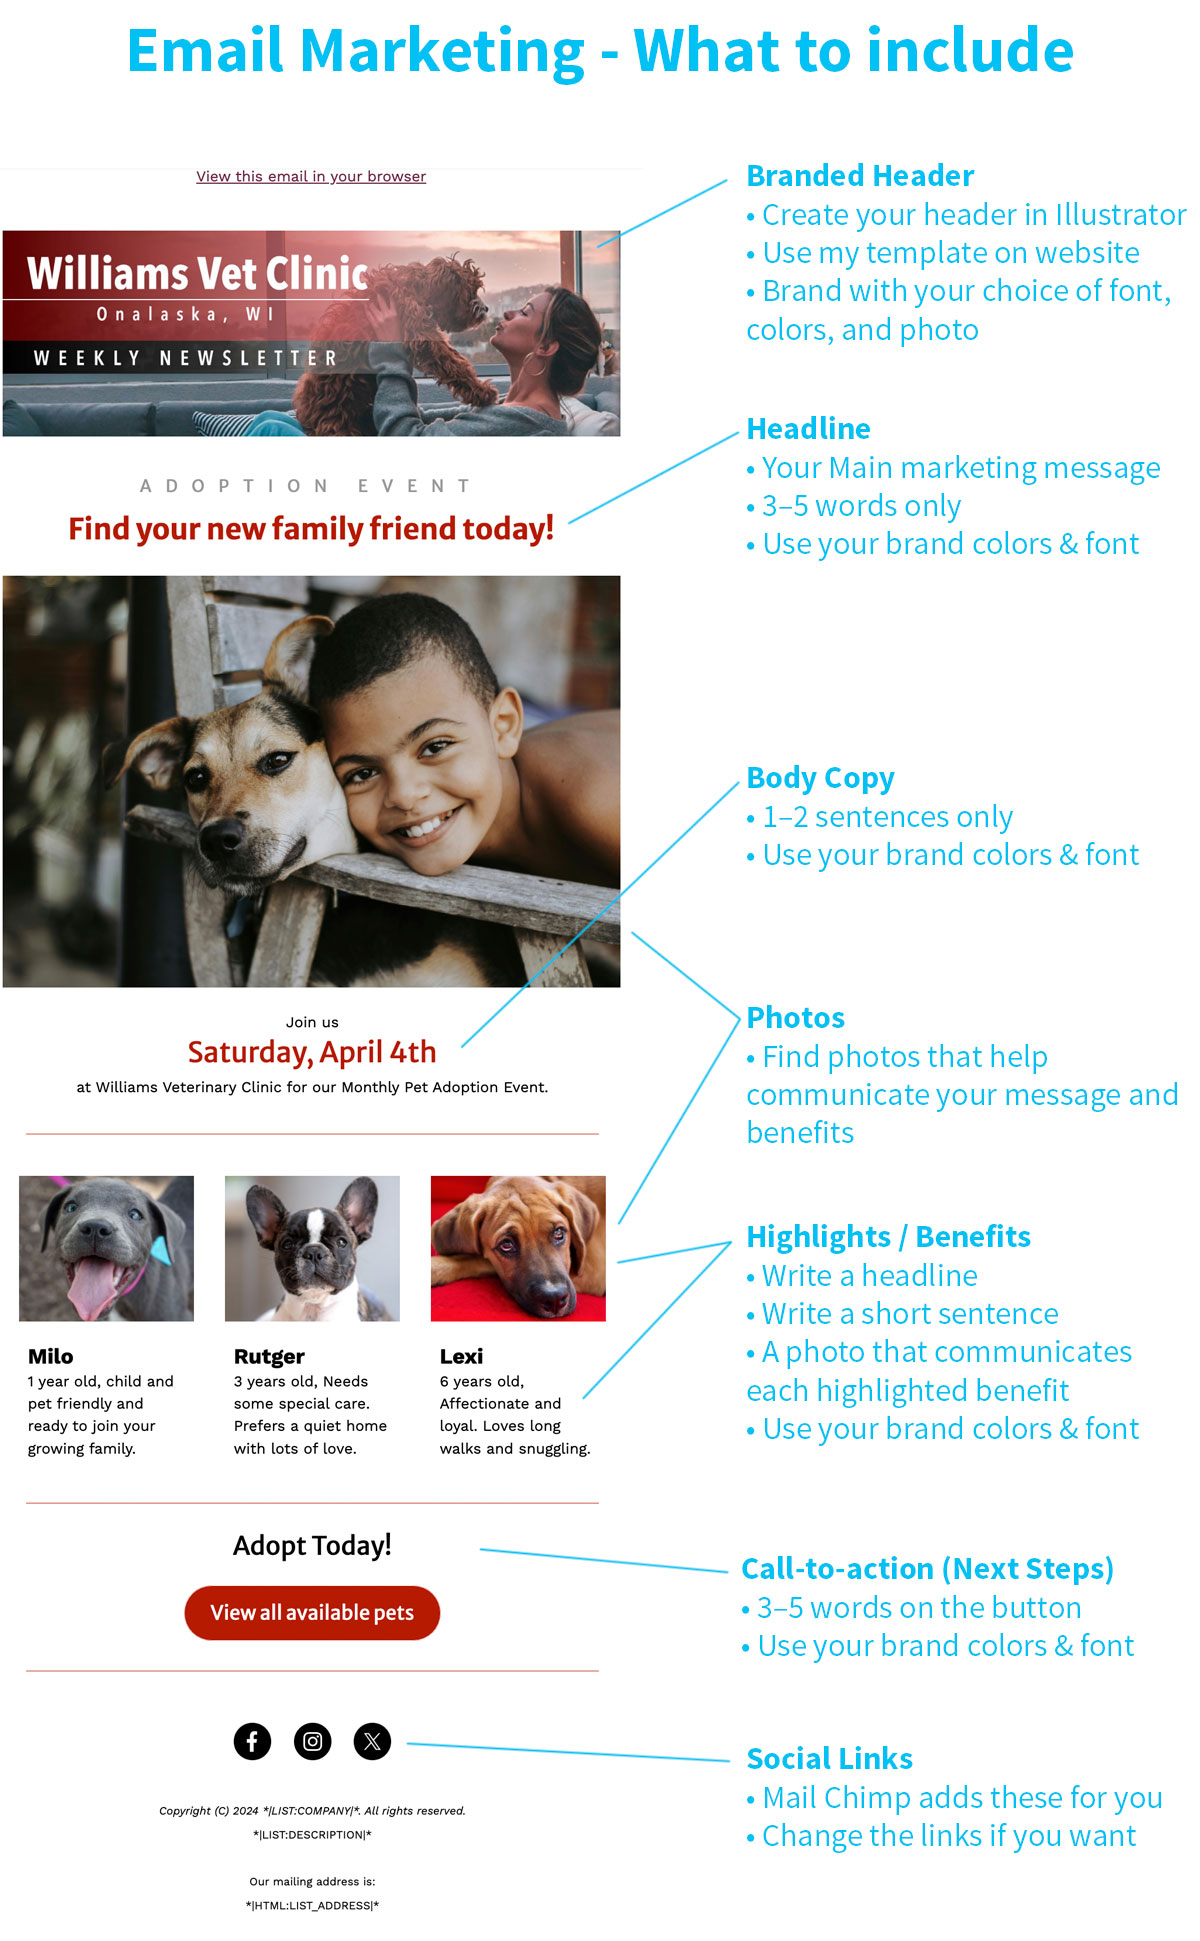
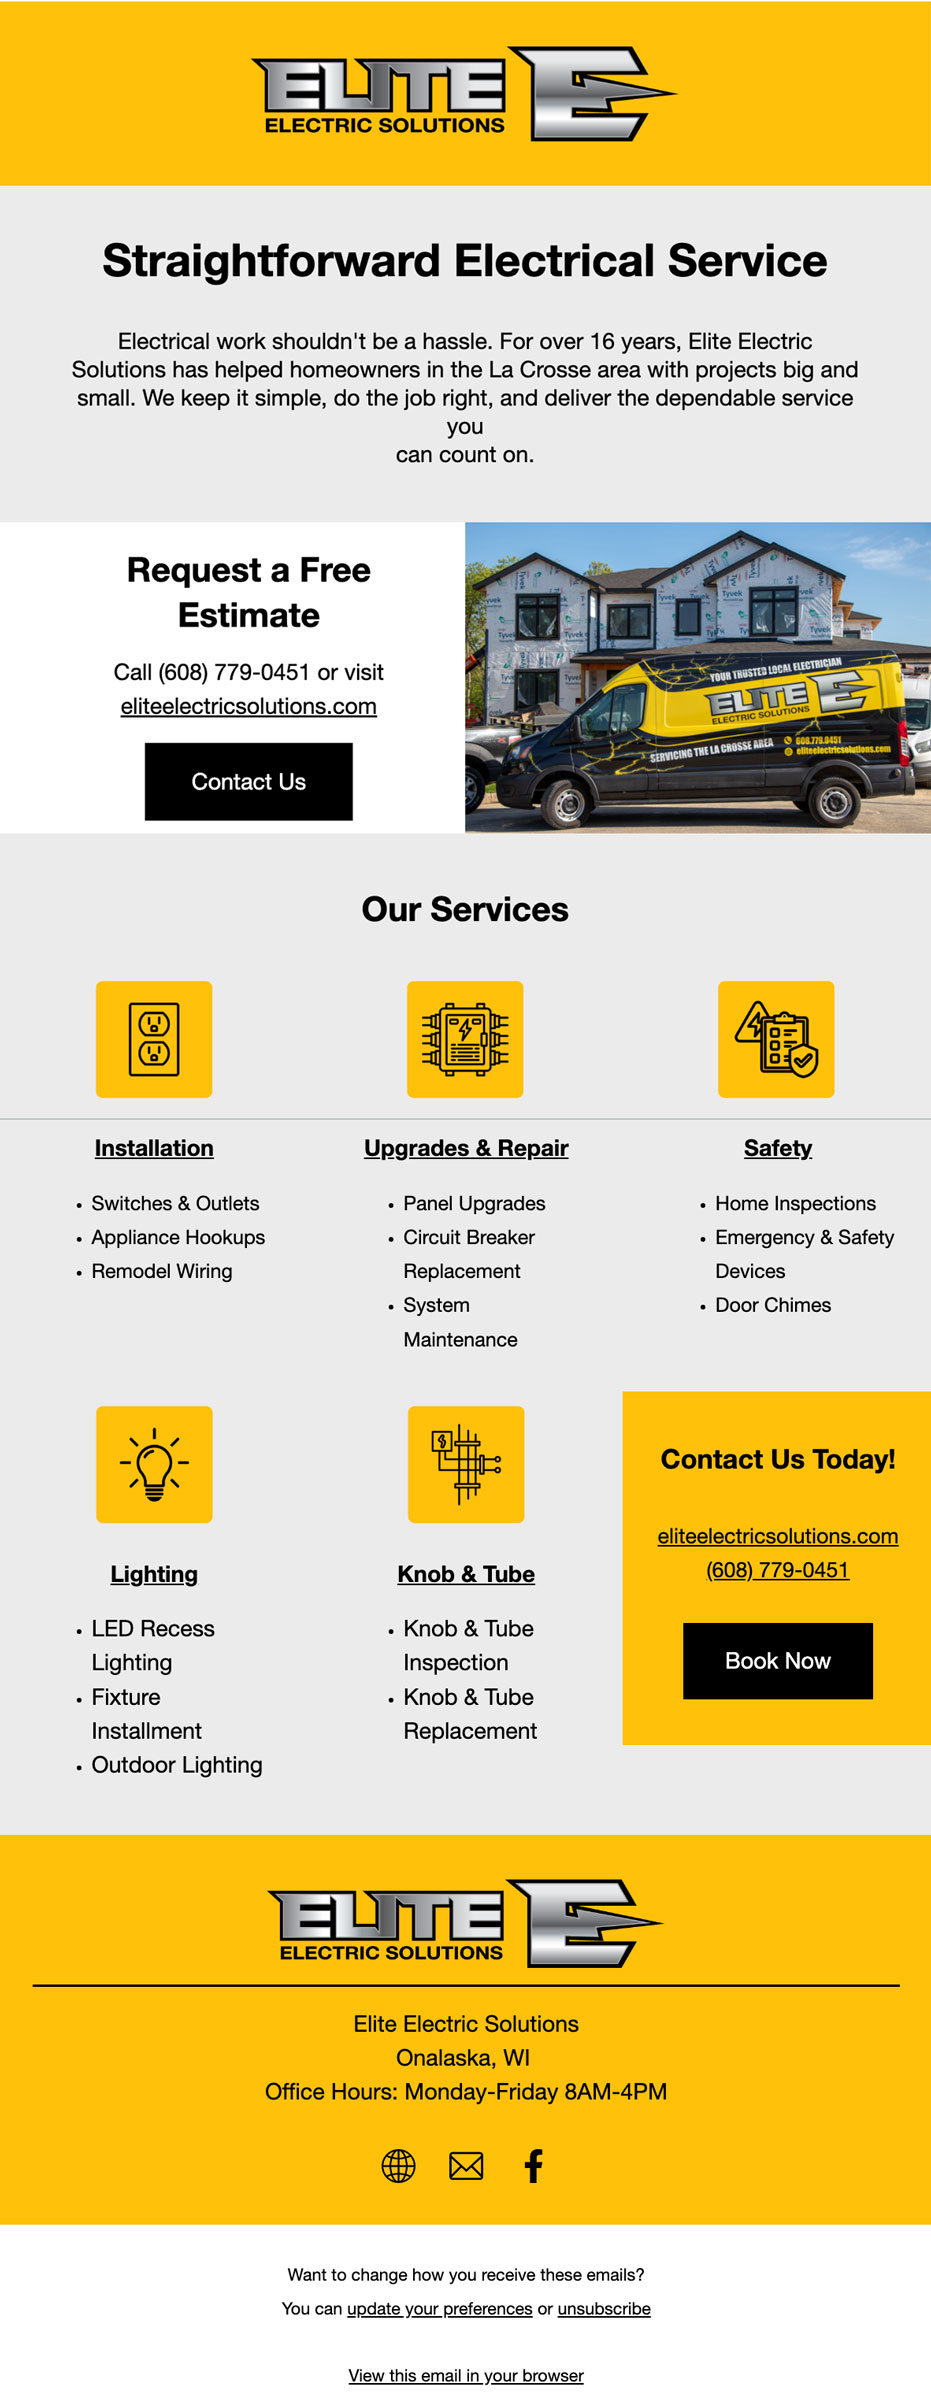
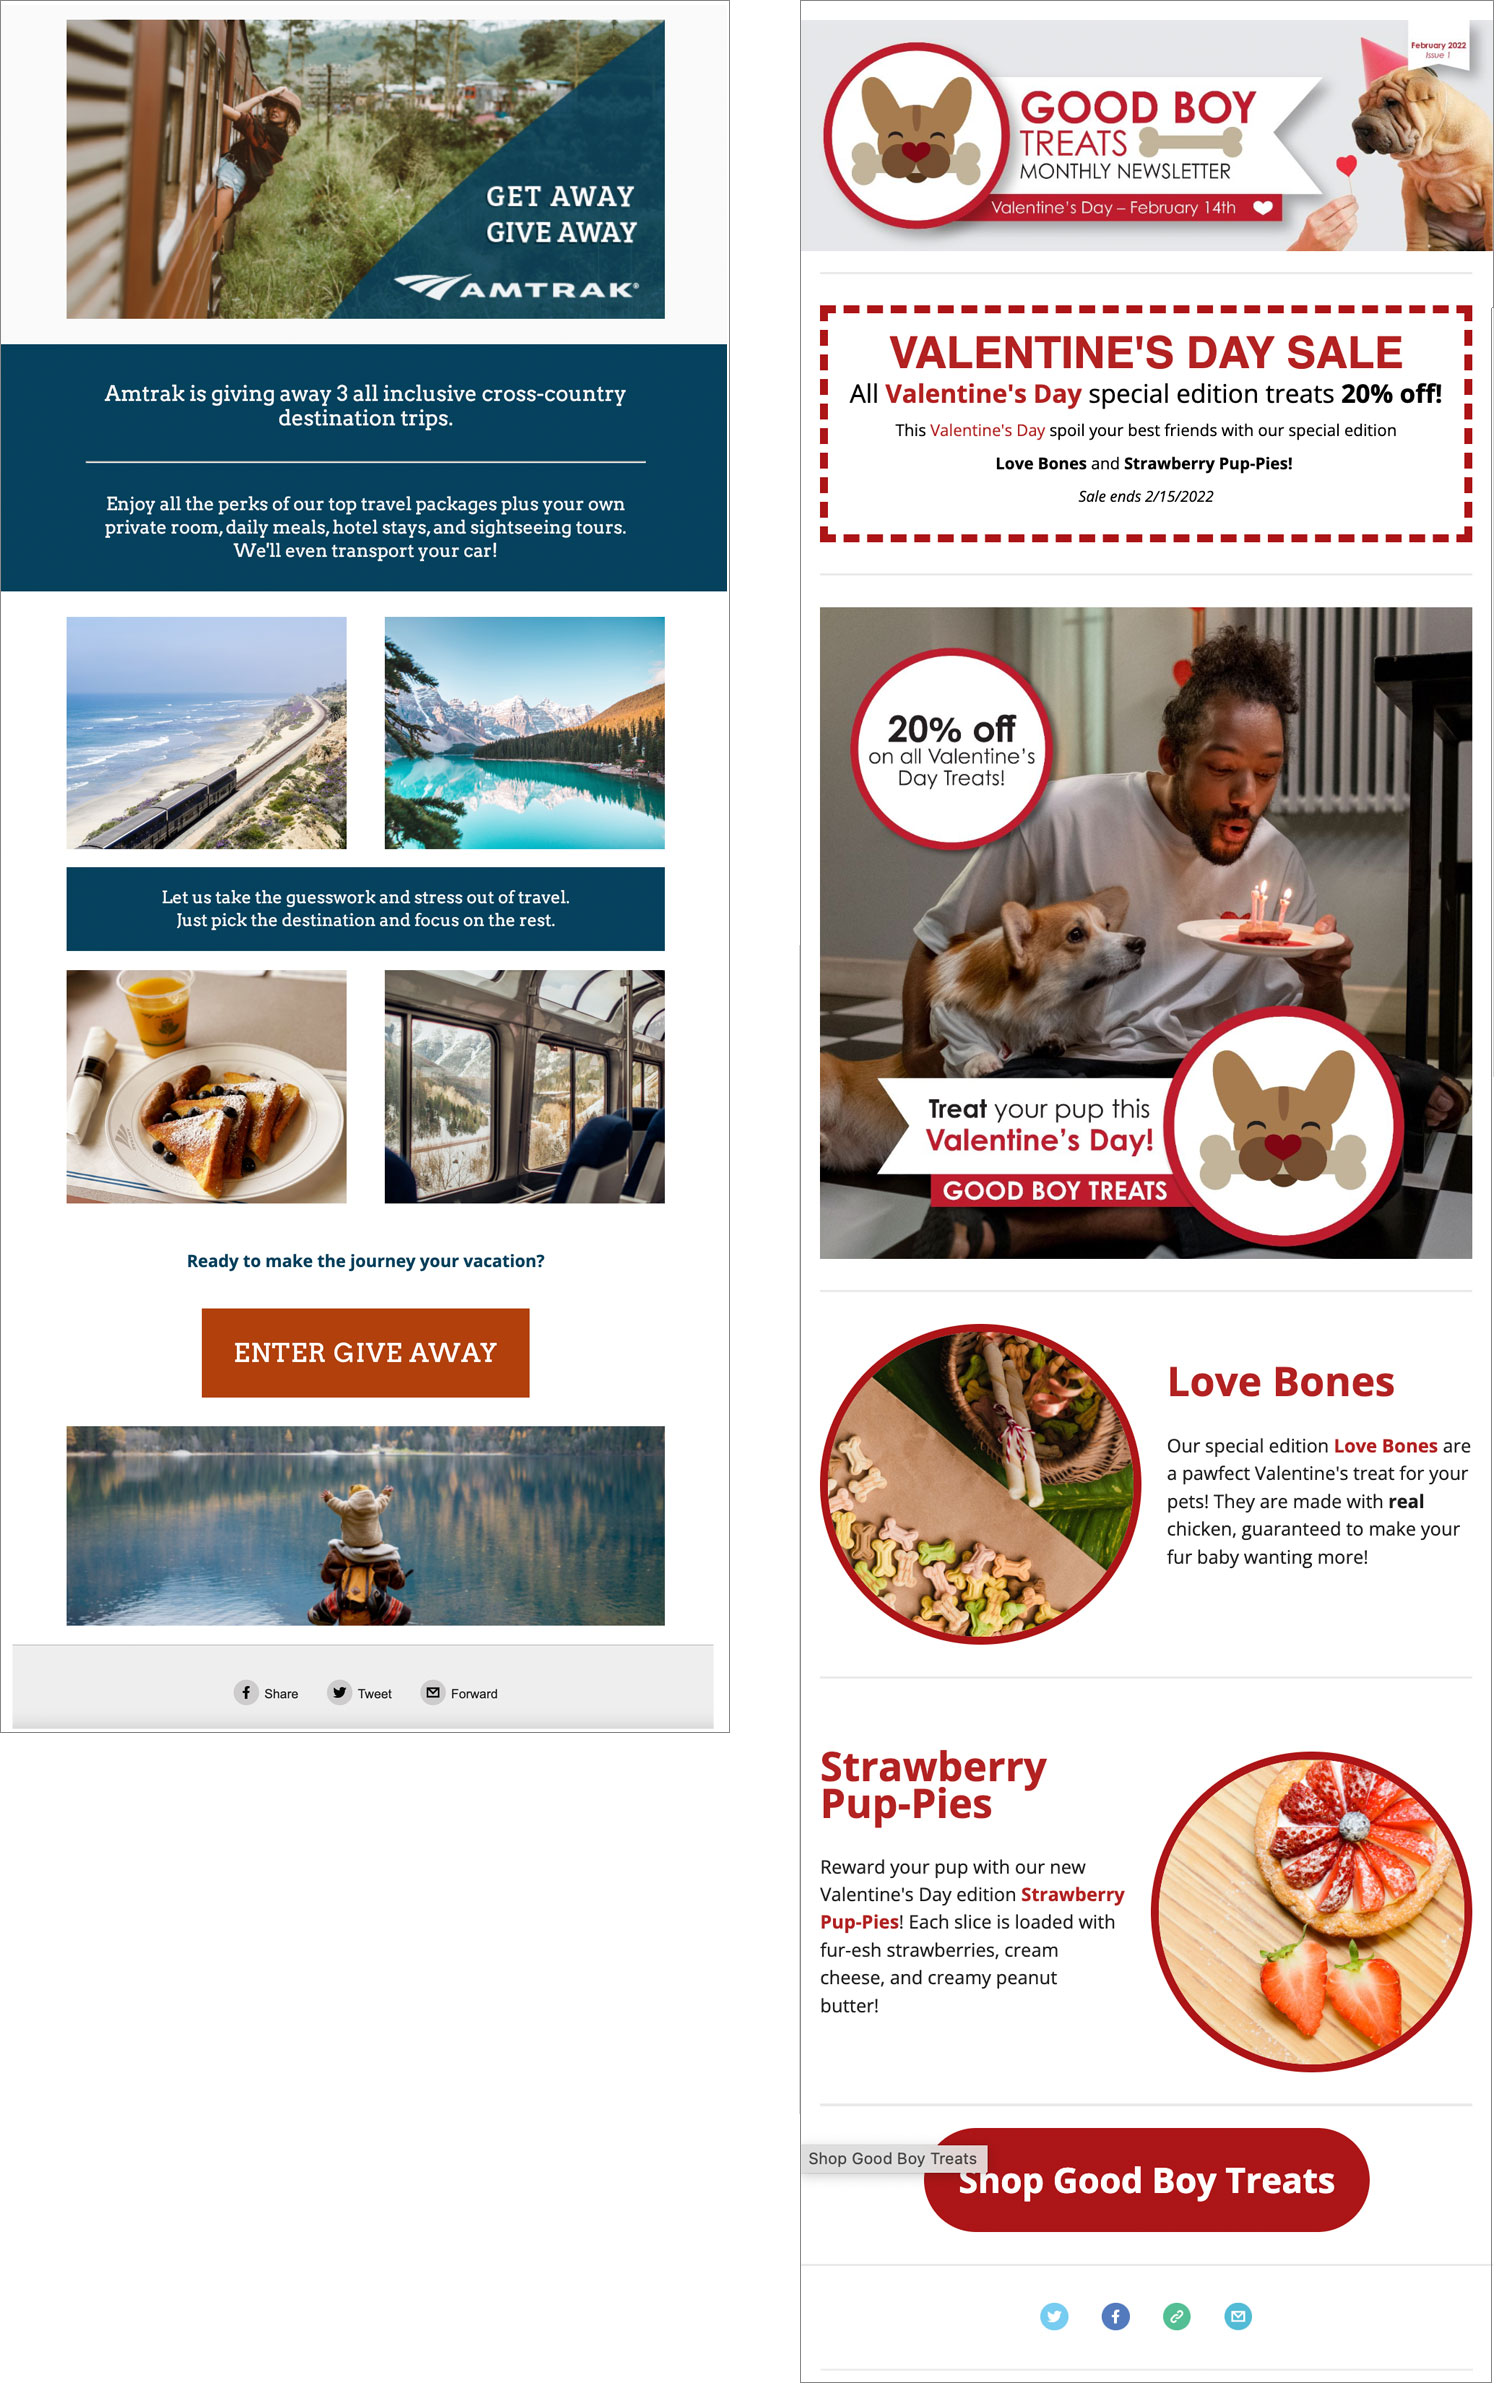
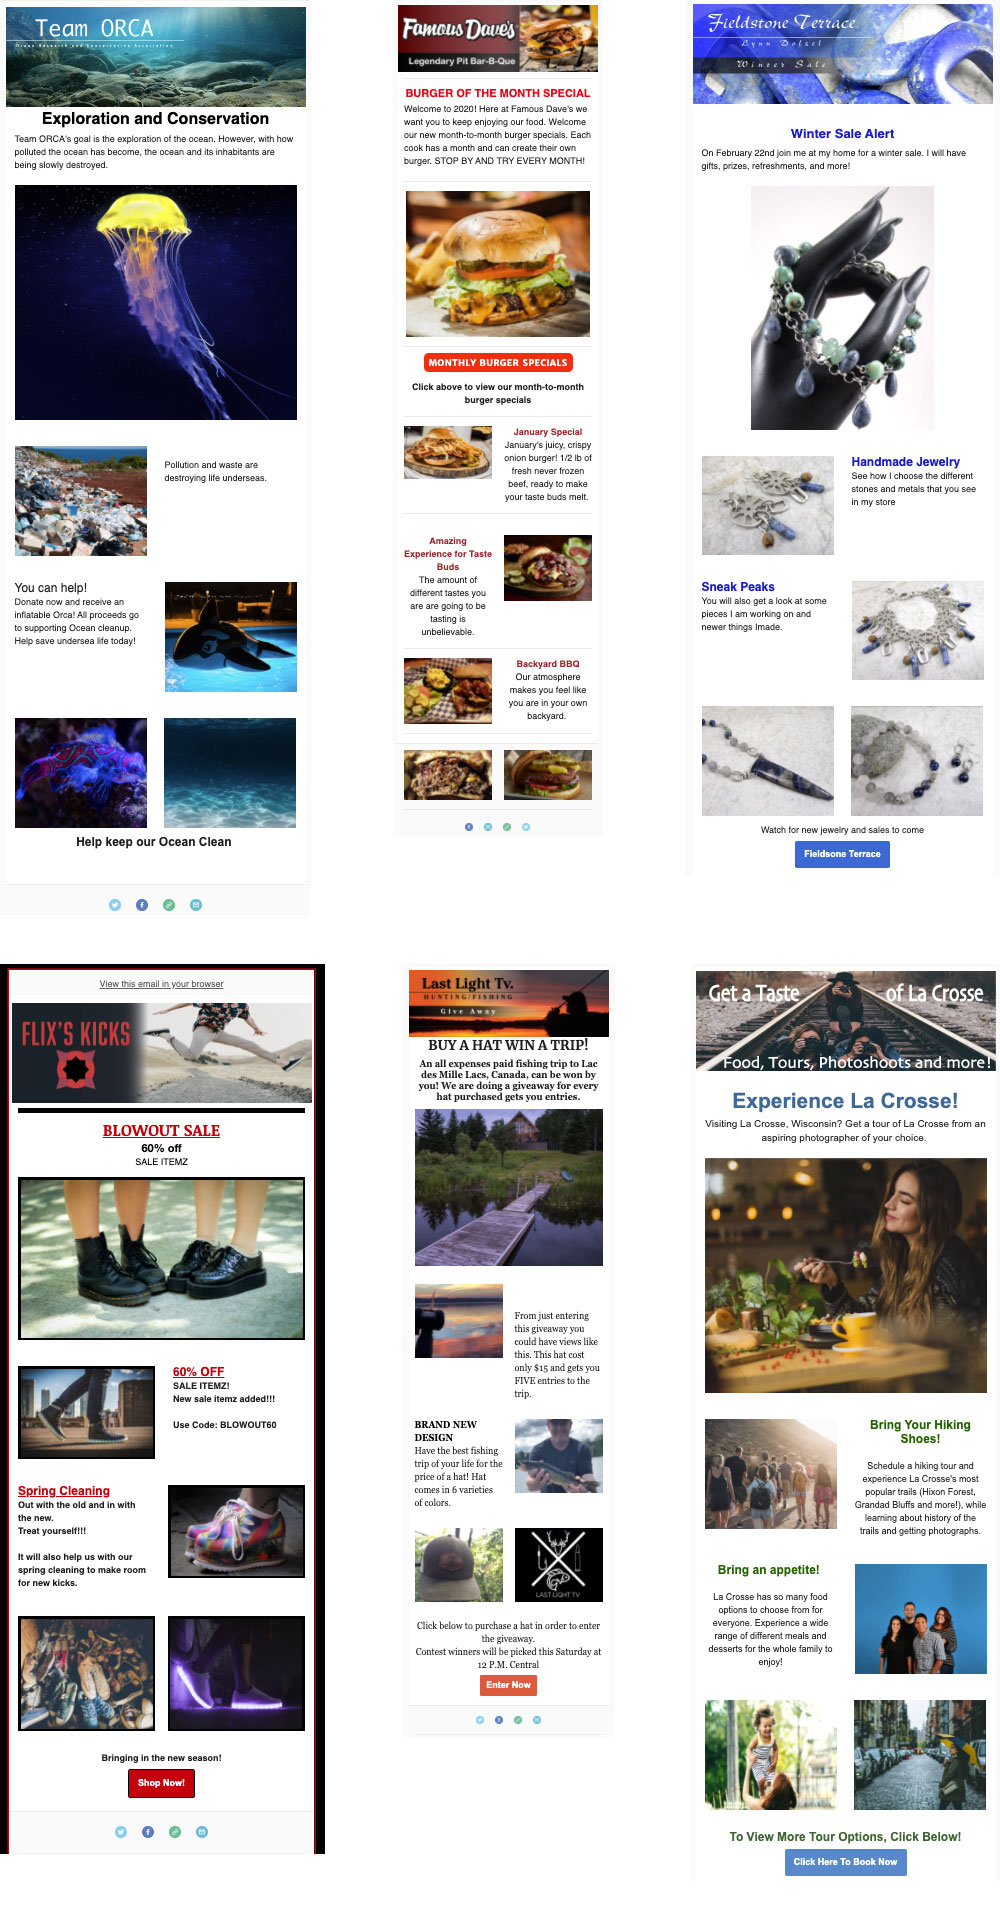
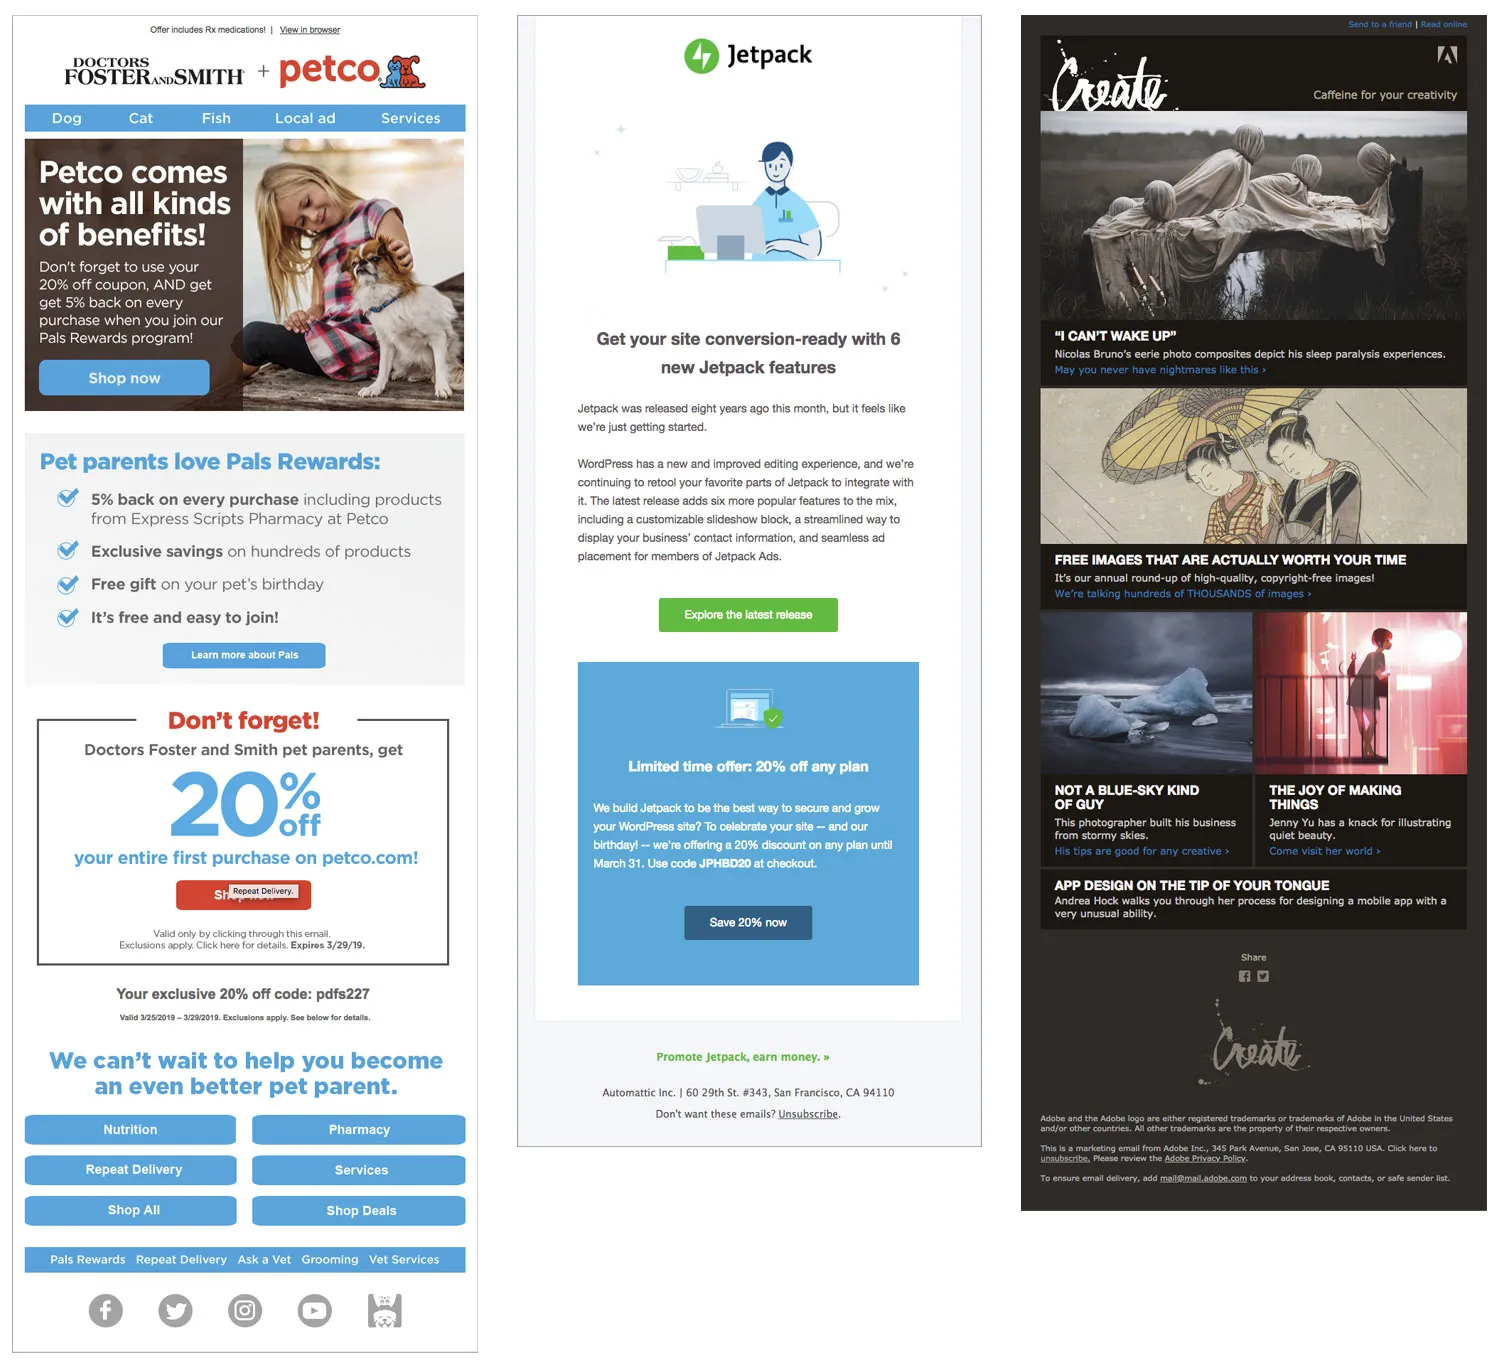
Below are several real email marketing examples from various companies. Notice how each delivers the company’s brand and focuses on one main message. Most use one main image and headline to draw the viewer in and show them where to start.
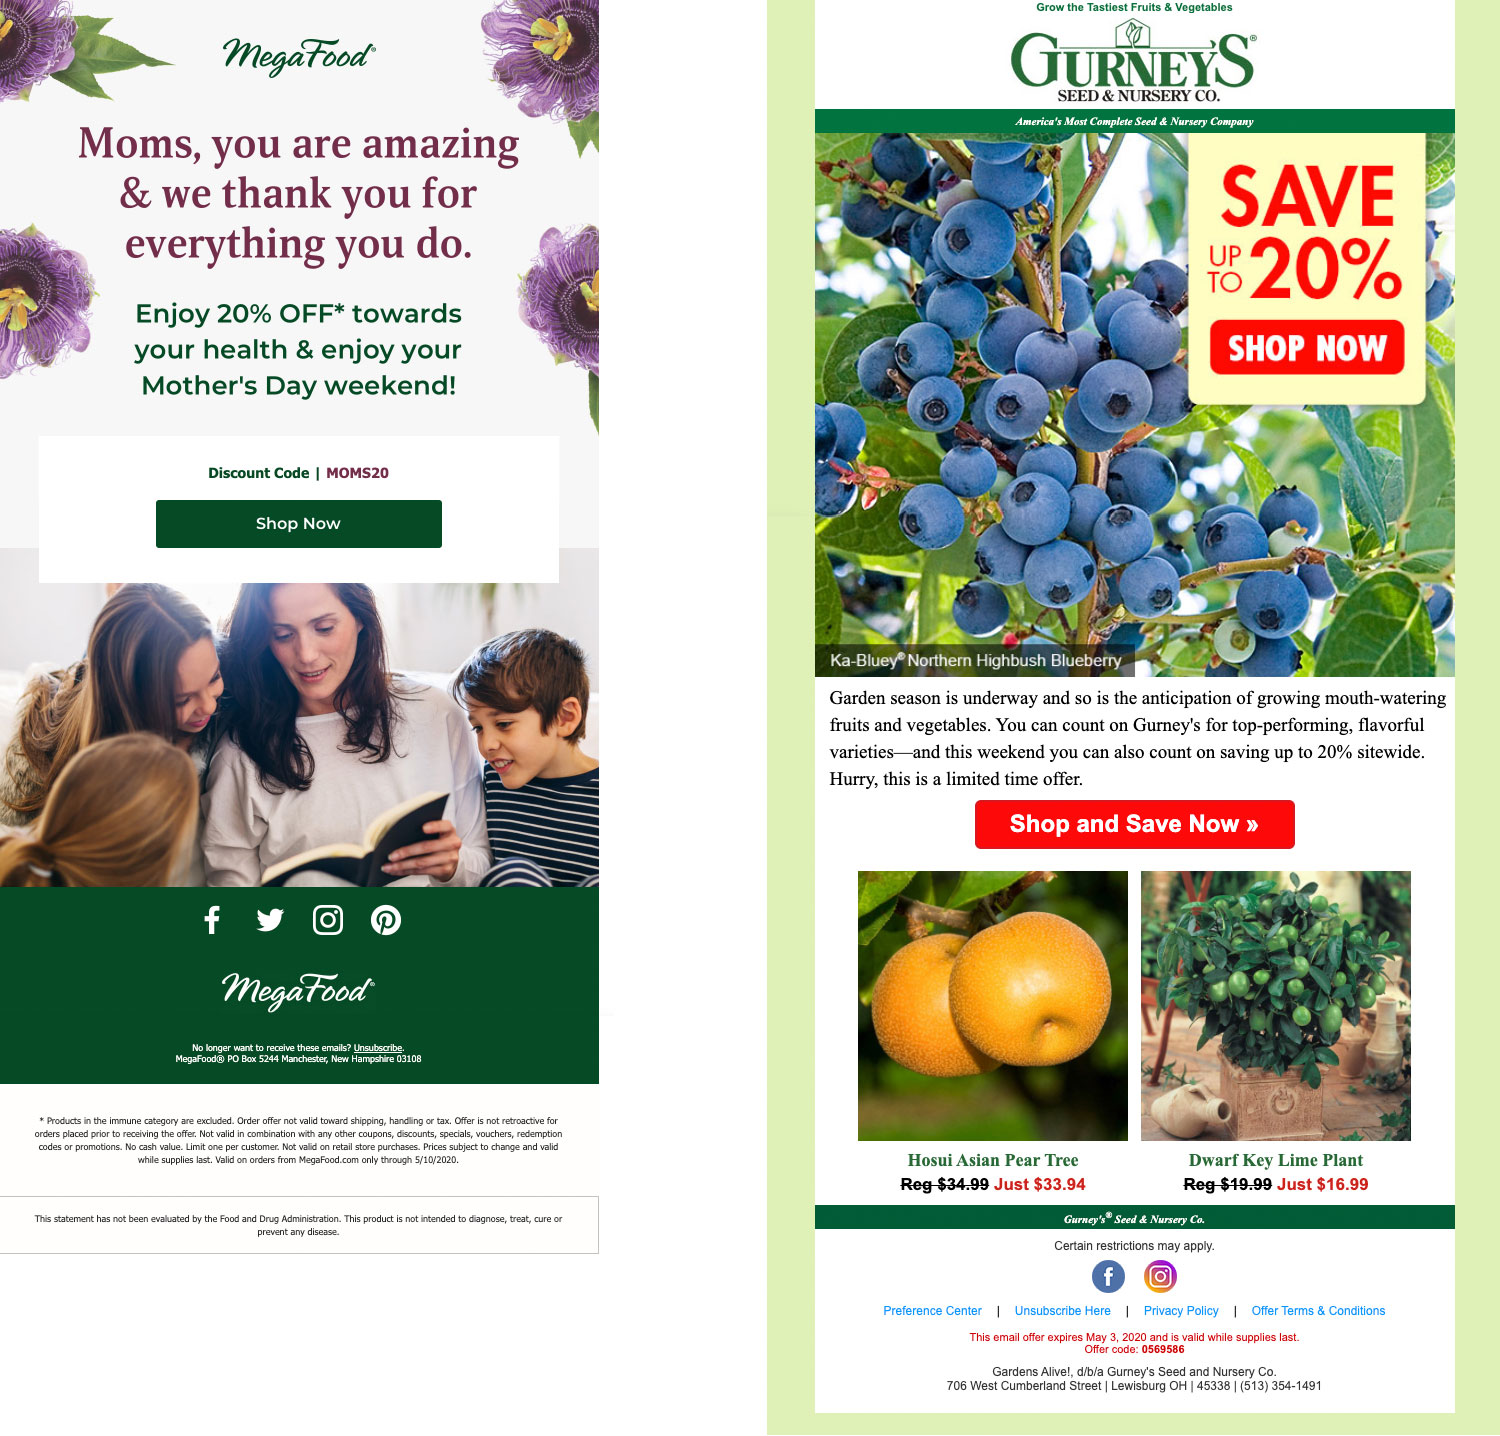
These examples also benefit from:
- Logo to identify the company
- Brand colors throughout
- Consistent design style and layout
- Consistent typeface
- Lots of photos/artwork

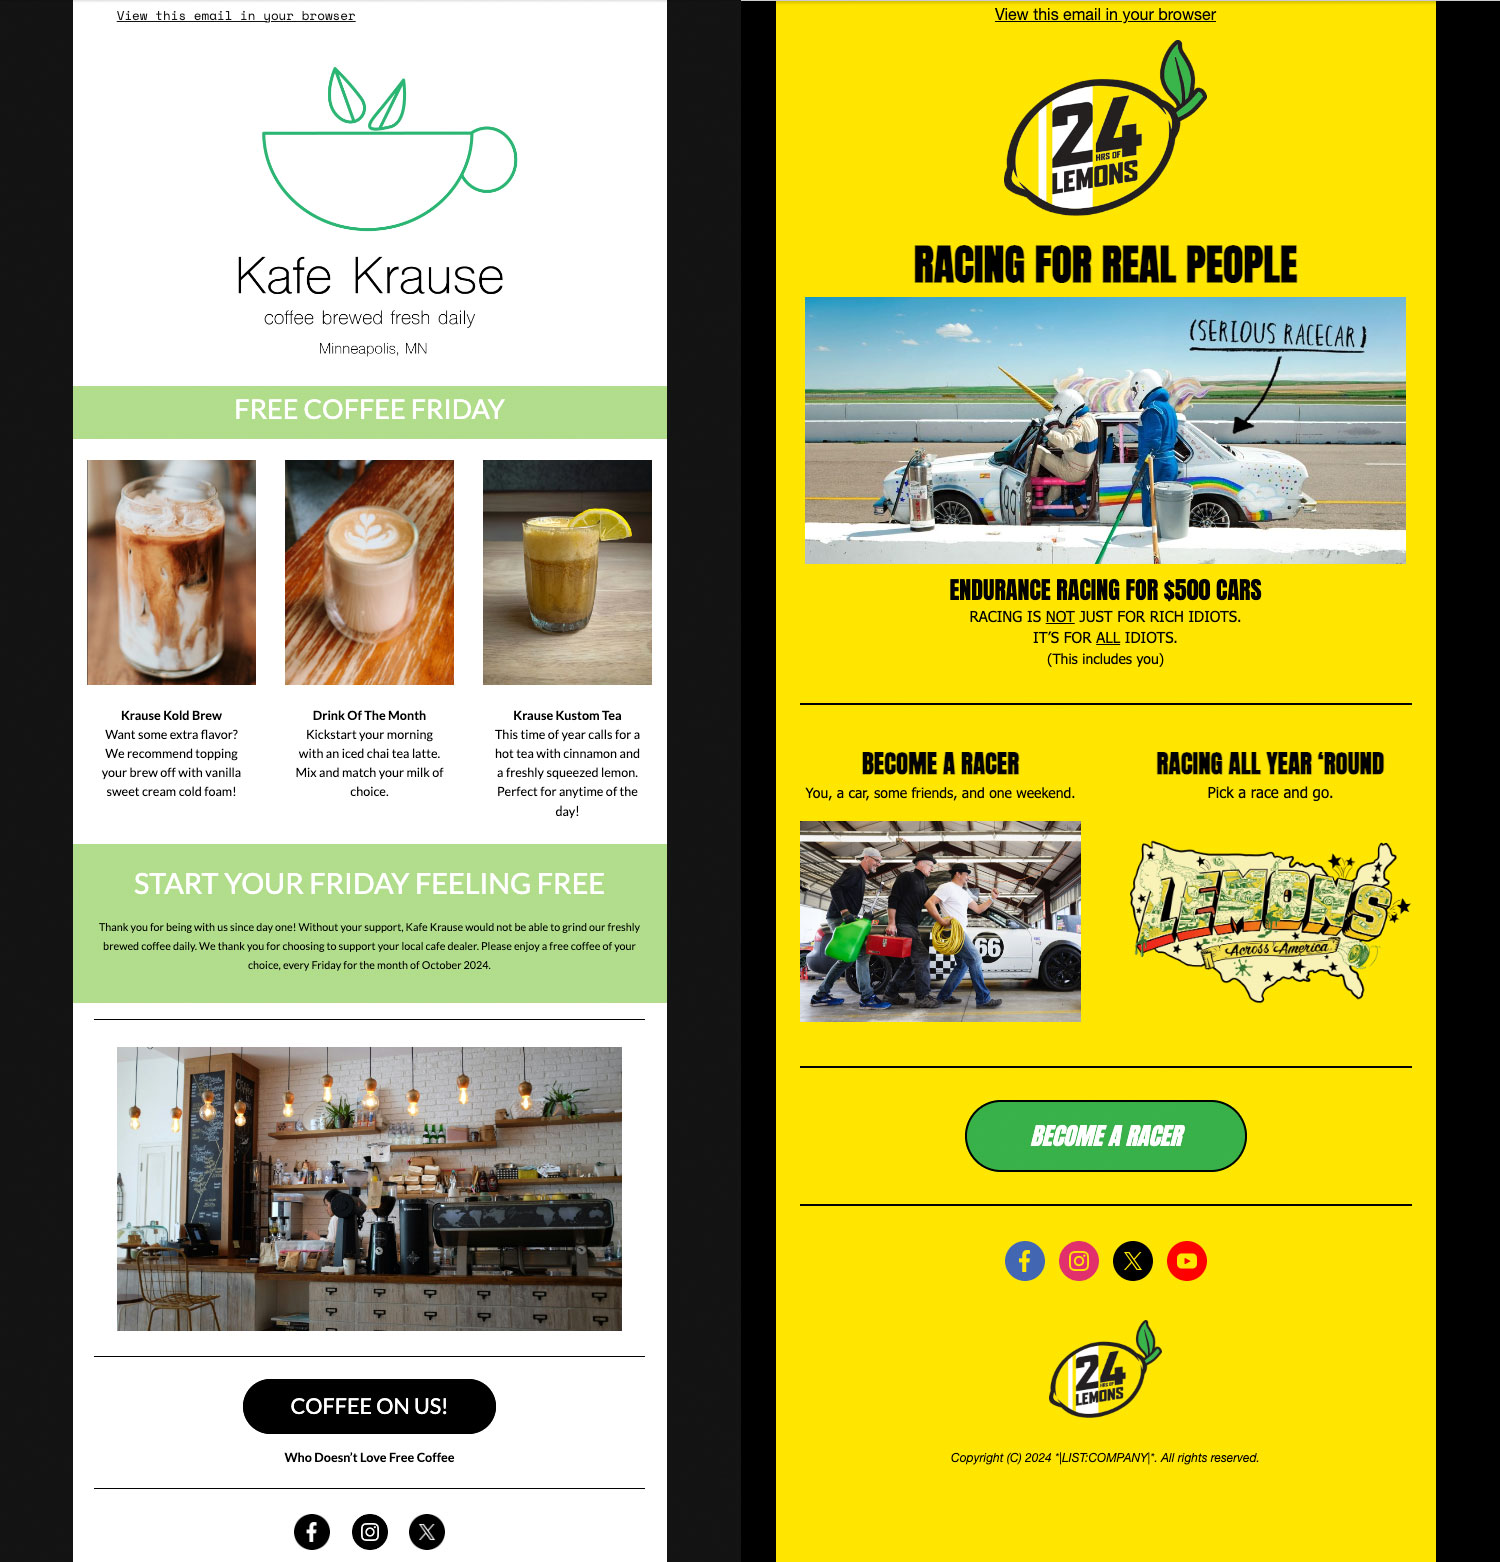
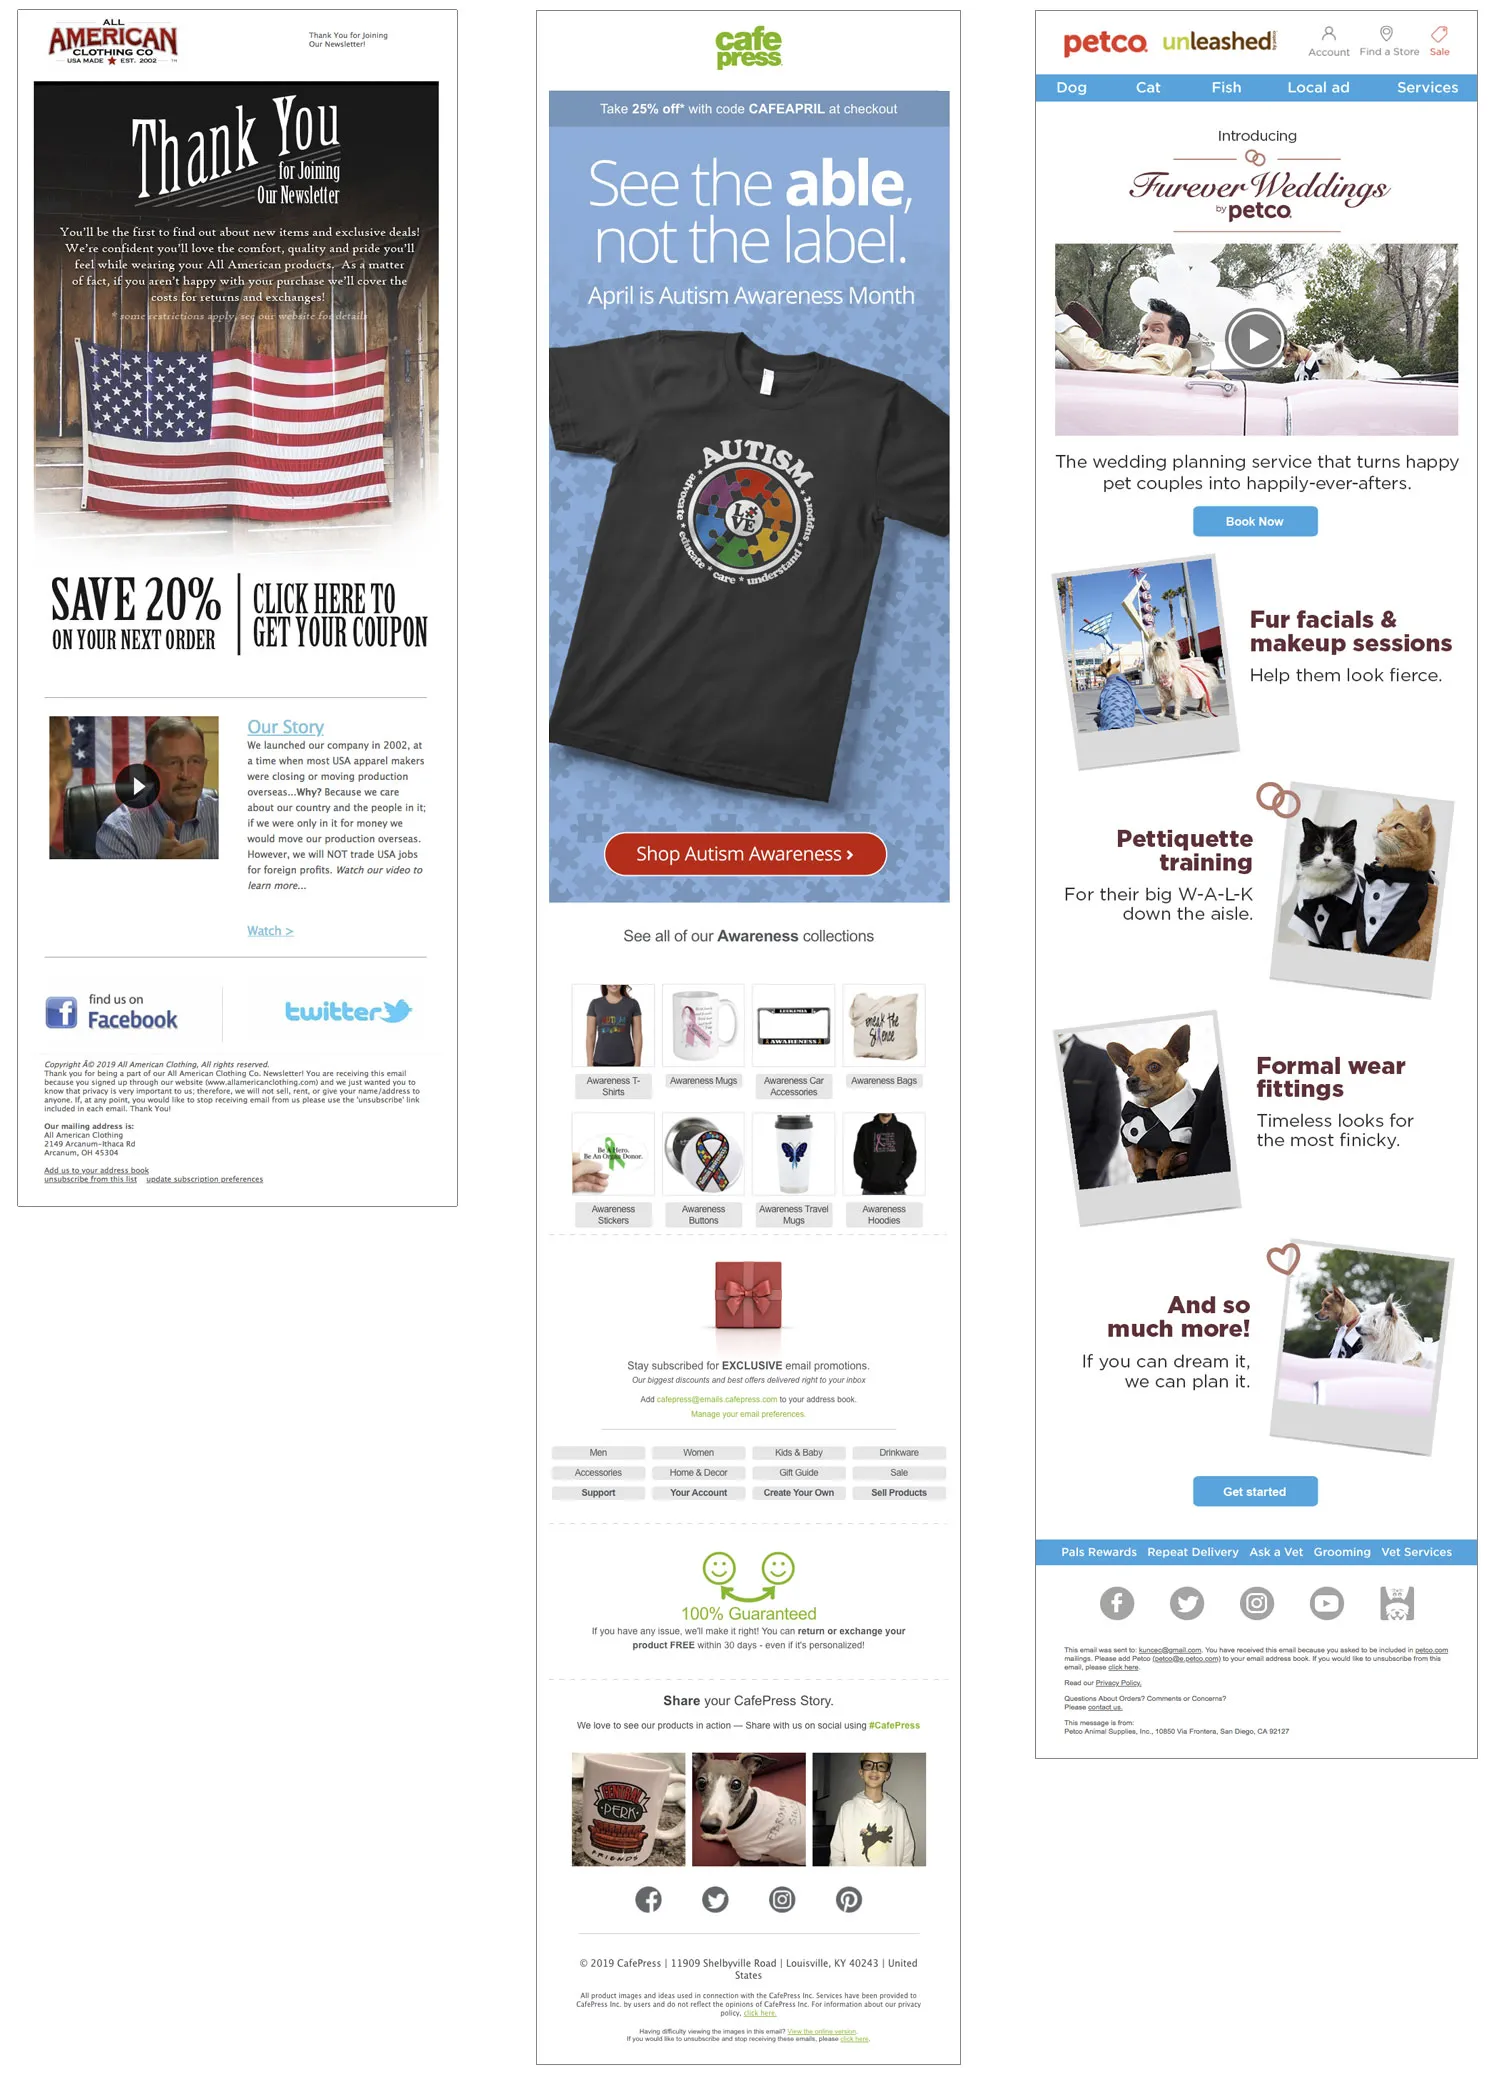
Avoid emails with too many images with your text inside
Here’s what happens to your view if you only use images for your email content. Avoid this by using text for your header and opening paragraph. This will grab your viewer’s attention and get them to either wait for the images to load or click to view them.

Create your email (A step-by-step tutorial)
1. Create your own MailChimp.com account and log in
First, go to mailchimp.com, create your own FREE account, and then log in. Be sure to save your login credentials. You may want to access your email later for use in your graduate portfolio.
2. Review the Mail Chimp web-based interface and start desiging
I will walk you through the MailChimp web-based email designer in class. The user interface is user-friendly, so you’ll be creating your own emails in no time at all.
Here’s a tutorial video introducing you to MailChimp
(11:11)
3. Choose your email’s topic
It can be pretty much be anything you’re interested in or passionate about. Make sure it’s a classroom-friendly topic.
A few topic ideas to get your ideas flowing:
- Pet adoption event
- A local volunteering event
- A local farmer’s market?
- A favorite food you like to eat
- A favorite brand of clothing or shoes you wear
- A sustainability tip to share with your clients—how to save energy or water
- The benefits of riding your bike to school or work
- A local business or restaurant you like to eat at
4. Write your email first
Headline
This should be about 3–5 words and tell your audience what you are trying to tell them in your email.
Body copy
Then write a few sentences that elaborate on your headline’s message.
Call-to-action
Lastly, write your call to action. This should come at the end of your email message. What do you want them to do once they read your message? Give them a coupon with 25% off? Send them to your website to find a retailer near them? Ask them to donate to your cause? Send them to a specific page on your website and have them start shopping?
Type these directly into your Mailchimp email.
5. Choose photographs
Once you have defined your message and written your text, you’ll want to find photos that reinforce them with helpful visuals. These photos must help communicate your email’s message to your audience.
Get these photos from unsplash.com, pixabay.com, pexels.com, or AI. You may also use your own photos if they have enough resolution (1200 pixels wide) and help communicate your message.
6. Make your photos web-friendly inside of Mailchimp
In MailChimp, you can optimize your photos to be 1200 pixels wide.
- In your My Files area, select the photo
- Choose Edit from the drowdown menu
- Enter the new width of 1200 pixels and click save
- That’s it. Now insert that photo into your email.
7. Add a logo to your own header
I’d suggest doing a Google image search and find your logo. If possible, try to find a transparent version so you can change the background color in your email (if you choose to). When you find your logo save it to your desktop and then upload it to MailChimp and optimize it to 1200 pixels wide.
Nice work!