On this page: (quick links)
- Overview
- Grading Checklist
- What AI generator to use?
- Best Practices
- Examples
- Video Tutorials – How to make your video in After Effects
- Render Your Final Video in Adobe Media Encoder
Overview
Marketing videos are an excellent way to share your story or a client’s story/message with viewers. They grab a viewer’s attention and hold it.
For this project, you’ll create a 15-second marketing video in After Effects and render it in Adobe Media Encoder to your final .mp4 format.
Project Topic
I’d prefer that your marketing video focuses on something you are passionate about and that it’s class-appropriate.
Here are some ideas:
- Your favorite outdoor activities
- Your favorite foods
- Your family pets
- Your favorite breed of dog, cat, horse, etc.
- Your art, photography, or design work
- Your favorite places to travel
Grading checklist
- Create one animated video
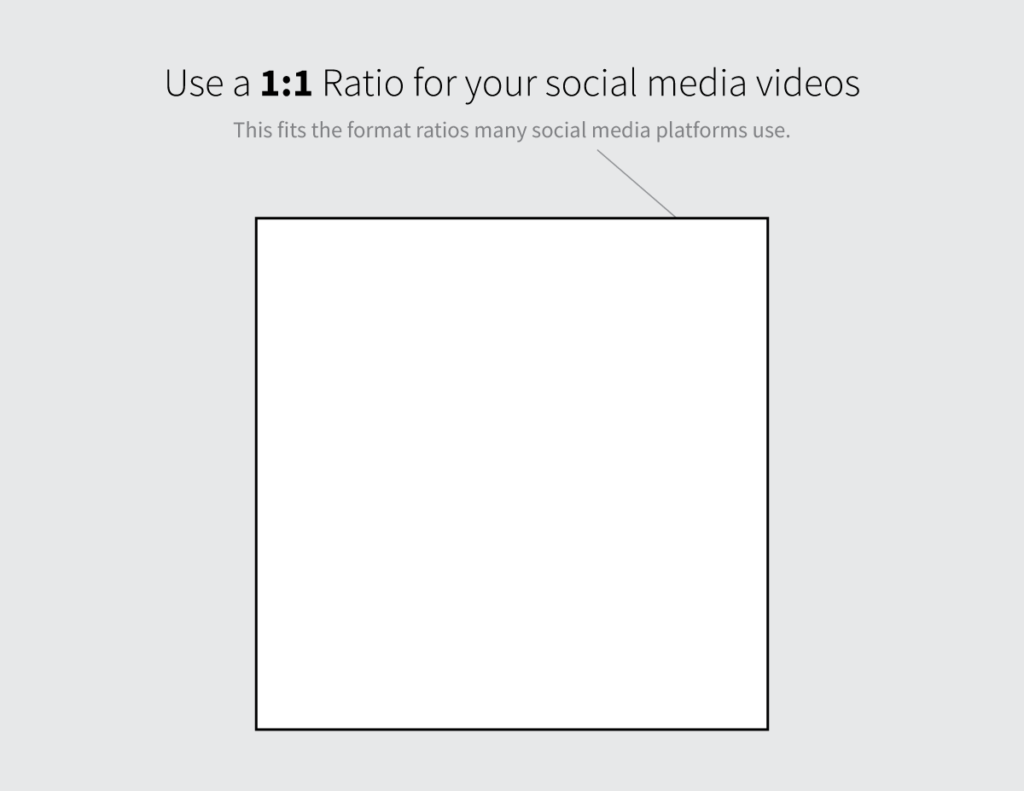
- Use 1:1 square format (1080 x 1080 pixels)
- 15 seconds or less
- Use photos from unsplash.com
- Use videos or photos from Pexels.com or Pixabay.com
- Sound from bensound.com
- You can also use your own photos or videos
- Add text and shapes inside After Effects
- Animated in After Effects
- Render in Adobe Media Encoder
- Upload your final .mp4 to Blackboard
What AI generator to use?
You may use Adobe Firefly to create your AI art assets (https://firefly.adobe.com/), and ChatGPT (https://chat.openai.com/) for your body copy (text). Feel free to explore other AI-generating websites too. Some require you to create an account, others require payment. I’ve used OpenAI’s DALL•E (https://openai.com/dall-e-3)(account required).
Another option is Microsoft’s AI generator, Copilot (https://copilot.microsoft.com). You have to sign in to generate images. I was able to sign in with my Western email/account.
Gencraft.com is another option to create AI-generated images. You need to create an account and you get 10 free prompts/images.
VideoGen.io is an option for creating AI-generated videos. You need to create an account, and you get 5000 free text-to-speech credits.
Best Practices
- Use a 1:1 size ratio for your video
- 15 seconds or less
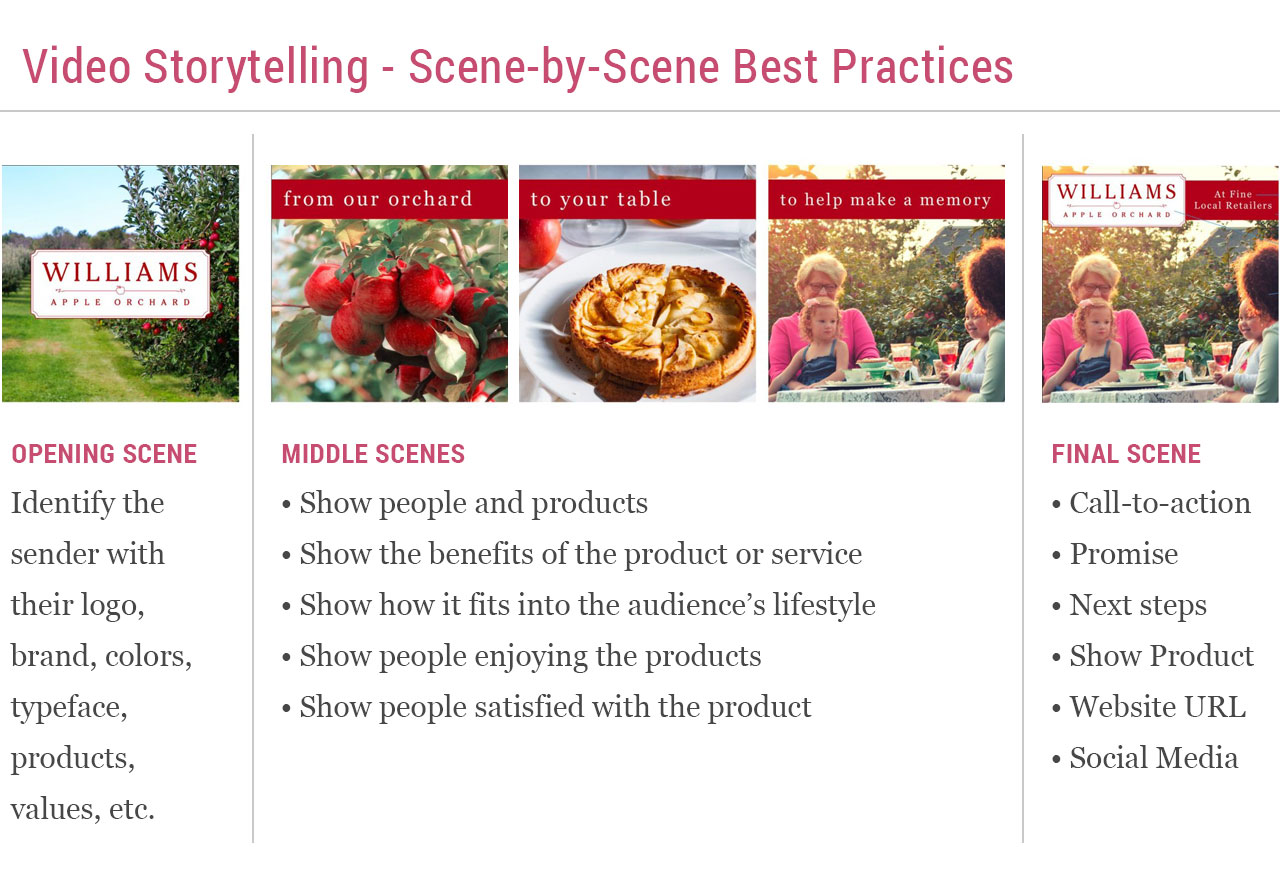
- Always tell a story
- Highlight one topic or subject only
- Use large headlines to grab attention
- One large photo or graphic per scene to grab attention
- Brand your design with unique typography, colors, layout, and repeatable design elements
- Don’t overdo the zooming and flying and fading. Keep your message legible, focused, and clear.
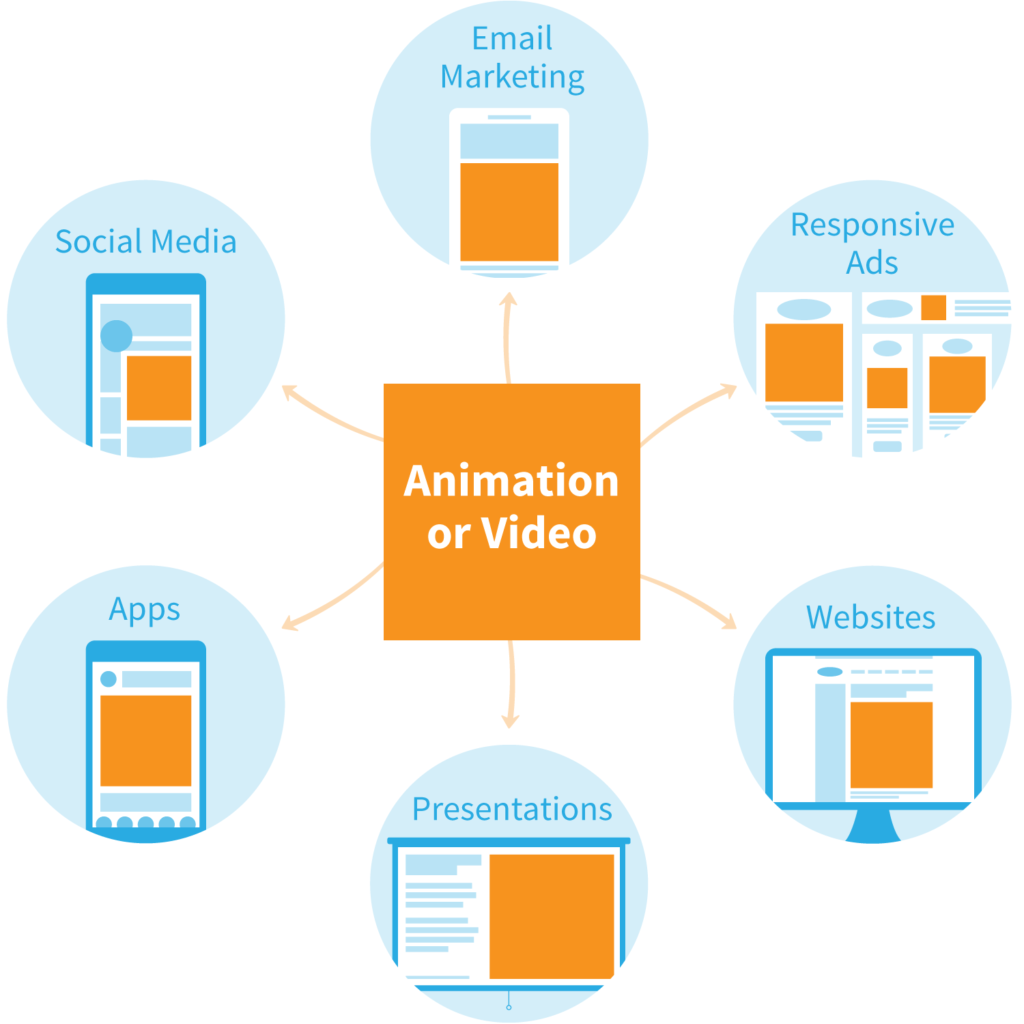
Your animated video can promote your message in many places:
Use a 1:1 Video aspect ratio
Storyboard your animated video if needed (optional)
Download and print the storyboard template below to sketch your ideas. Write your headlines to go with your topic’s theme.

Examples
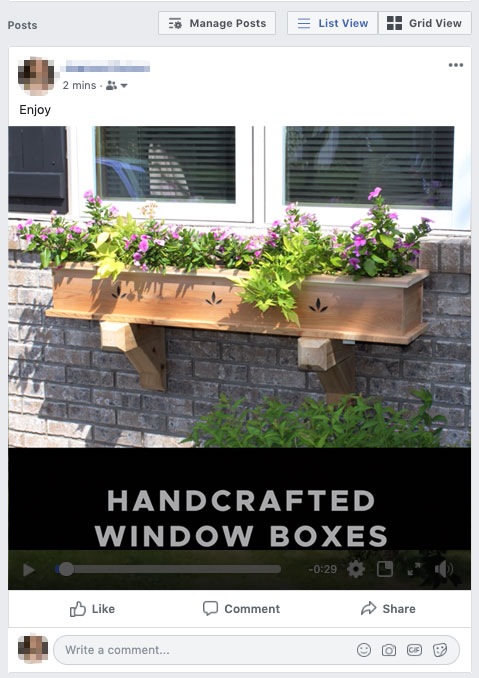
Here’s an example of a square video for you to use as inspiration.
This is how it looks when posted to Facebook. Notice how Facebook enlarges the video to fit the width of the status column.
Here’s the same video done a different way.
Student Examples
Video Tutorials – How to make your video in After Effects
This is my process to complete a video:
(OPTIONAL) Download these files if you want to work along with the tutorials:

3 Video Tutorials:
How I made my 15-second animated video
Here are 3 video tutorials showing my entire workflow from start to finish while creating my 15-second video about my woodworking hobby.
VIDEO 1
37:11
VIDEO 2
19:41
VIDEO 3
How to render your final .aep project to a .mp4
15:23
Helpful Tip
Relink lost footage (A common problem in After Effects)
4:18
Render your final video in Adobe Media Encoder
In order to use your final video or upload it to YouTube, as most people do, you have to render it into a commonly used format. This last step compiles all your type, shapes, drawings, photos, sound, videos, and effects and makes your final video. We will render a .mp4 format that you can use almost anywhere.
My final Media Encoder settings
To render:
- Open your final, completed video in After Effects
- File > Export > Add To Adobe Media Encoder Que…
- Be patient, this may take a few seconds.
- This window (inside of Adobe Media Encoder) will open:

- In the upper right pane, make sure H.264 is selected
- Under Preset, select Match Source – High Bitrate
- Then click on Match Source – High Bitrate
- The window below will pop up. Enter or double-check the settings marked below.
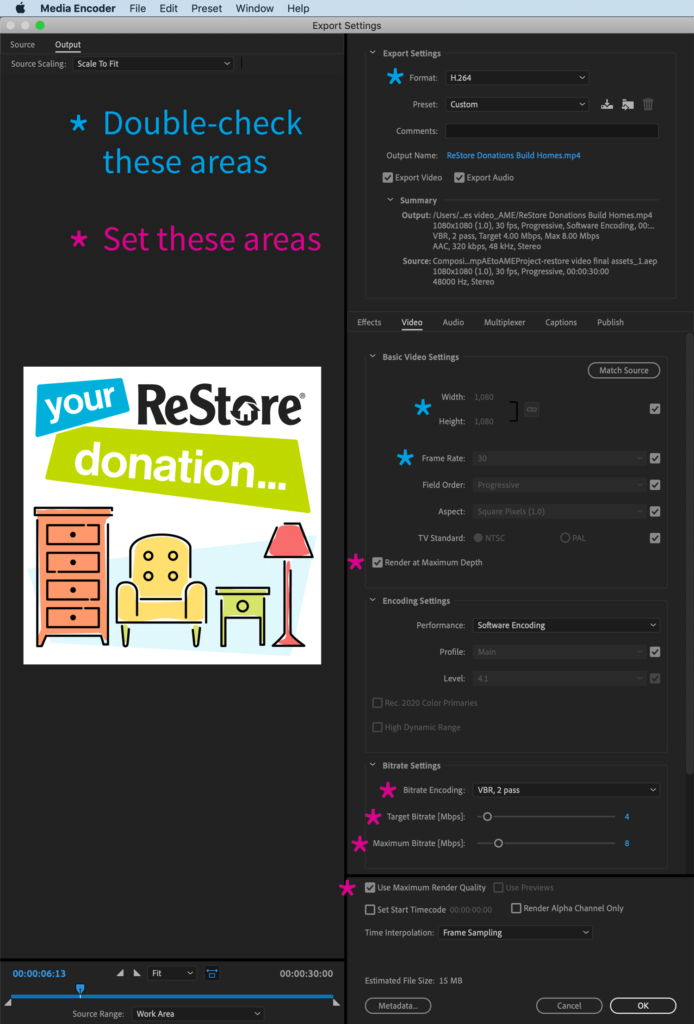
Next, click on the blue type under Output File, name your final video, and tell it where to save it.
Lastly, click the little green play arrow to render your video.
Now, create your own 15-second animated video in After Effects
Follow the steps shown above to create your own animated video. Once you’re done, render it to a final .mp4 format and upload it to the OneDrive link in Blackboard > Assignments for grading.
OPTIONAL: Additionally, you may also upload it to your own YouTube account and then to your own social media accounts to share it with the world.