This Photoshop tutorial shows how to create a tone-on-tone photo over a solid brand color. It’s a helpful technique that is useful when you have a set brand color and what to show a stylized black and white photo over it.
The final result:
Step-by-step instructions
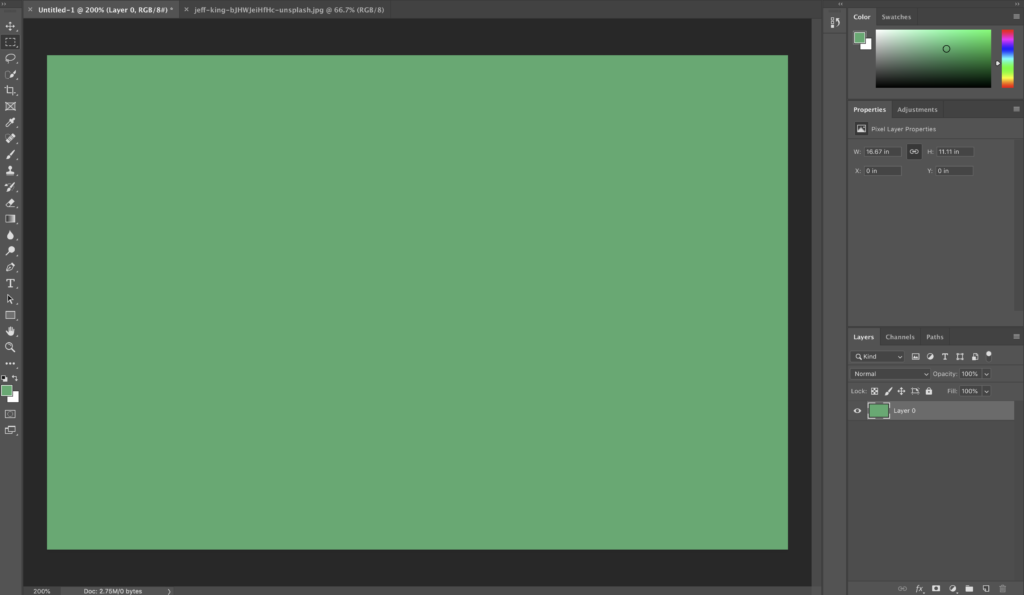
First, fill the background color with your chosen brand color. I’m using a medium green.
Remember: Command-A to select all, Option Delete to fill with the foreground color (Command Delete to fill with the background color)
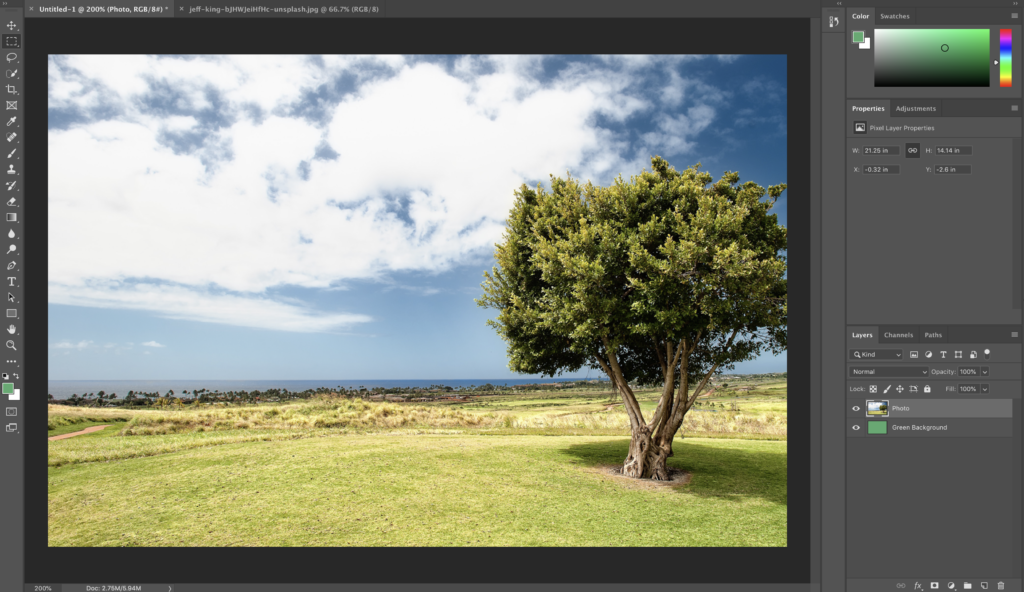
Next, open your photo in the same document. Place it on a layer above the green color.
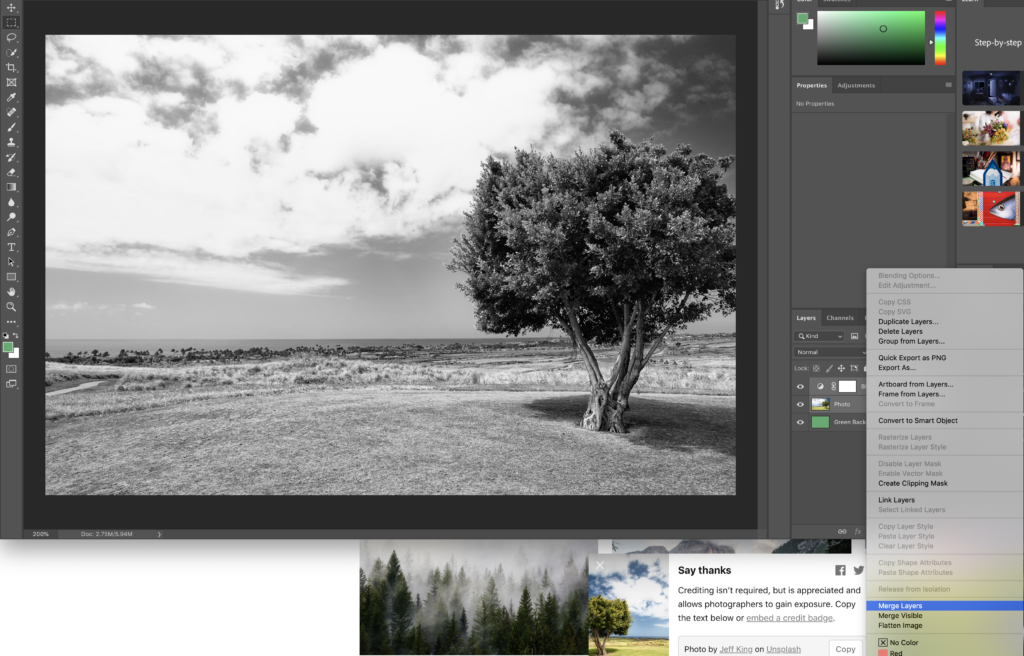
Add a black and white adjustment layer to the photo. Adjust the BW controls to your desired look.
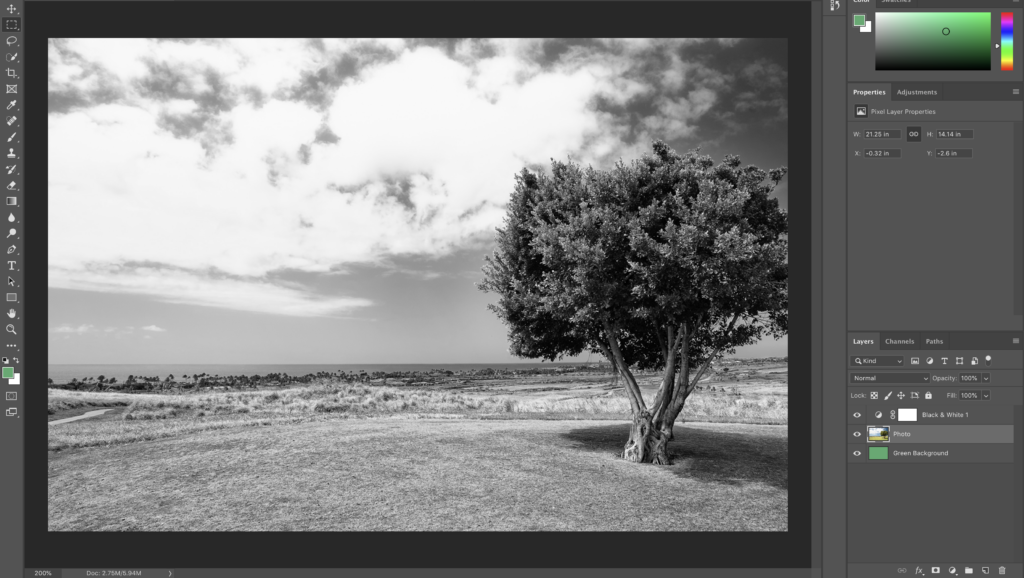
Merge the adjustment layer and the photo into one layer.
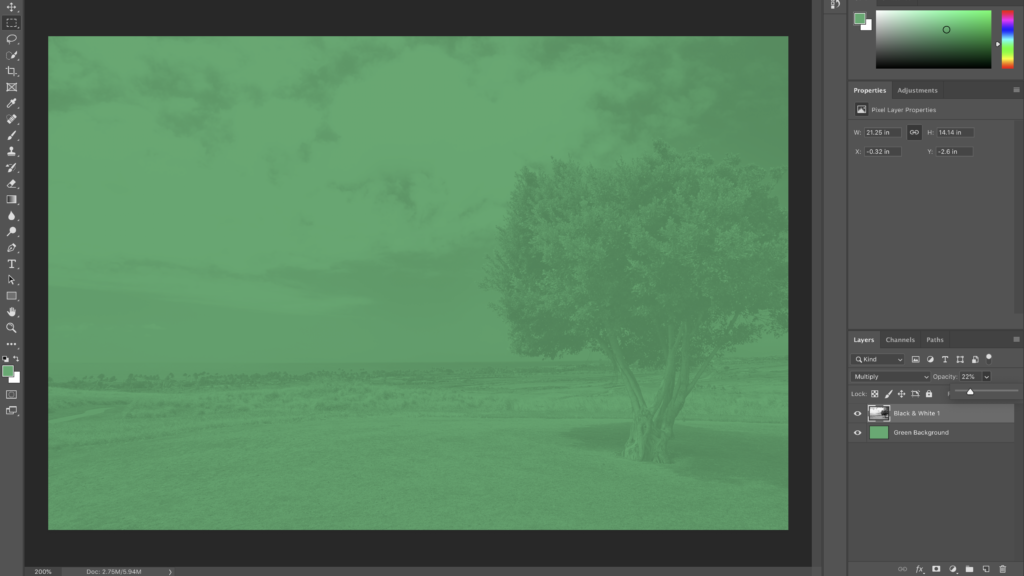
Set the photo layer mode to Multiply

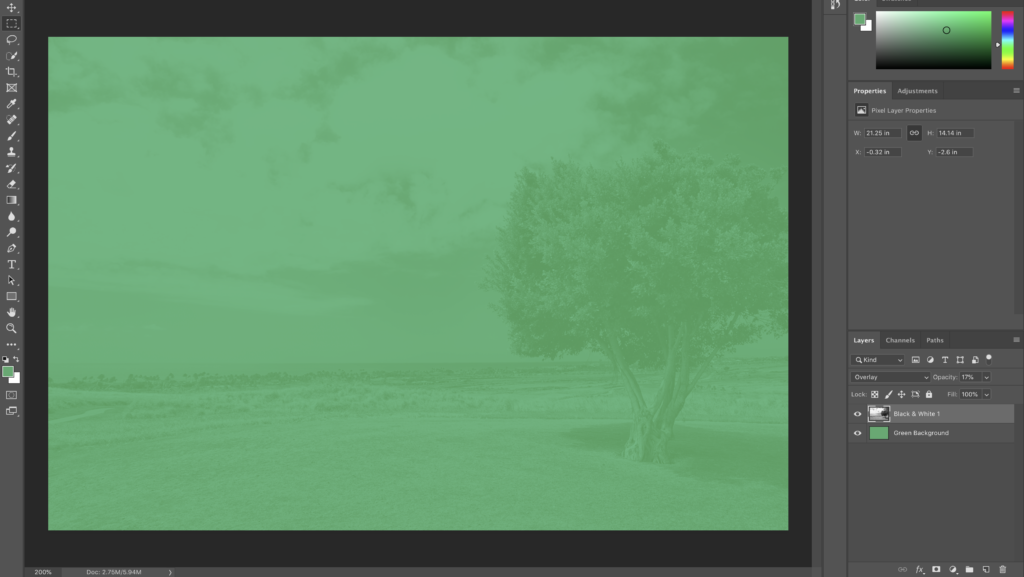
Now adjust your layer opacity to achieve the tone-on-tone effect you want. I really appreciate the control you have over the opacity. You may go back and darken or lighten the photo at any time.
Here’s the same file, but the photo layer mode is set to Overlay. I think it better matches the green brand color and helps the stylized photo blend in nicer.
Good work!