Overview
Packaging is important. As a graphic designer (and marketing person), you should think of packaging as the last mini-commercial the customer will see before buying your product. Will your packaging close the sale? If it’s good enough, it will.
Packaging serves several important purposes:
- It delivers the product’s brand to customers
- It advertises the products to the customer
- It correctly labels our food and products
- It communicates important information to the consumer. Sometimes life-saving information like food allergens and other ingredients. It also helps us know where our food and products come from. This helps if there is a food-borne illness outbreak.
- It protects and keeps our food and products safe.
- It allows food and products to be efficiently boxed in cartons so they ship efficiently. This uses fewer resources, such as gas and oil.
- It allows products to be displayed (set, stacked, or hung) in a retail store
Focus on efficient and sustainable packaging
Change the packaging to be more sustainable if possible. Less packaging is always better. There are fewer materials and resources used; there’s less weight to ship, so we use less gas and oil. Be Green! Reduce your packaging to the minimum required.
Grading Checklist
- Redesign packaging for my Nature’s Bounty client or an existing product of your choice
- Choose which type of packaging you’ll design from my list in the drop-down menu in the nav
- Create a digital mockup (See mock-up templates with each packaging web page or go to graphicburger.com)
- Choose a package that has something complex to design. Please don’t choose a minimalistic Nike shoe box that is all black with only a white swoosh. This won’t challenge your design skills or impress a potential employer in your portfolio. You’ll also get a lower grade.
- Show products and people as often as you can
- Front panel: Show the brand and the product
- Back and side panels: Show customers how to use your product and how it fits into their lifestyle. Also, tell them about its benefits
- Shoot your own photos or use quality stock photos from unsplash.com, Pexels.com, pixabay.com, or AI-generated art of photos.
- Use typefaces available for commercial use (On your iMac or downloaded from fontquirrel.com)
- Colors (your own or color.adobe.com)
- Photos (your own, pexels, unsplash, pixabay, or AI)
- Illustrations (your own, pexels, unsplash, pixabay, or AI)
Student packaging examples on Behance
Student Packaging Examples – Behance.net Moodboard

Industry Packaging Examples
https://www.behance.net/collection/25114481/Packaging
Download My Granola Bar Template and Start Designing Immediately
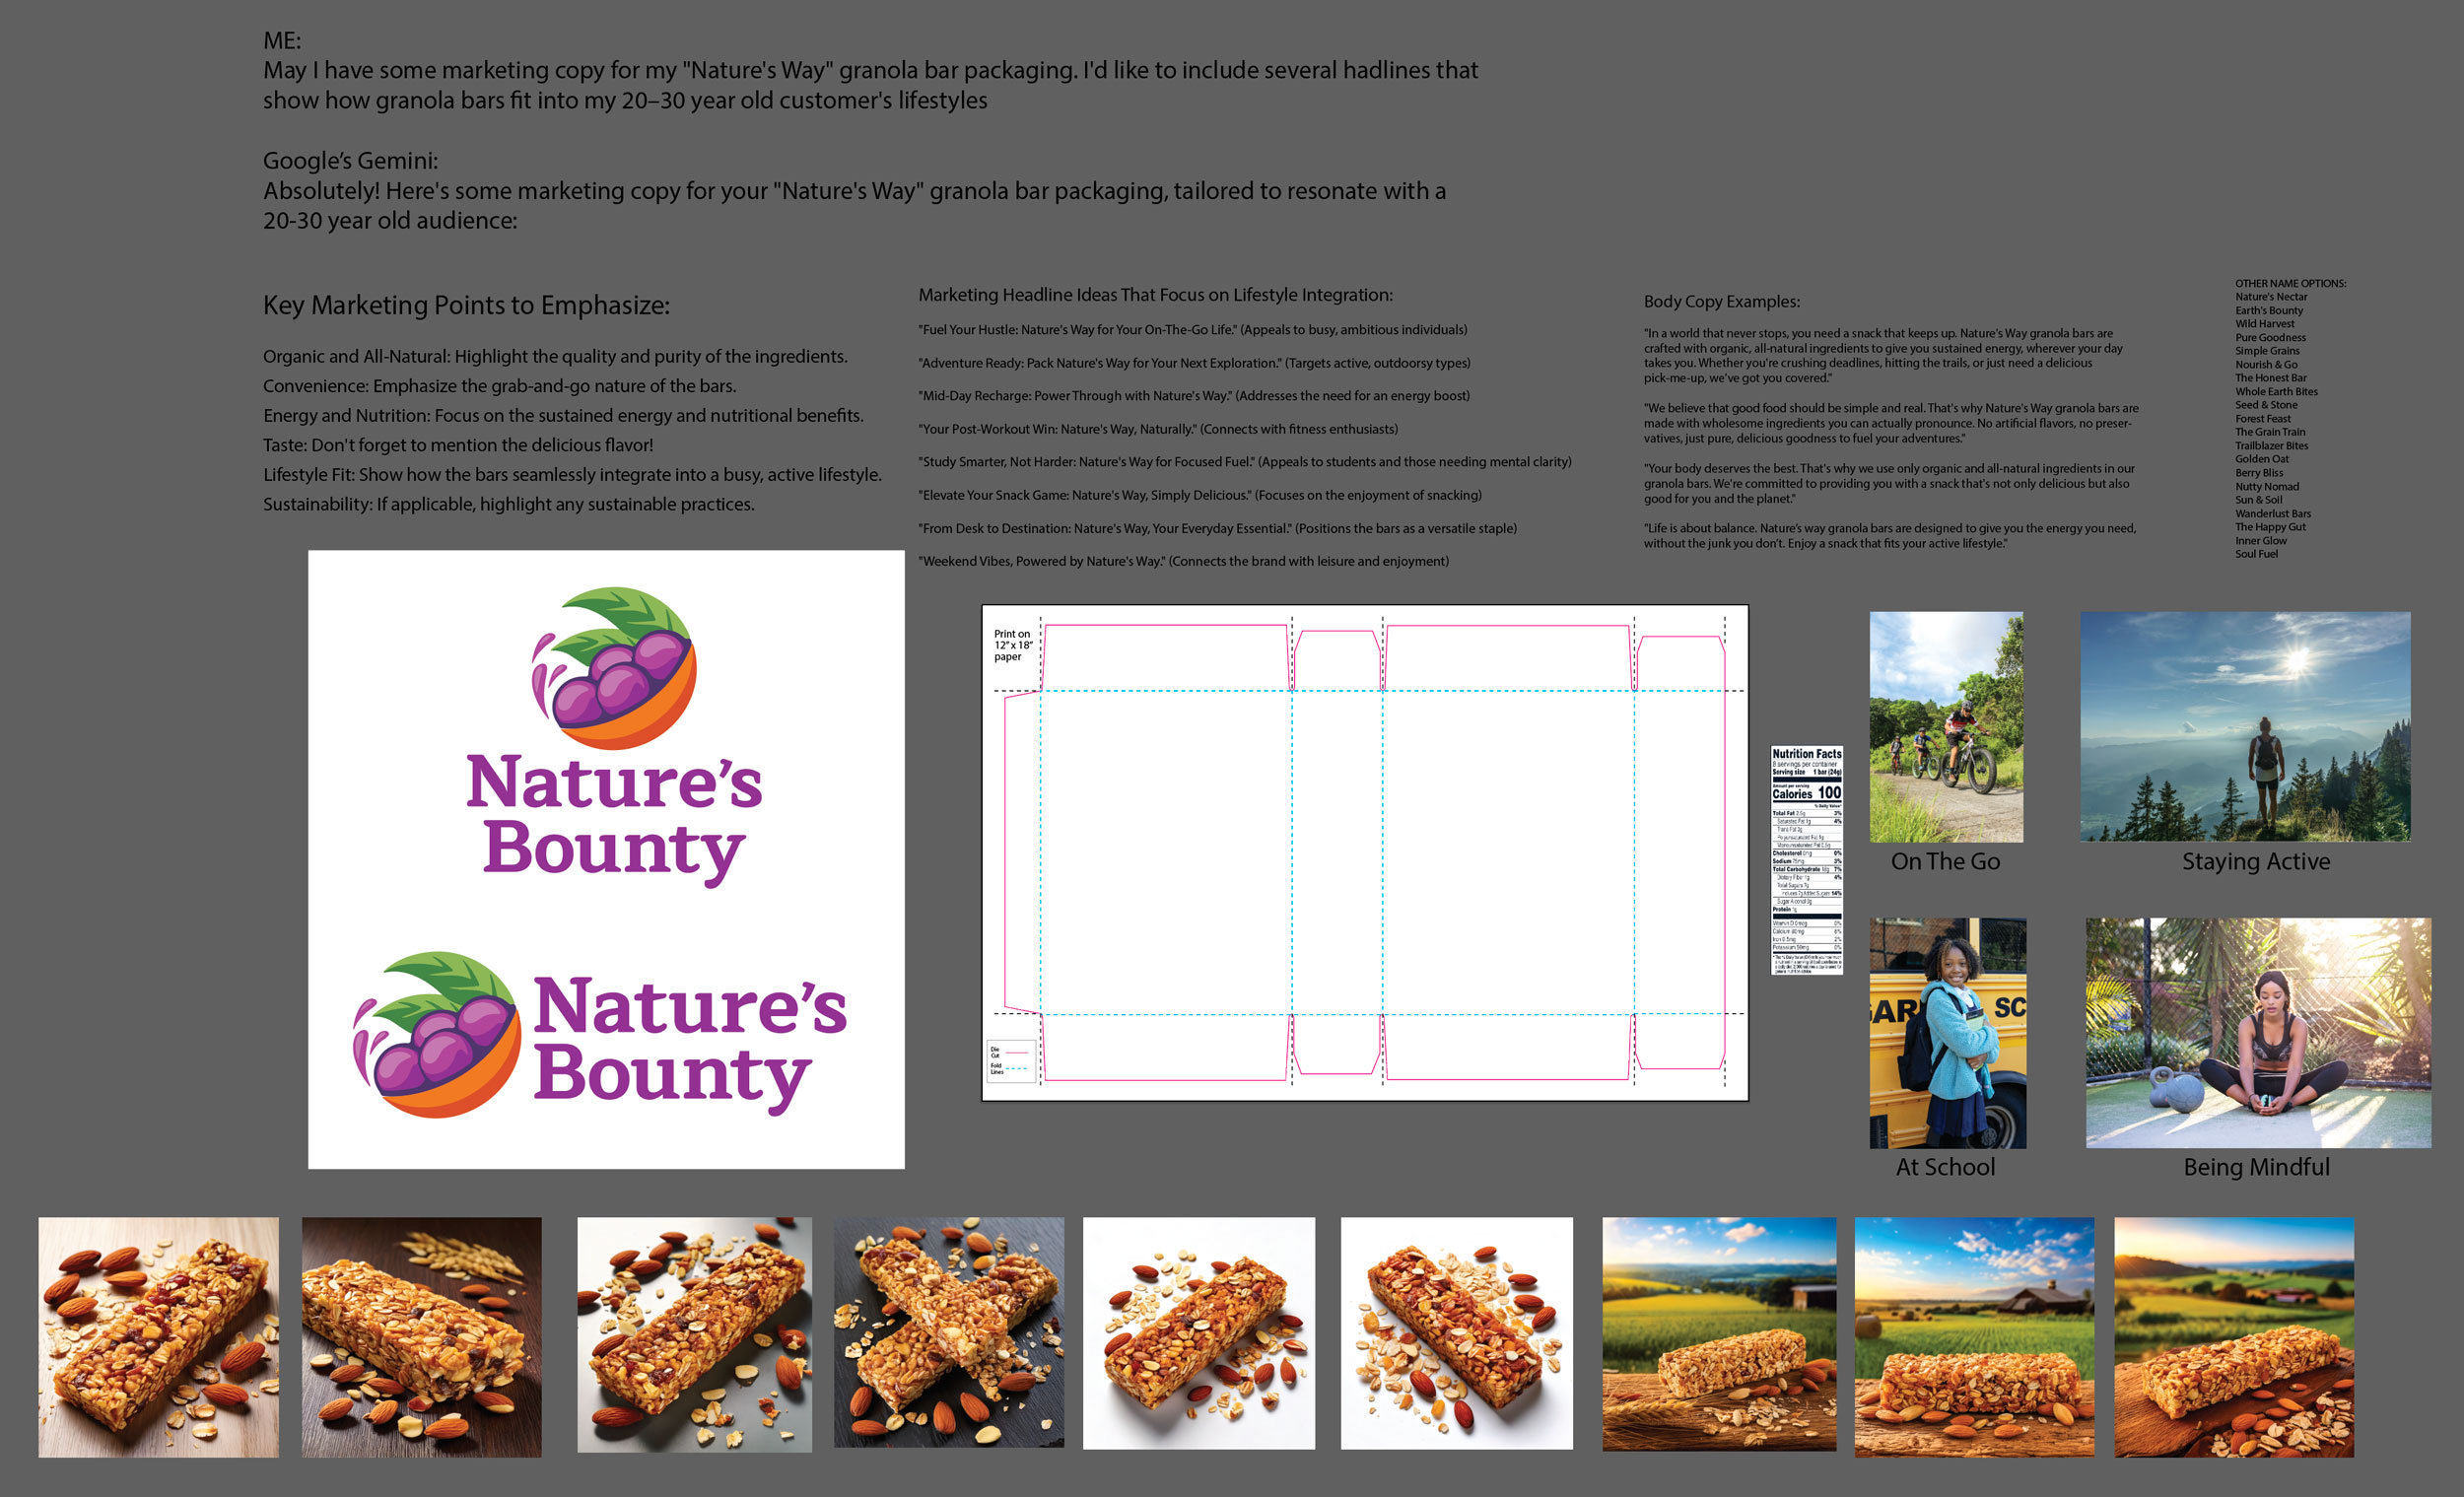
You can design for my fictitious client, Nature’s Bounty granola bars, if you want to. Just download the project folder below and get started. It has all the brand assets you need to start: template, logo, headlines and text, nutrition facts, and photos. You still get to pick a typeface, colors, design elements, and the overall style and layout. It’s like a real project where the client gives you some parts of the design, and you do the rest.
Download here: Natures Bounty Granola Bar Packaging – Template and Project Folder.zip
Box Mock-up in Photoshop
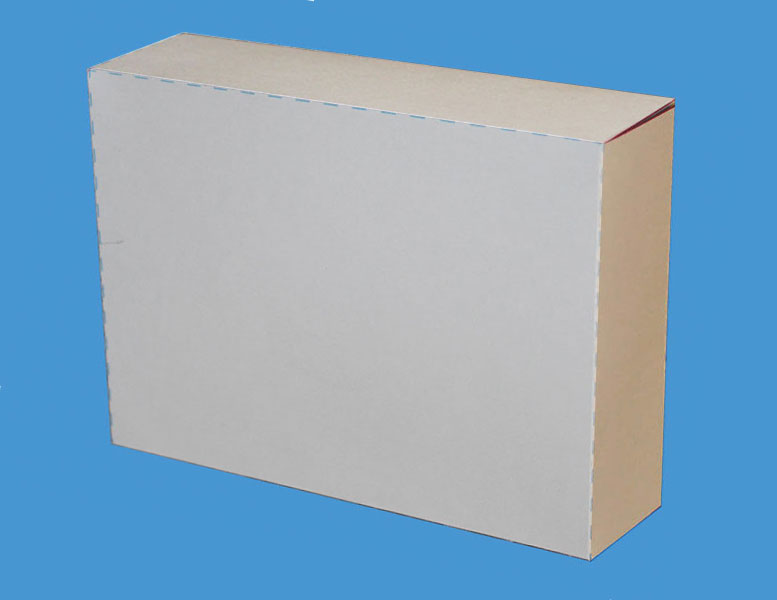
This tutorial demonstrates how to make a three-dimensional, digital mock-up of a box package design using Photoshop.
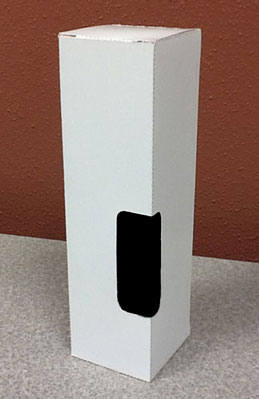
Free to use: Download my hi-res photo of a dimensional cake box here.
It’s 300 ppi resolution will look sharp in Photoshop.
Use one of these box templates I made for you
(or create your own)
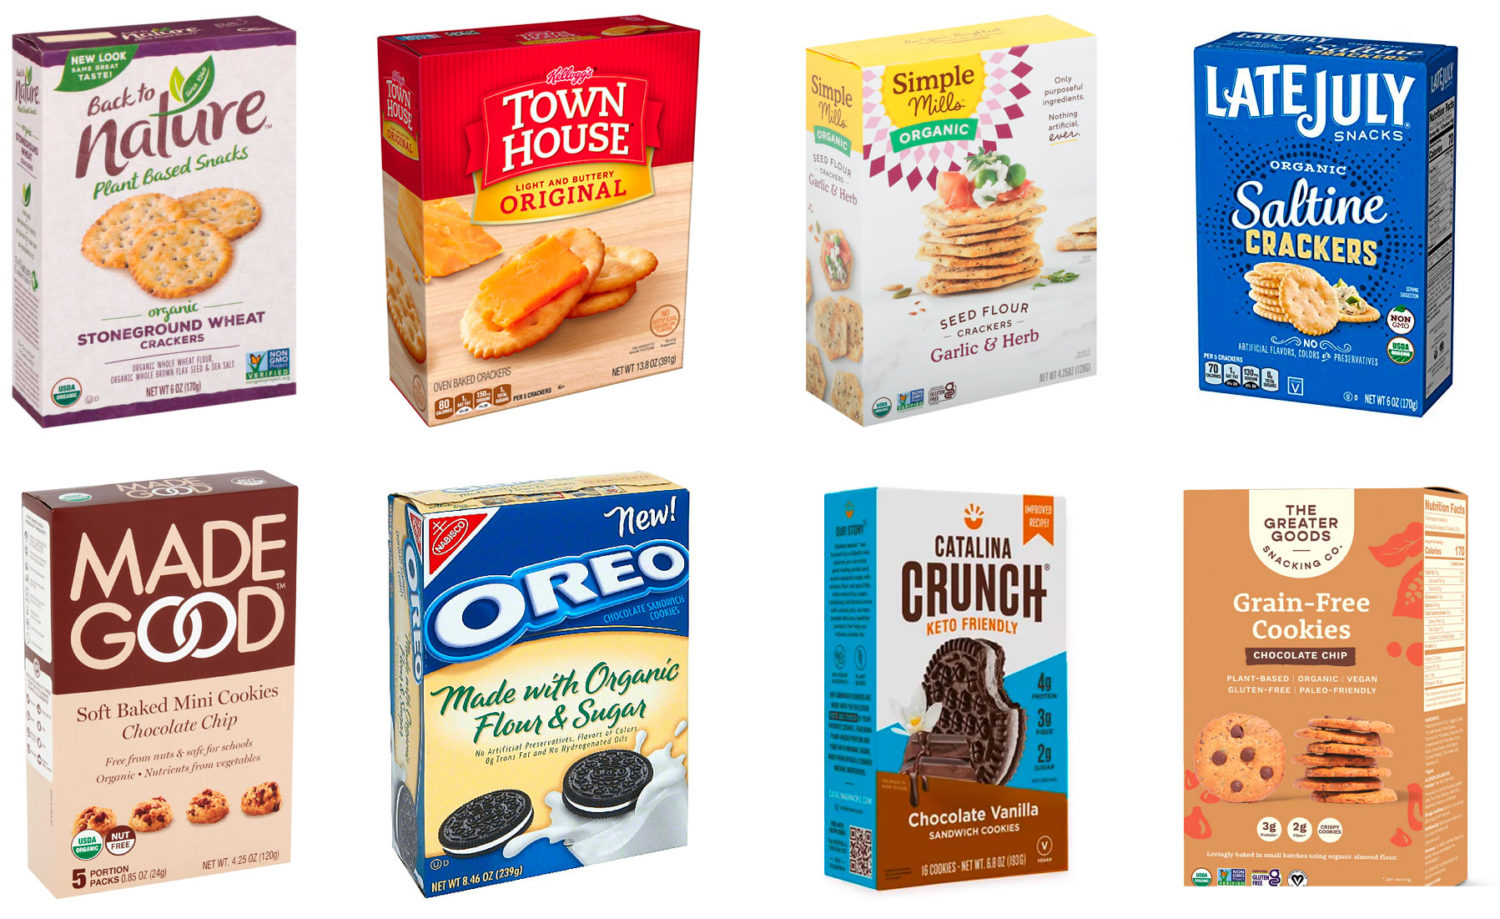
Keep things simple and use one of my box designs. They’re Illustrator files ready for you to start designing. They work for many products, including crackers, cookies, granola bars, fruit snacks, cornbread mix, muffin mix, cake mix, mac ‘n cheese, and tea.
Choose and download a template below, choose your product, and start designing.
Cracker or cookie box template
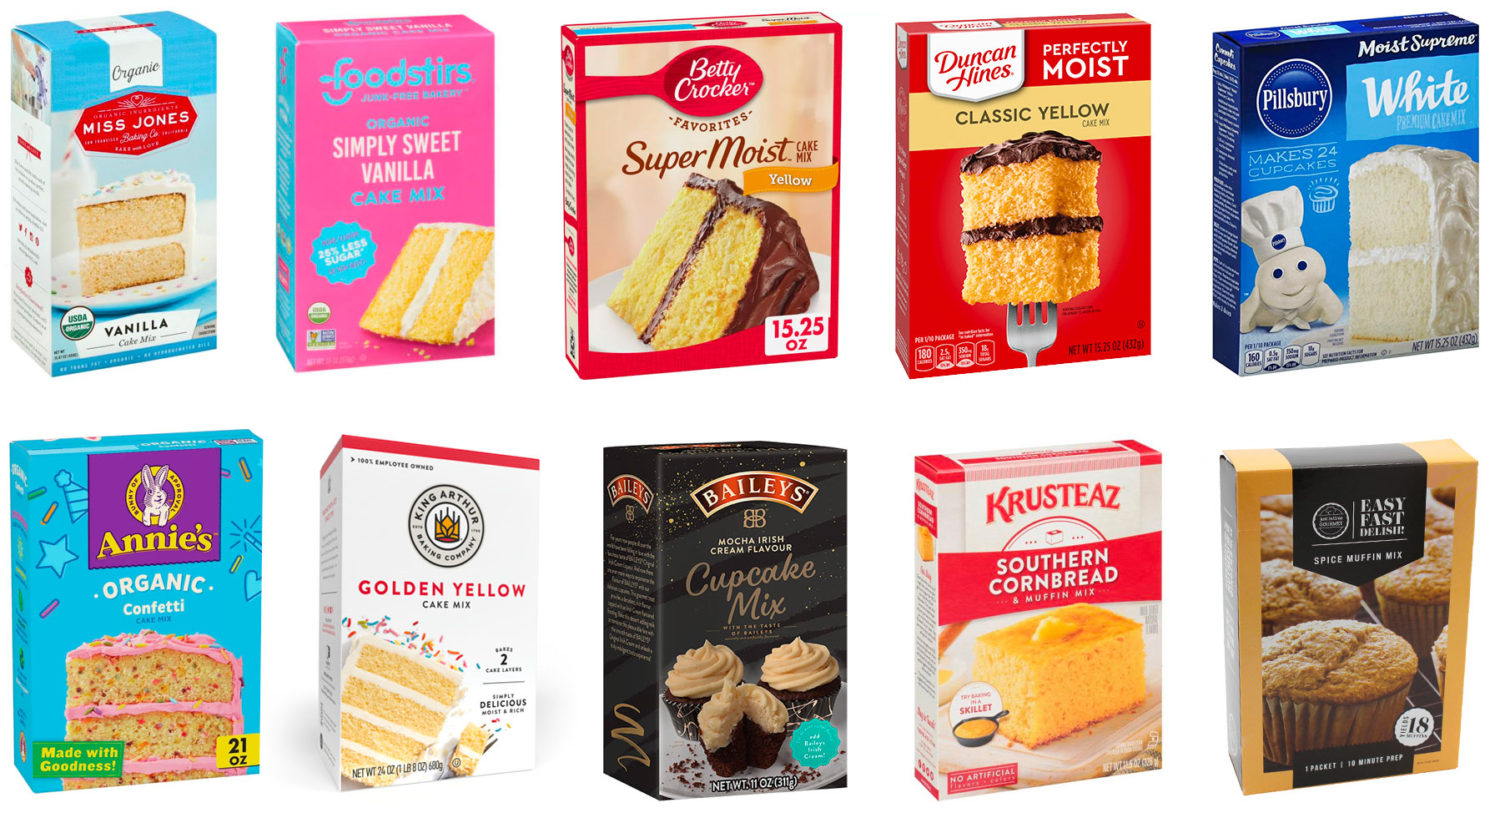
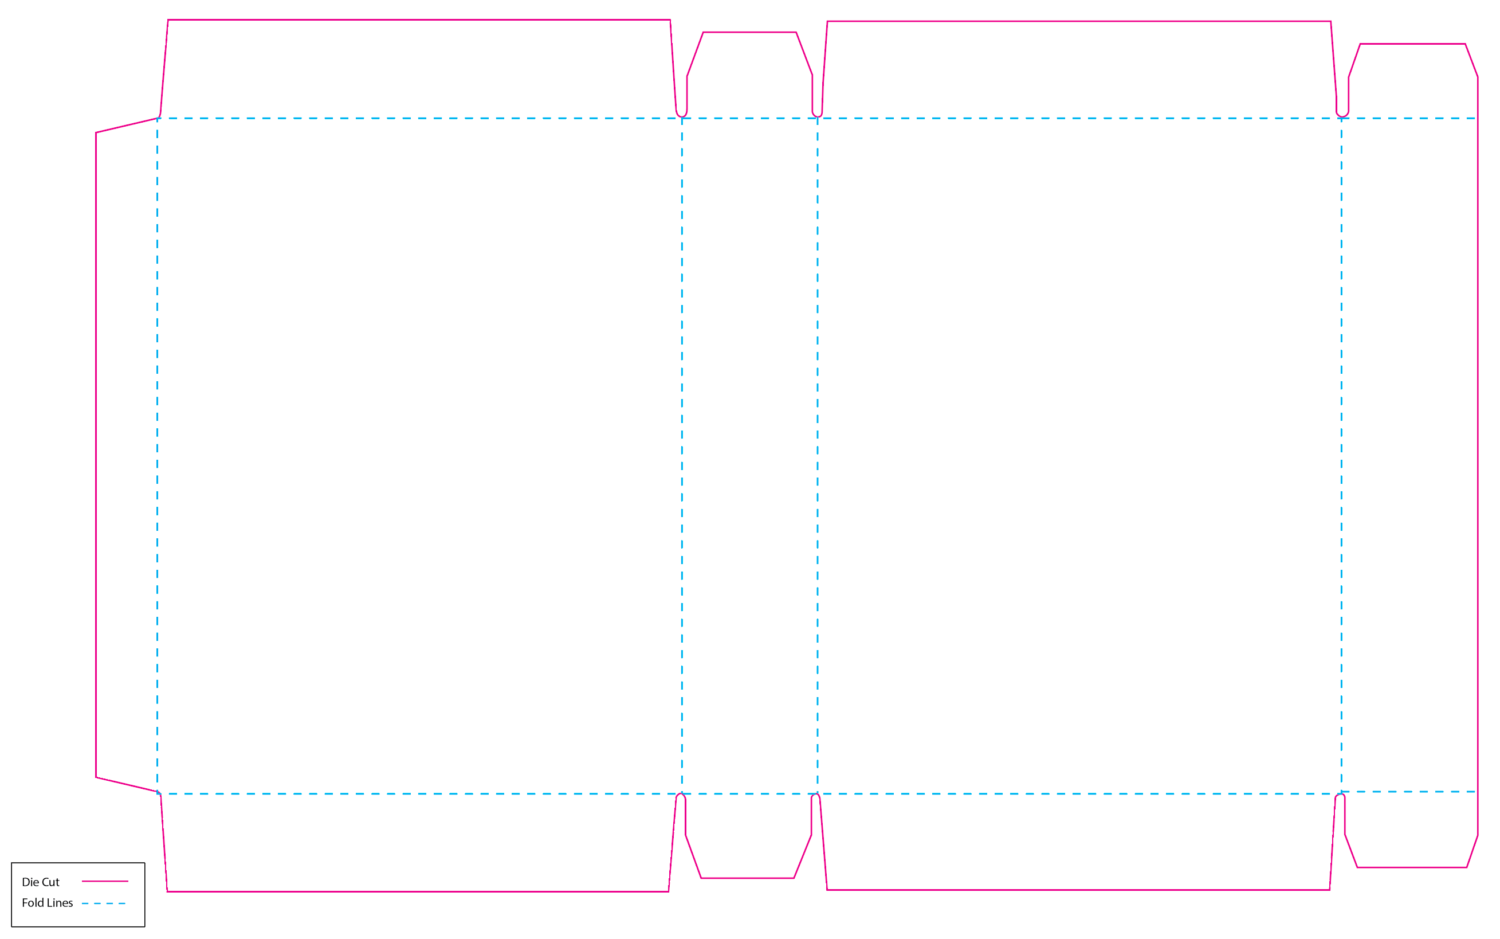
Cake or muffin mix box template
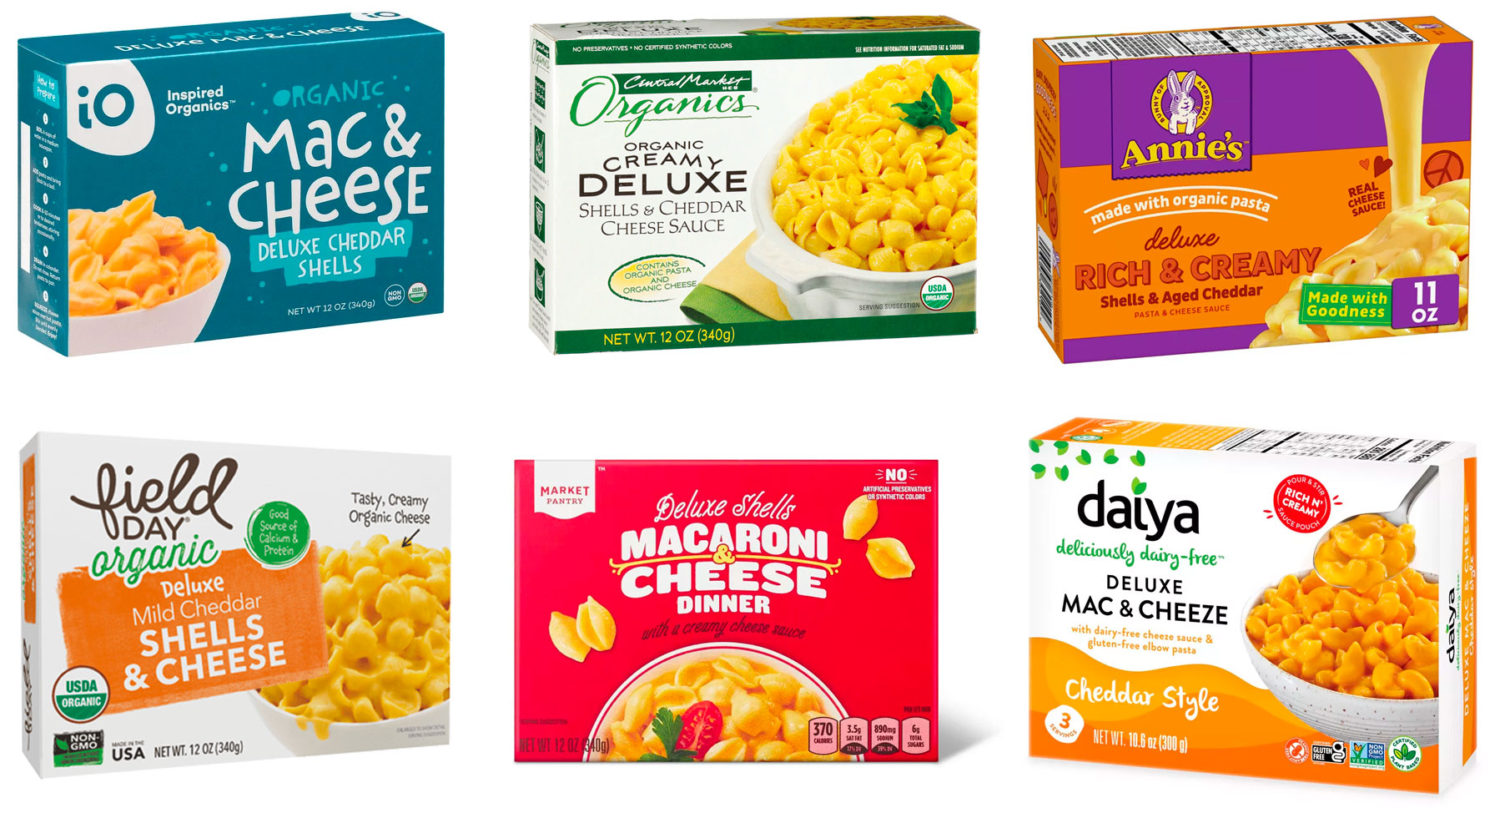
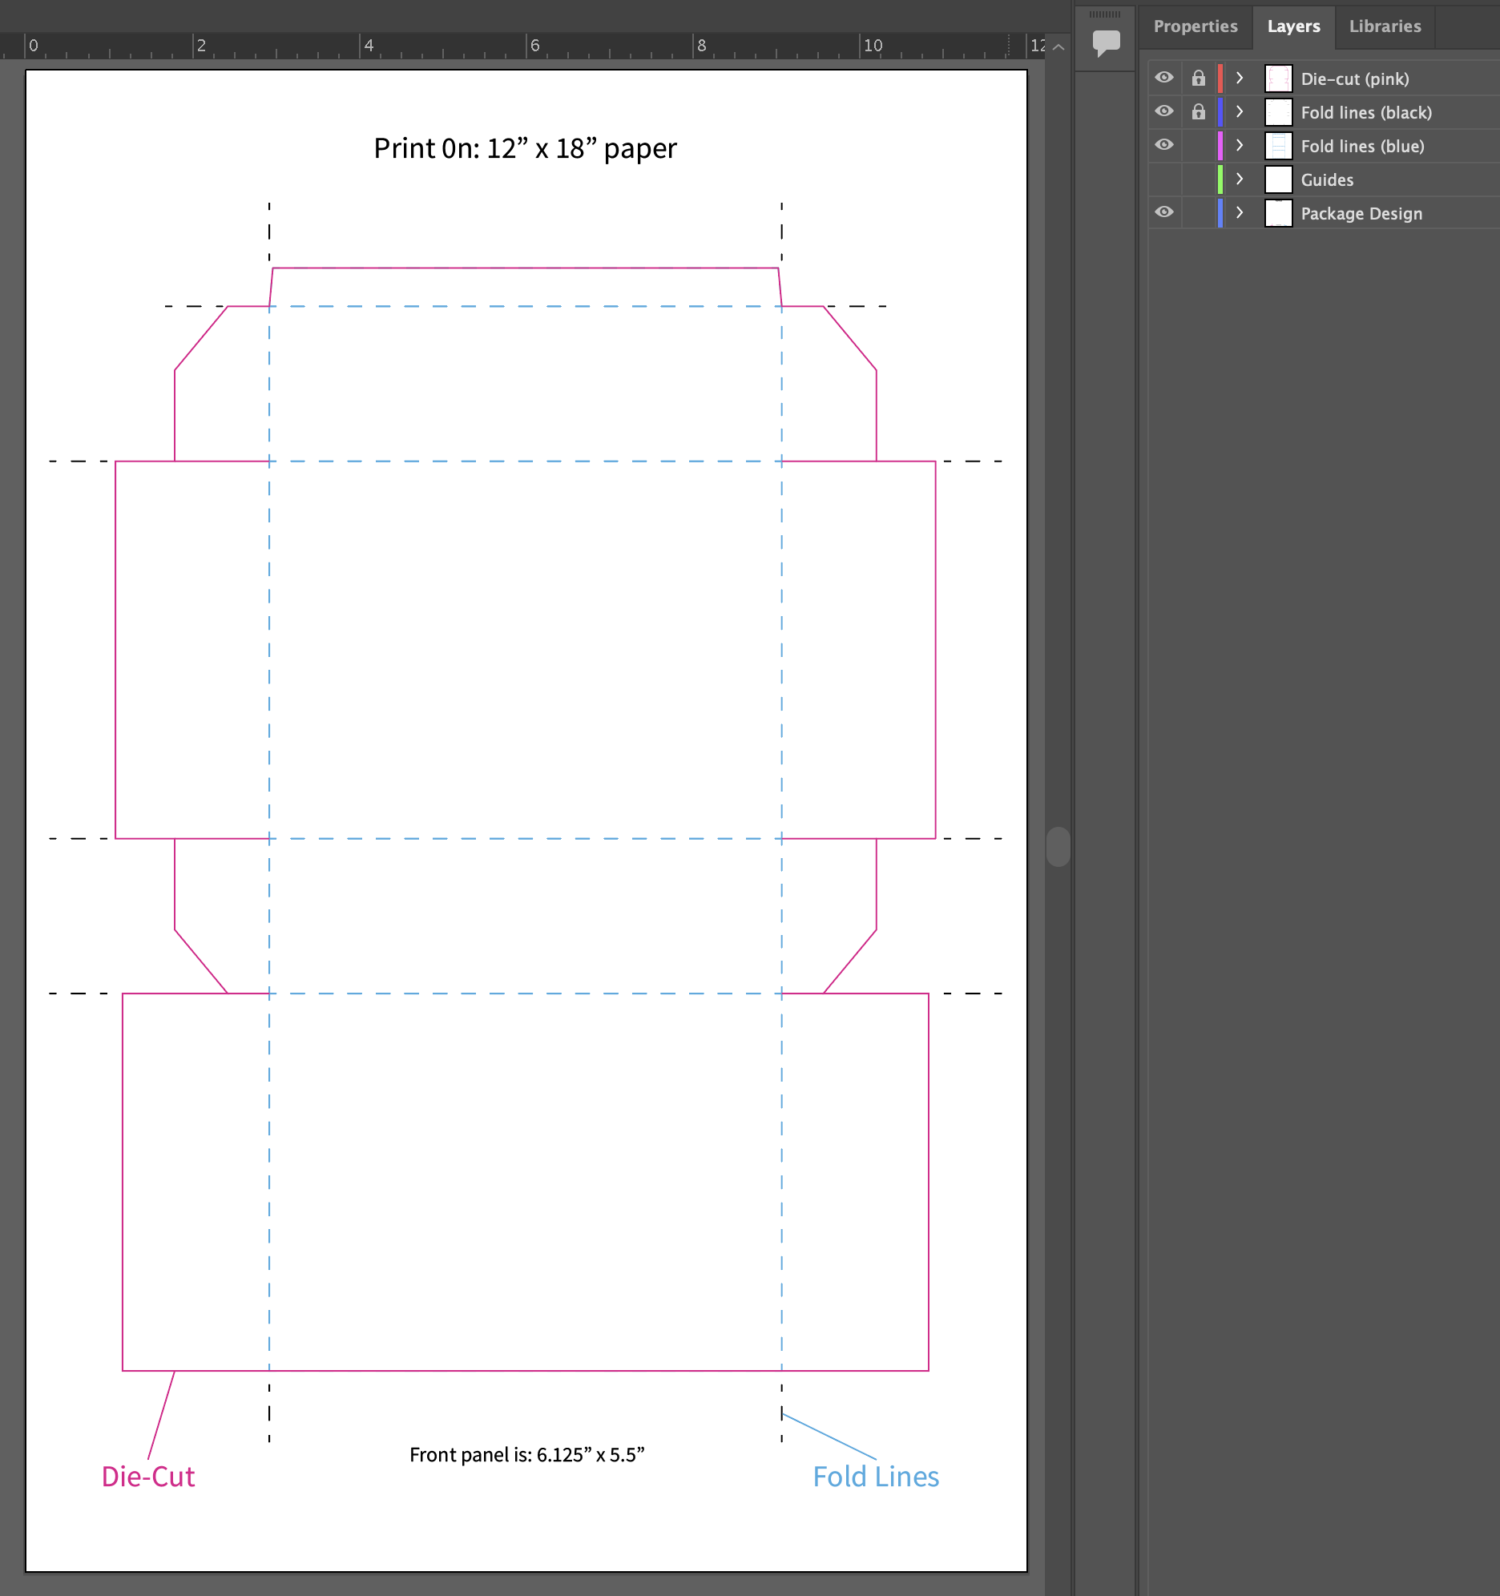
Mac ‘n cheese box template
Photoshop file to use to create your digital mockup
Tea Box template
Photoshop file to use to create your digital mockup
Optional . . .
If you’re feeling ambitious, create your own die line/template from a box of your choice.
Here’s how . . .
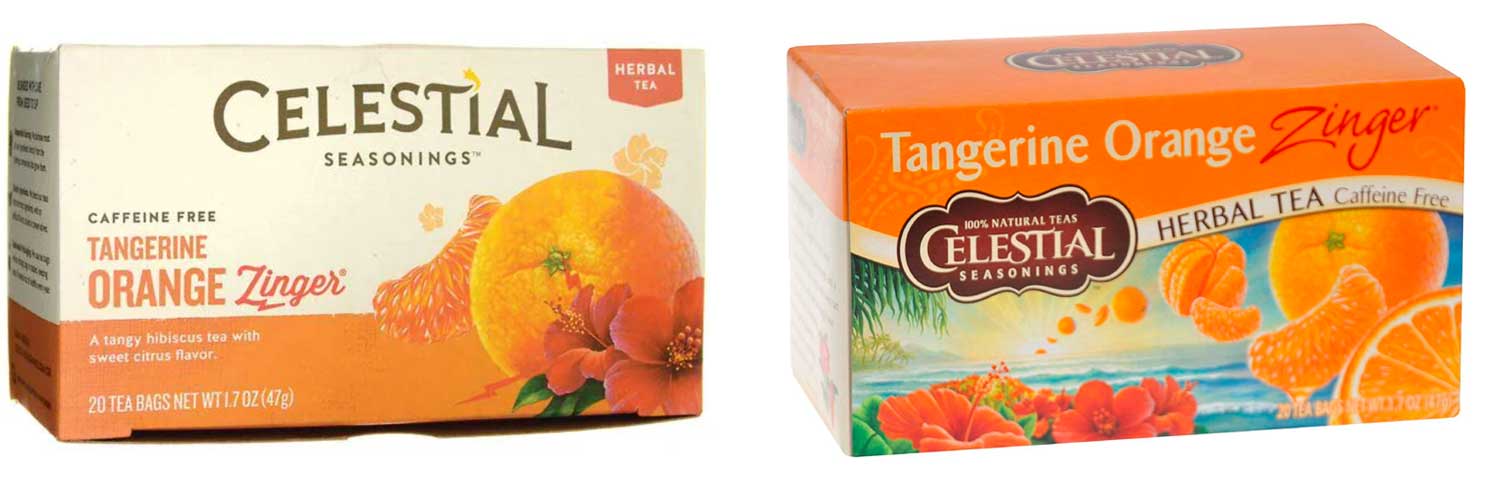
1. Chose a package
- Find a boxed product that you think needs a new package design—find a poorly designed box if you can.
- Your new design must fit on 11″ x 17″ paper
- Choose a unique die template to package your product. Or use the existing packaging and update/alter its size as needed.
- Remember form and function. It must look good and advertise/merchandise/protect/ship the product.
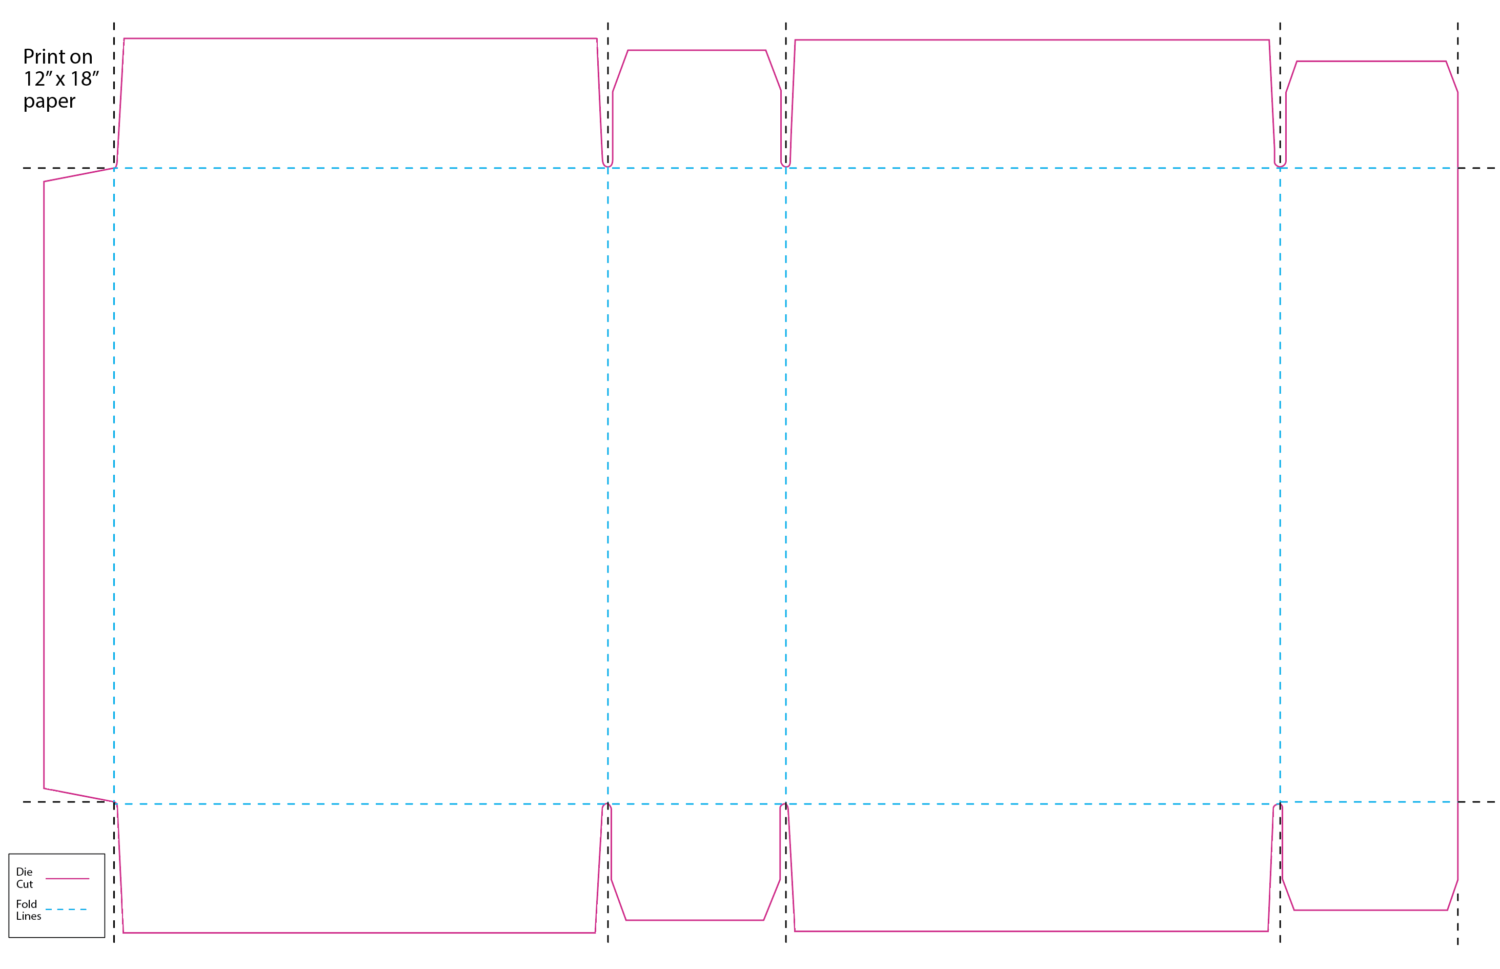
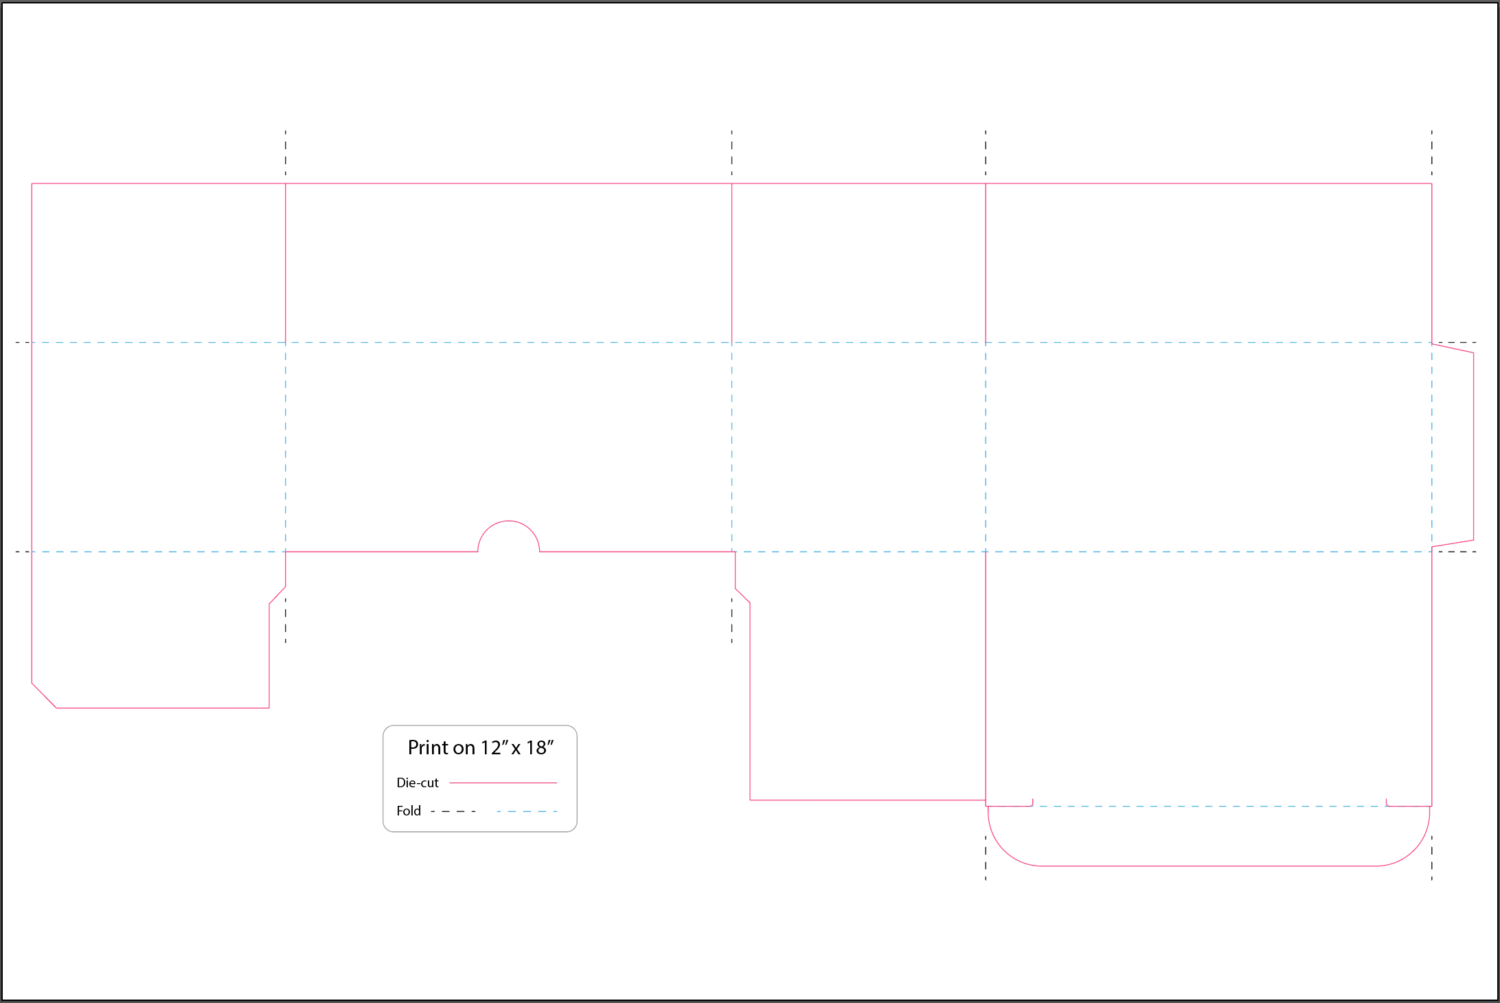
2. Create your template/die line in Illustrator
- I opened up and flattened the packaging box for my product. I then used a black piece of paper for the background and scanned it in. If you don’t have a scanner, get out a ruler and start measuring and recreating your box.
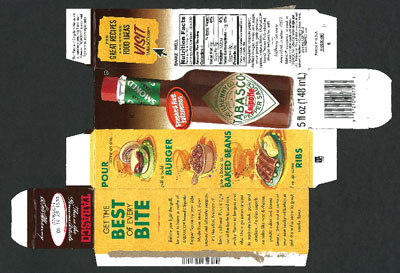
After I scanned mine, I created a vector template/die line by tracing the edges and folds in Illustrator
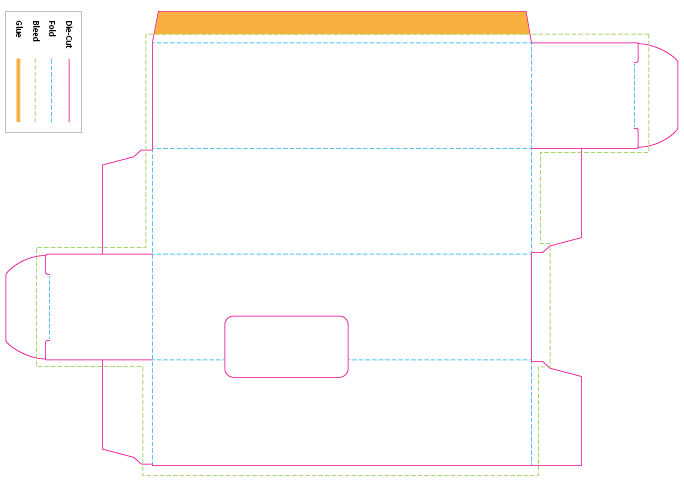
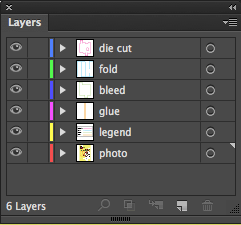
Next, create and identify what each line/area means.
I put each line style on a separate layer. Like this:
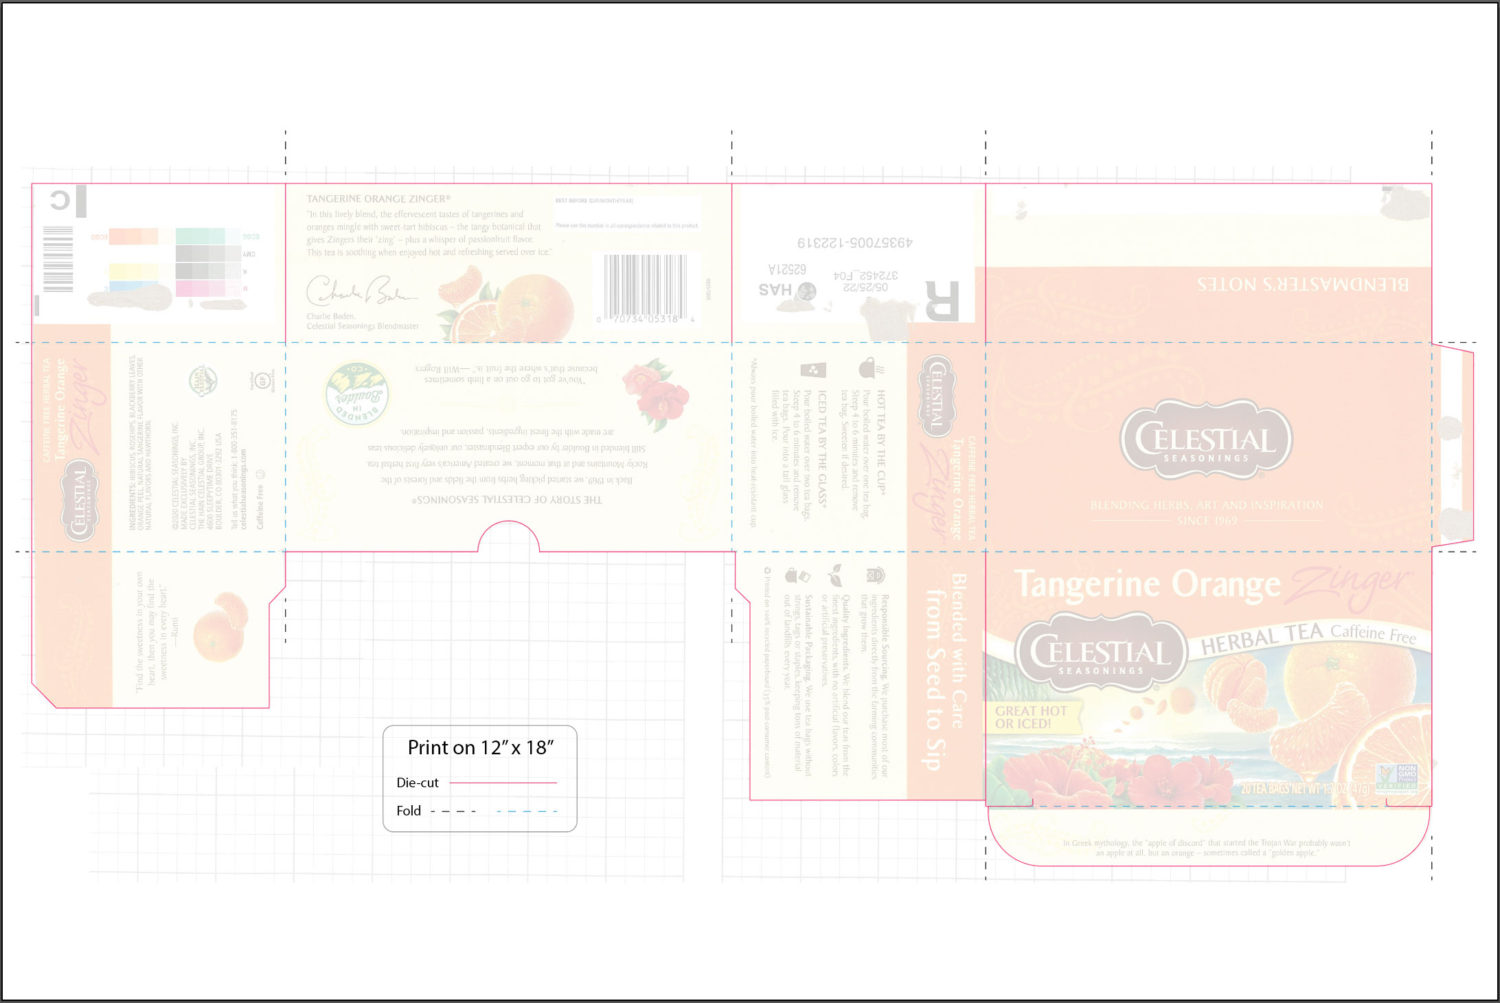
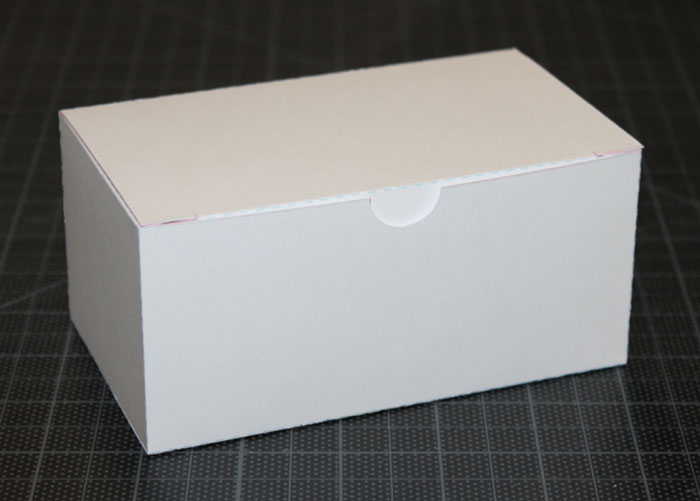
3. Print and assemble your prototype box
Print a copy on heavyweight paper. Then, cut, assemble, and see how it looks in 3D. Follow these steps to create your box safely:
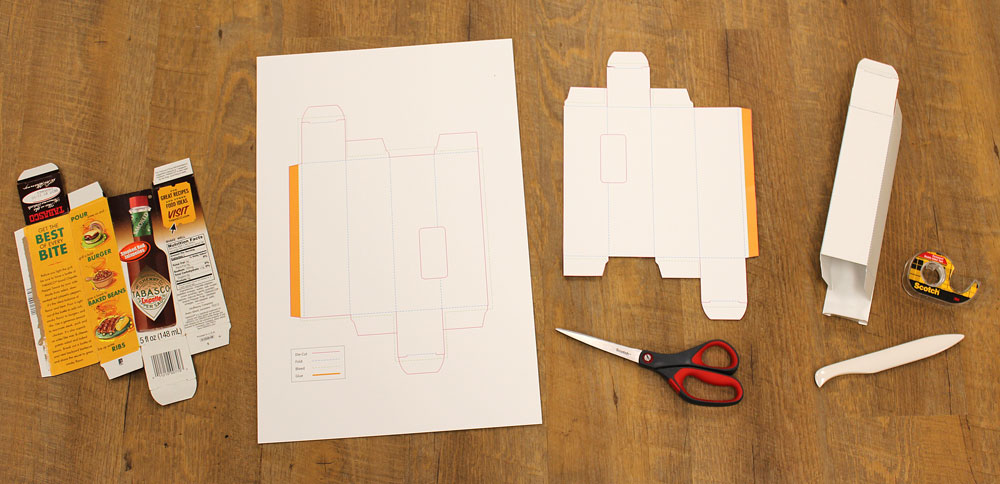
- Use the scissors to cut out your box—only cut the solid pink/red lines all the way through (not the dashed red lines). Cut straight so it looks professional.
- I would recommend NOT using an x-
acto knife. A scissors works just fine and it’s safer. - Then, score your fold lines with a bone folder or the edge of a penny or nickel held against a ruler.
- Score on the top of the fold (the front of your printed sheet).
- Next, put double-sided tape on your glue areas and assemble your box.
Test your box and make adjustments
- Place your product in the box and see how it fits
- Make any necessary adjustments
- Keep tweaking and reprinting the mock-up until it’s right